project 2: 2021 \\ woven paintings in (2) ways

My second (ever) h o u s e \\ w e a v i n g collection was actually a series of ‘woven paintings’, in which I called ‘Woven Paint’ (and wrote about each piece + the whole collection here). This was woven back in 2017!
Long before I started weaving, I was always drawn to the stories behind so many paintings as well as their compositions, colors, textures, etc. When I picked up weaving, I immediately knew some of my first projects would be to translate these pieces of art into a woven format. It became a big part of my brand and mission early on. I only stopped working on that collection to pursue commissions that allowed me to take stories from real people (like you!) and weave them.
At the end of last year when I began planning my projects for this year, I just HAD to give myself a project that brought me back to those roots. And like all projects I am pursuing this year, I also wanted to give myself a challenge and something that I could learn from.

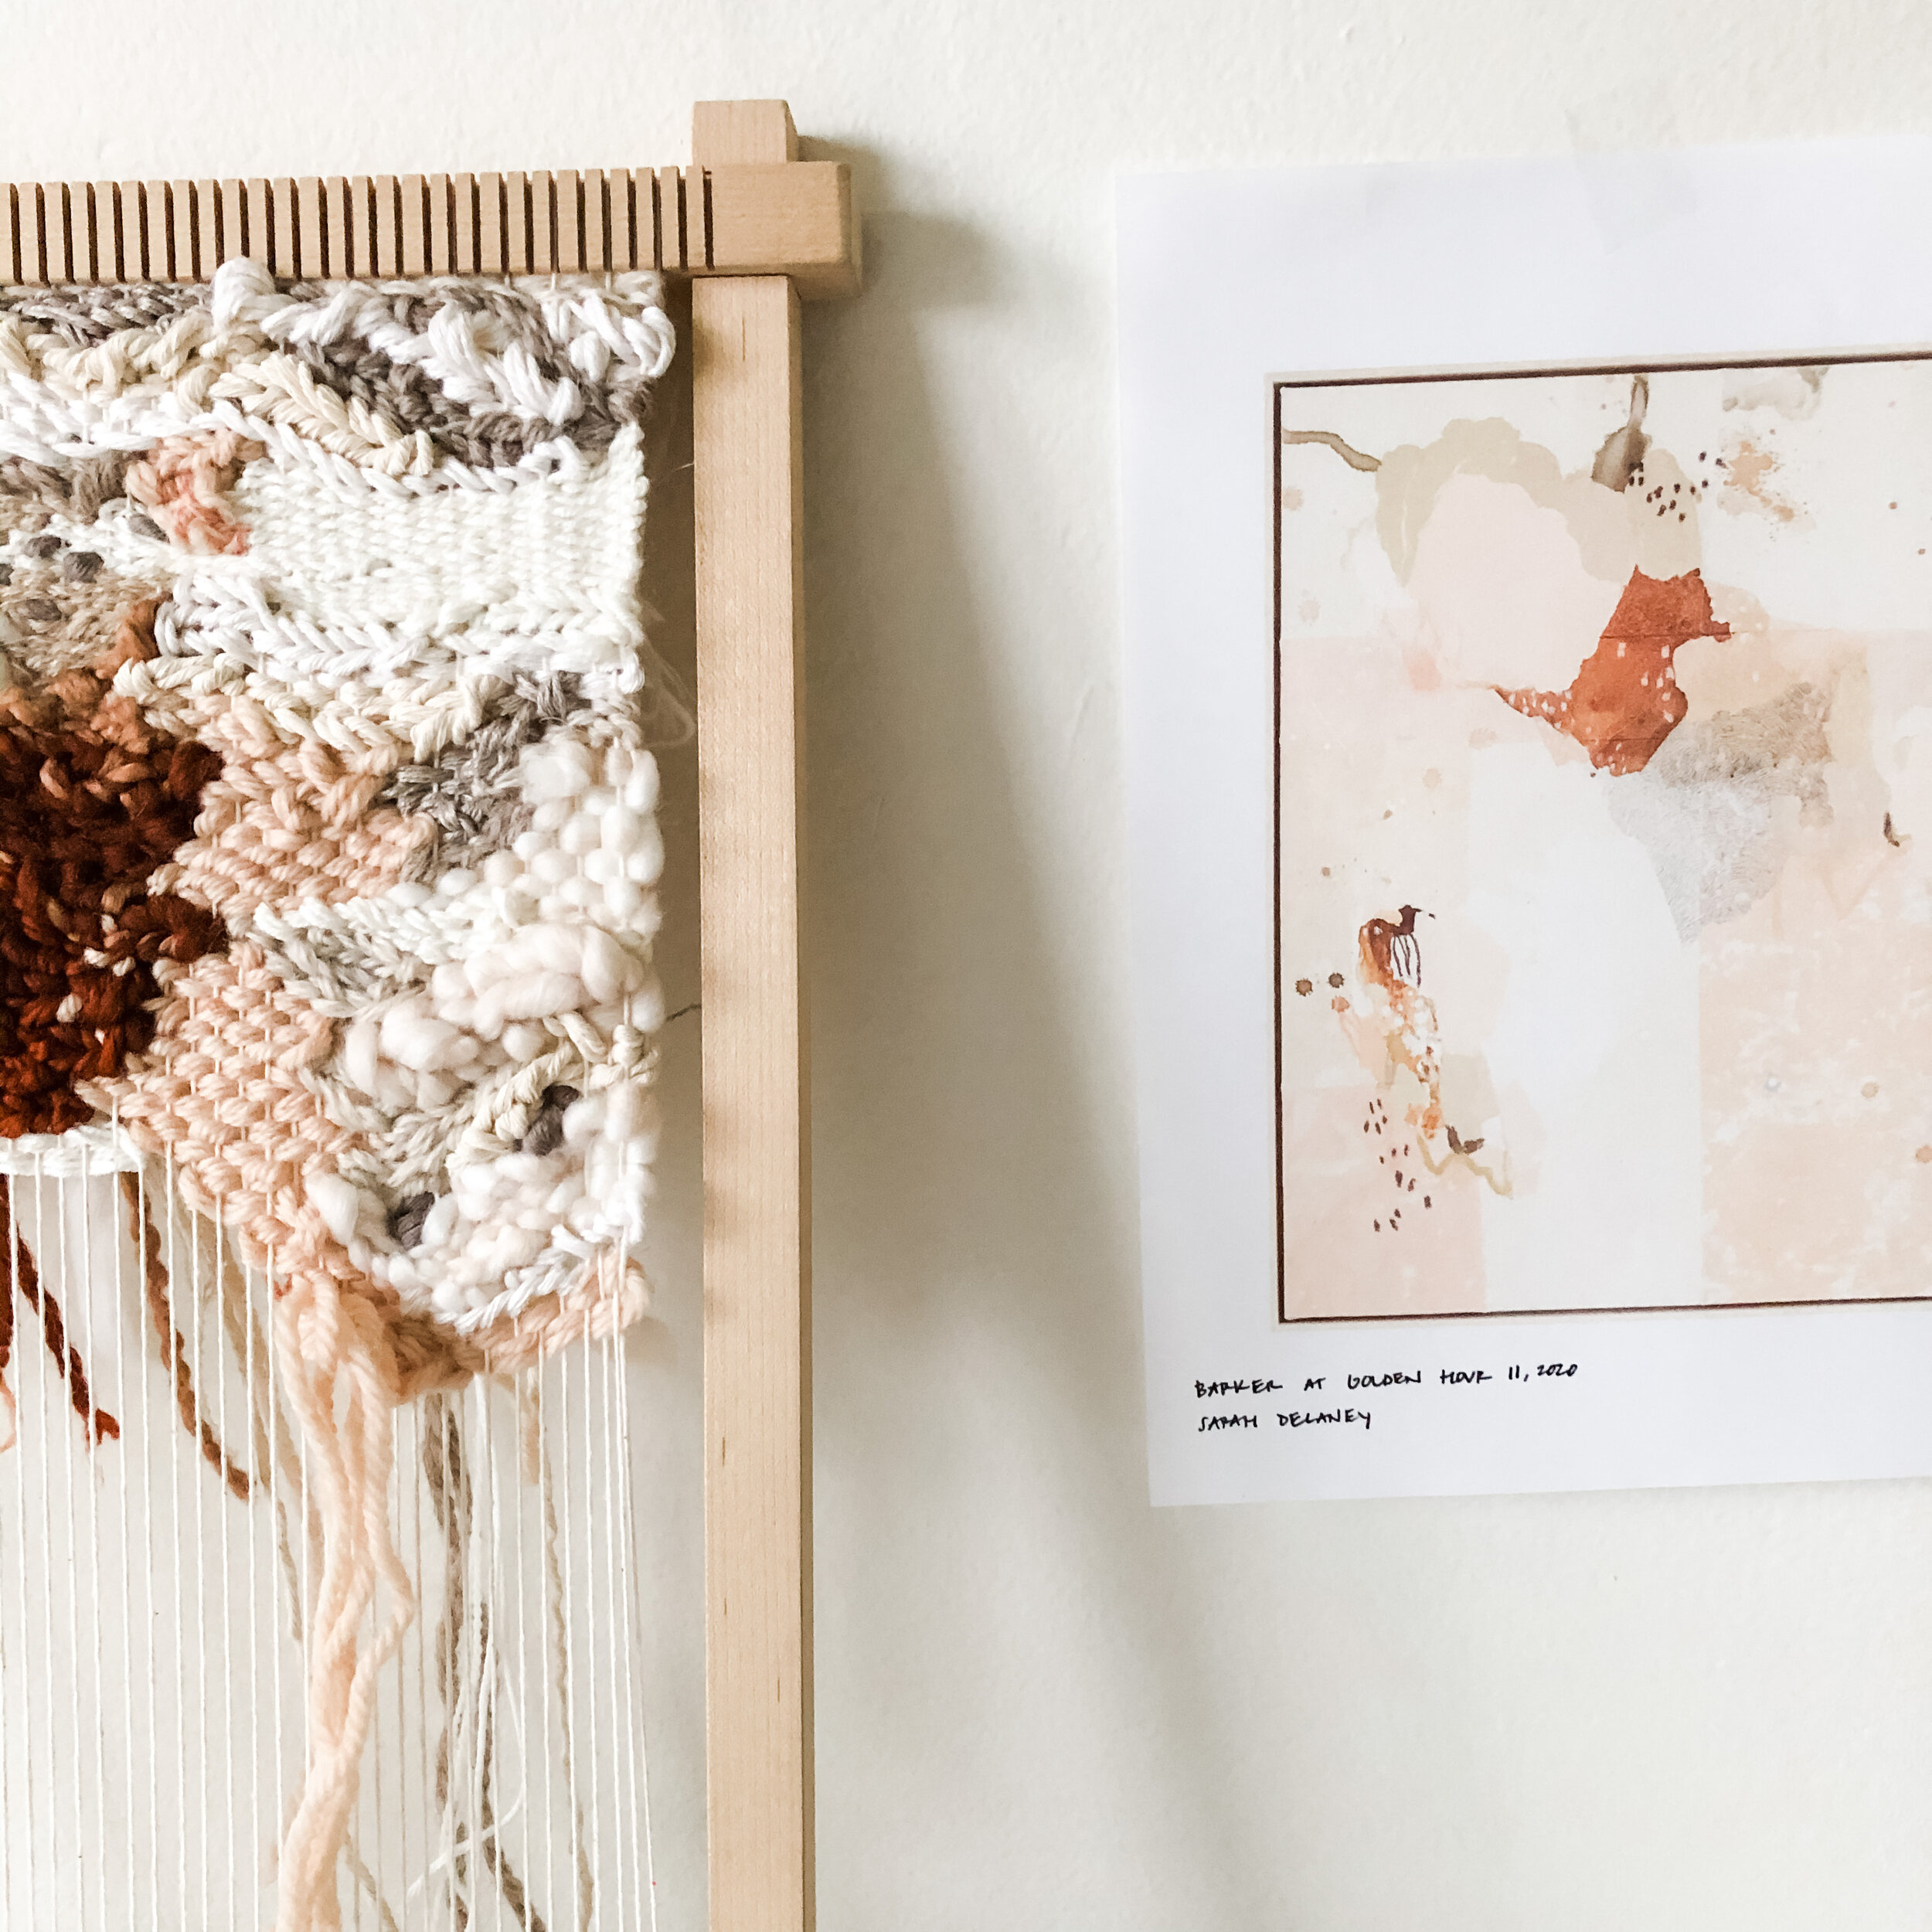
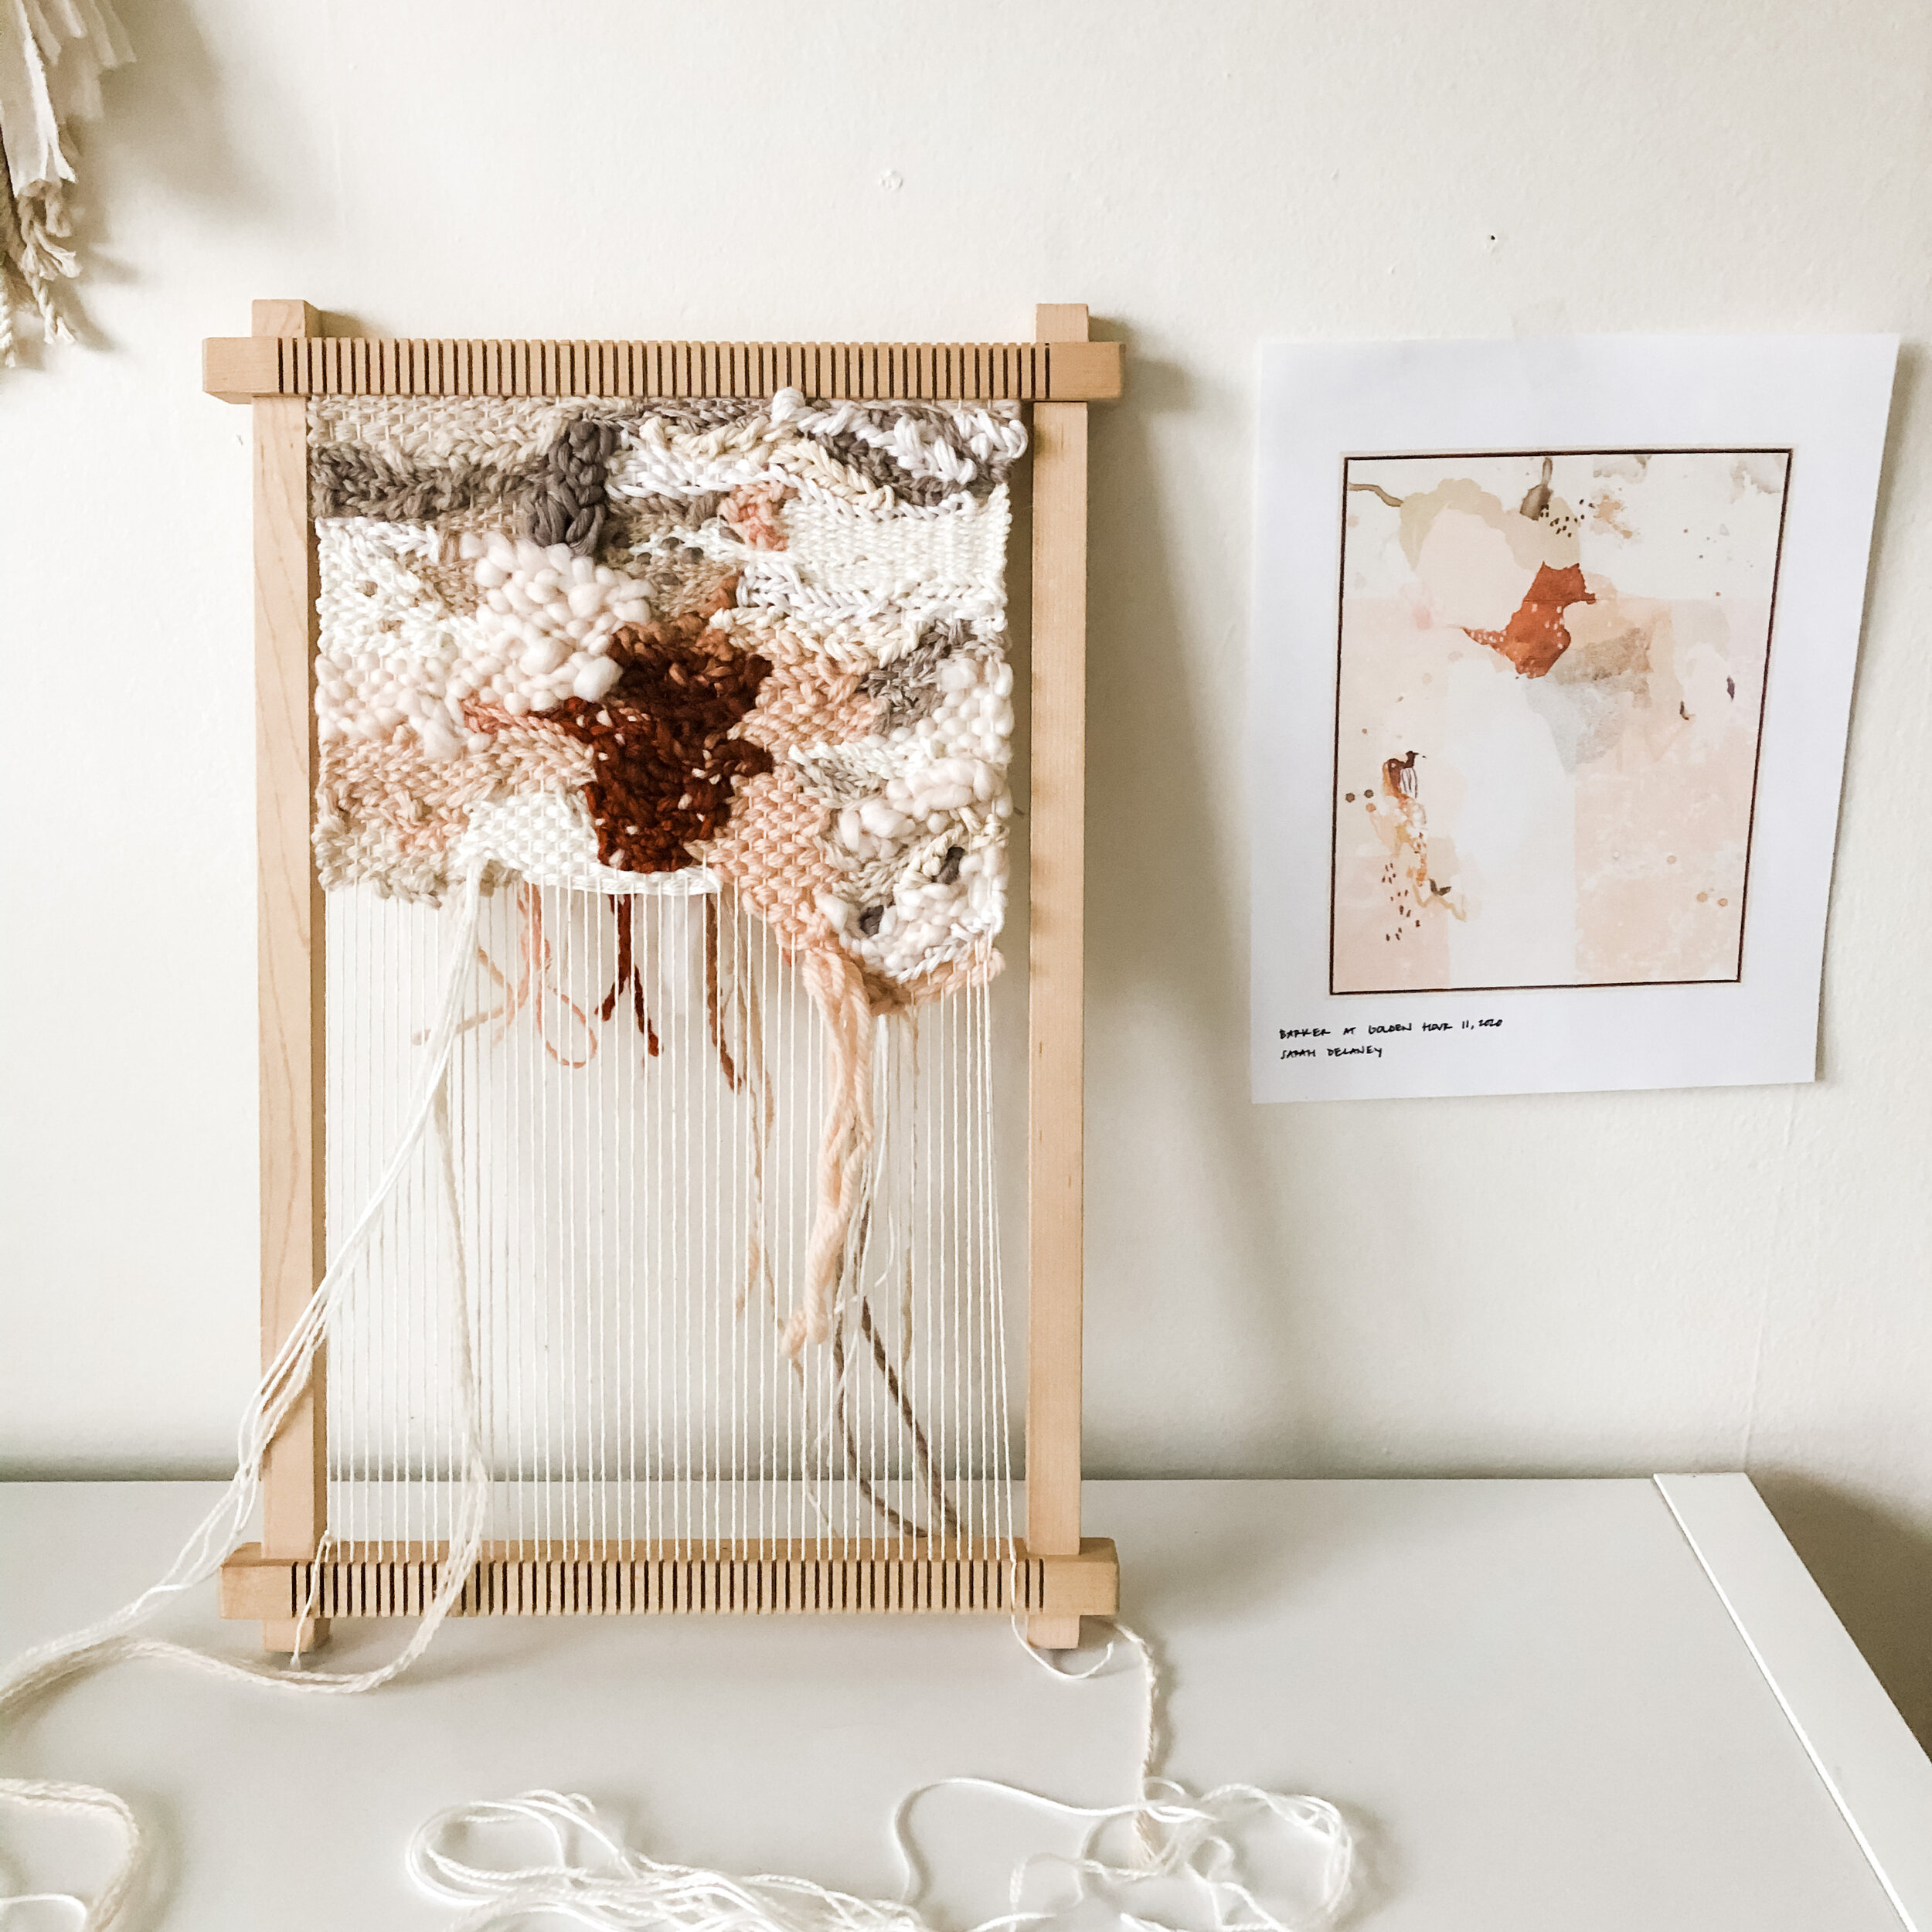
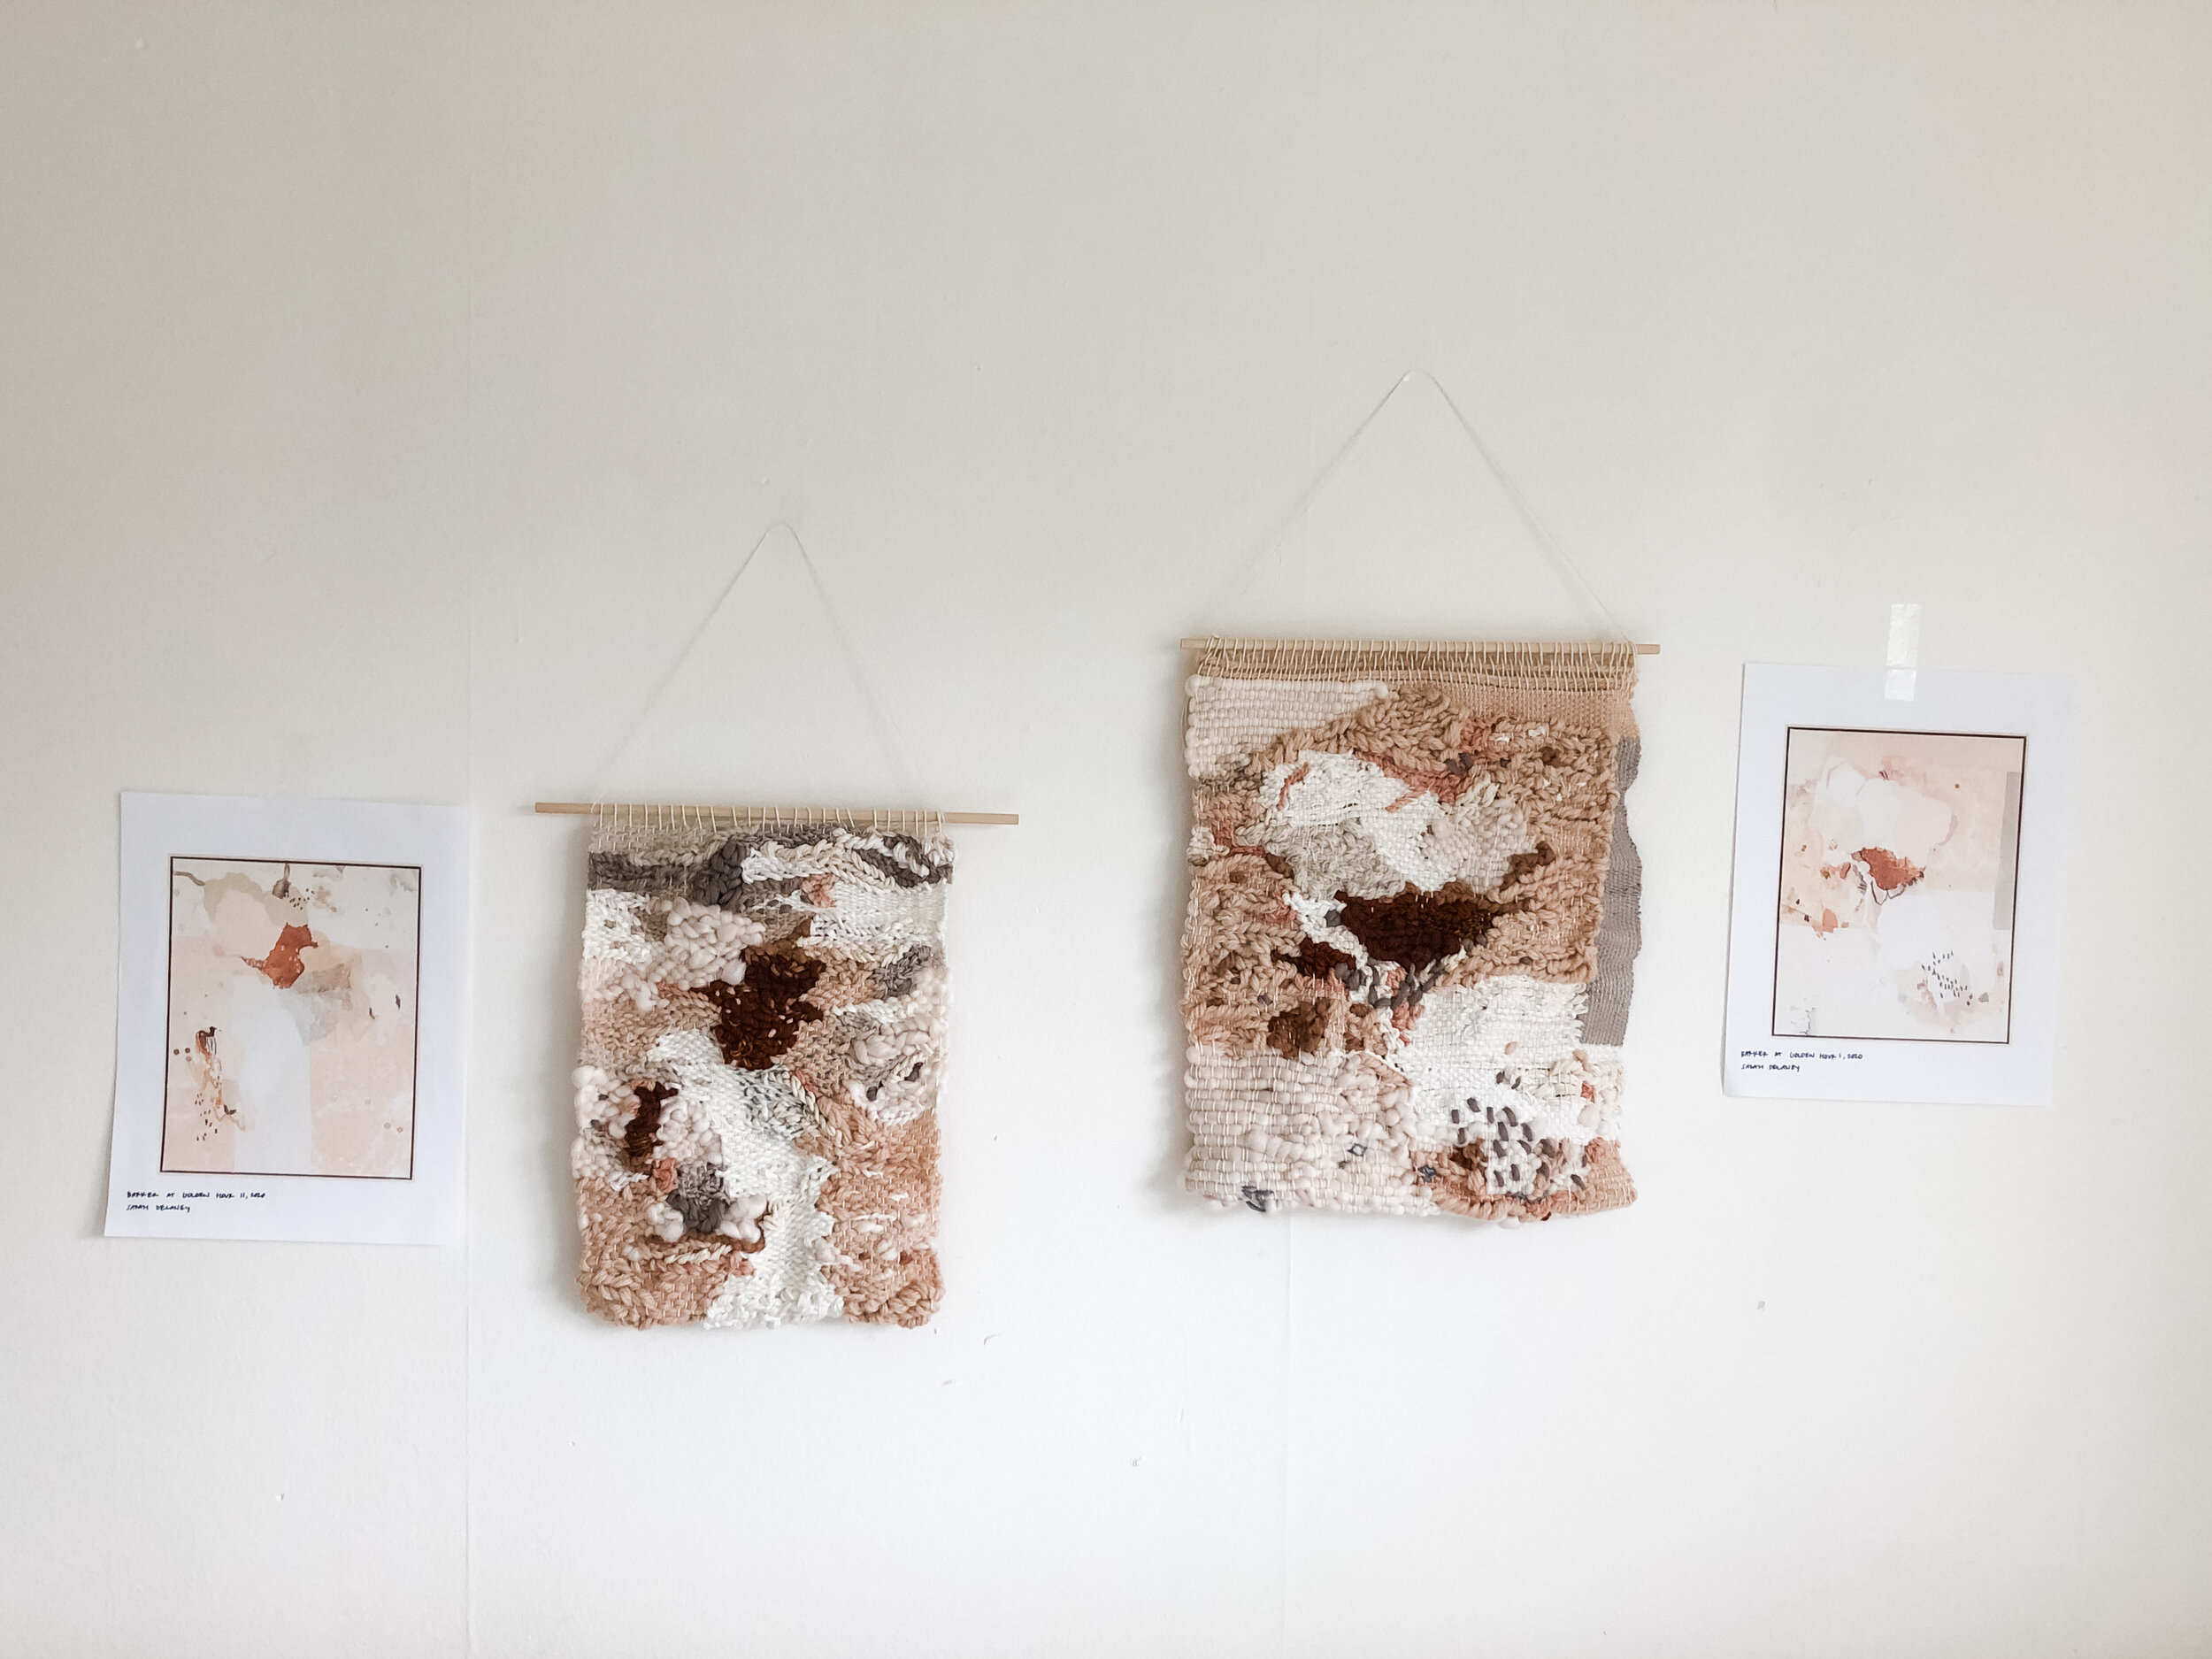
Barker at Golden Hour I, 2020
Sarah Delaney
Acrylic, Dye, Bleach, Pastel, Graphite on canvas, torn and stitched
38 x 30” framed, (36 x 28” canvas)
taken from: https://sarahdelaneyart.squarespace.com

Barker at Golden Hour II, 2020
Sarah Delaney
Acrylic, Dye, Bleach, Pastel, Graphite on canvas, torn and stitched
38 x 30” framed, (36 x 28” canvas)
taken from: https://sarahdelaneyart.squarespace.com
About this project + what inspired me:
— SO, last year, I came across this series of paintings by Sarah Delaney in which I fell in love with the story (read about it here - on her website), as well as the colors and textures. Her paintings are inspired by nature and the places she’s visited. This particular collection was created after spending time 2 weeks in Joshua Tree National park where she spent so much time in reflection and isolation. As she states on her website, “My abstract paintings facilitate a glimpse into a narrative. This body of work tells the story of female identity. They were born out of solo expedition and the unknown. They examine personal identity, wrapped up in feelings of adventure, isolation, joy, fear, and discovery. Although the tattered patchwork with splattered bleach and paint fondly reference the Joshua Tree environment, they are also a commentary on being female.”
Not only do I absolutely love National Parks and resonate with so much of what she experienced and is saying, but the feelings and messages she portrays through her work are so moving.
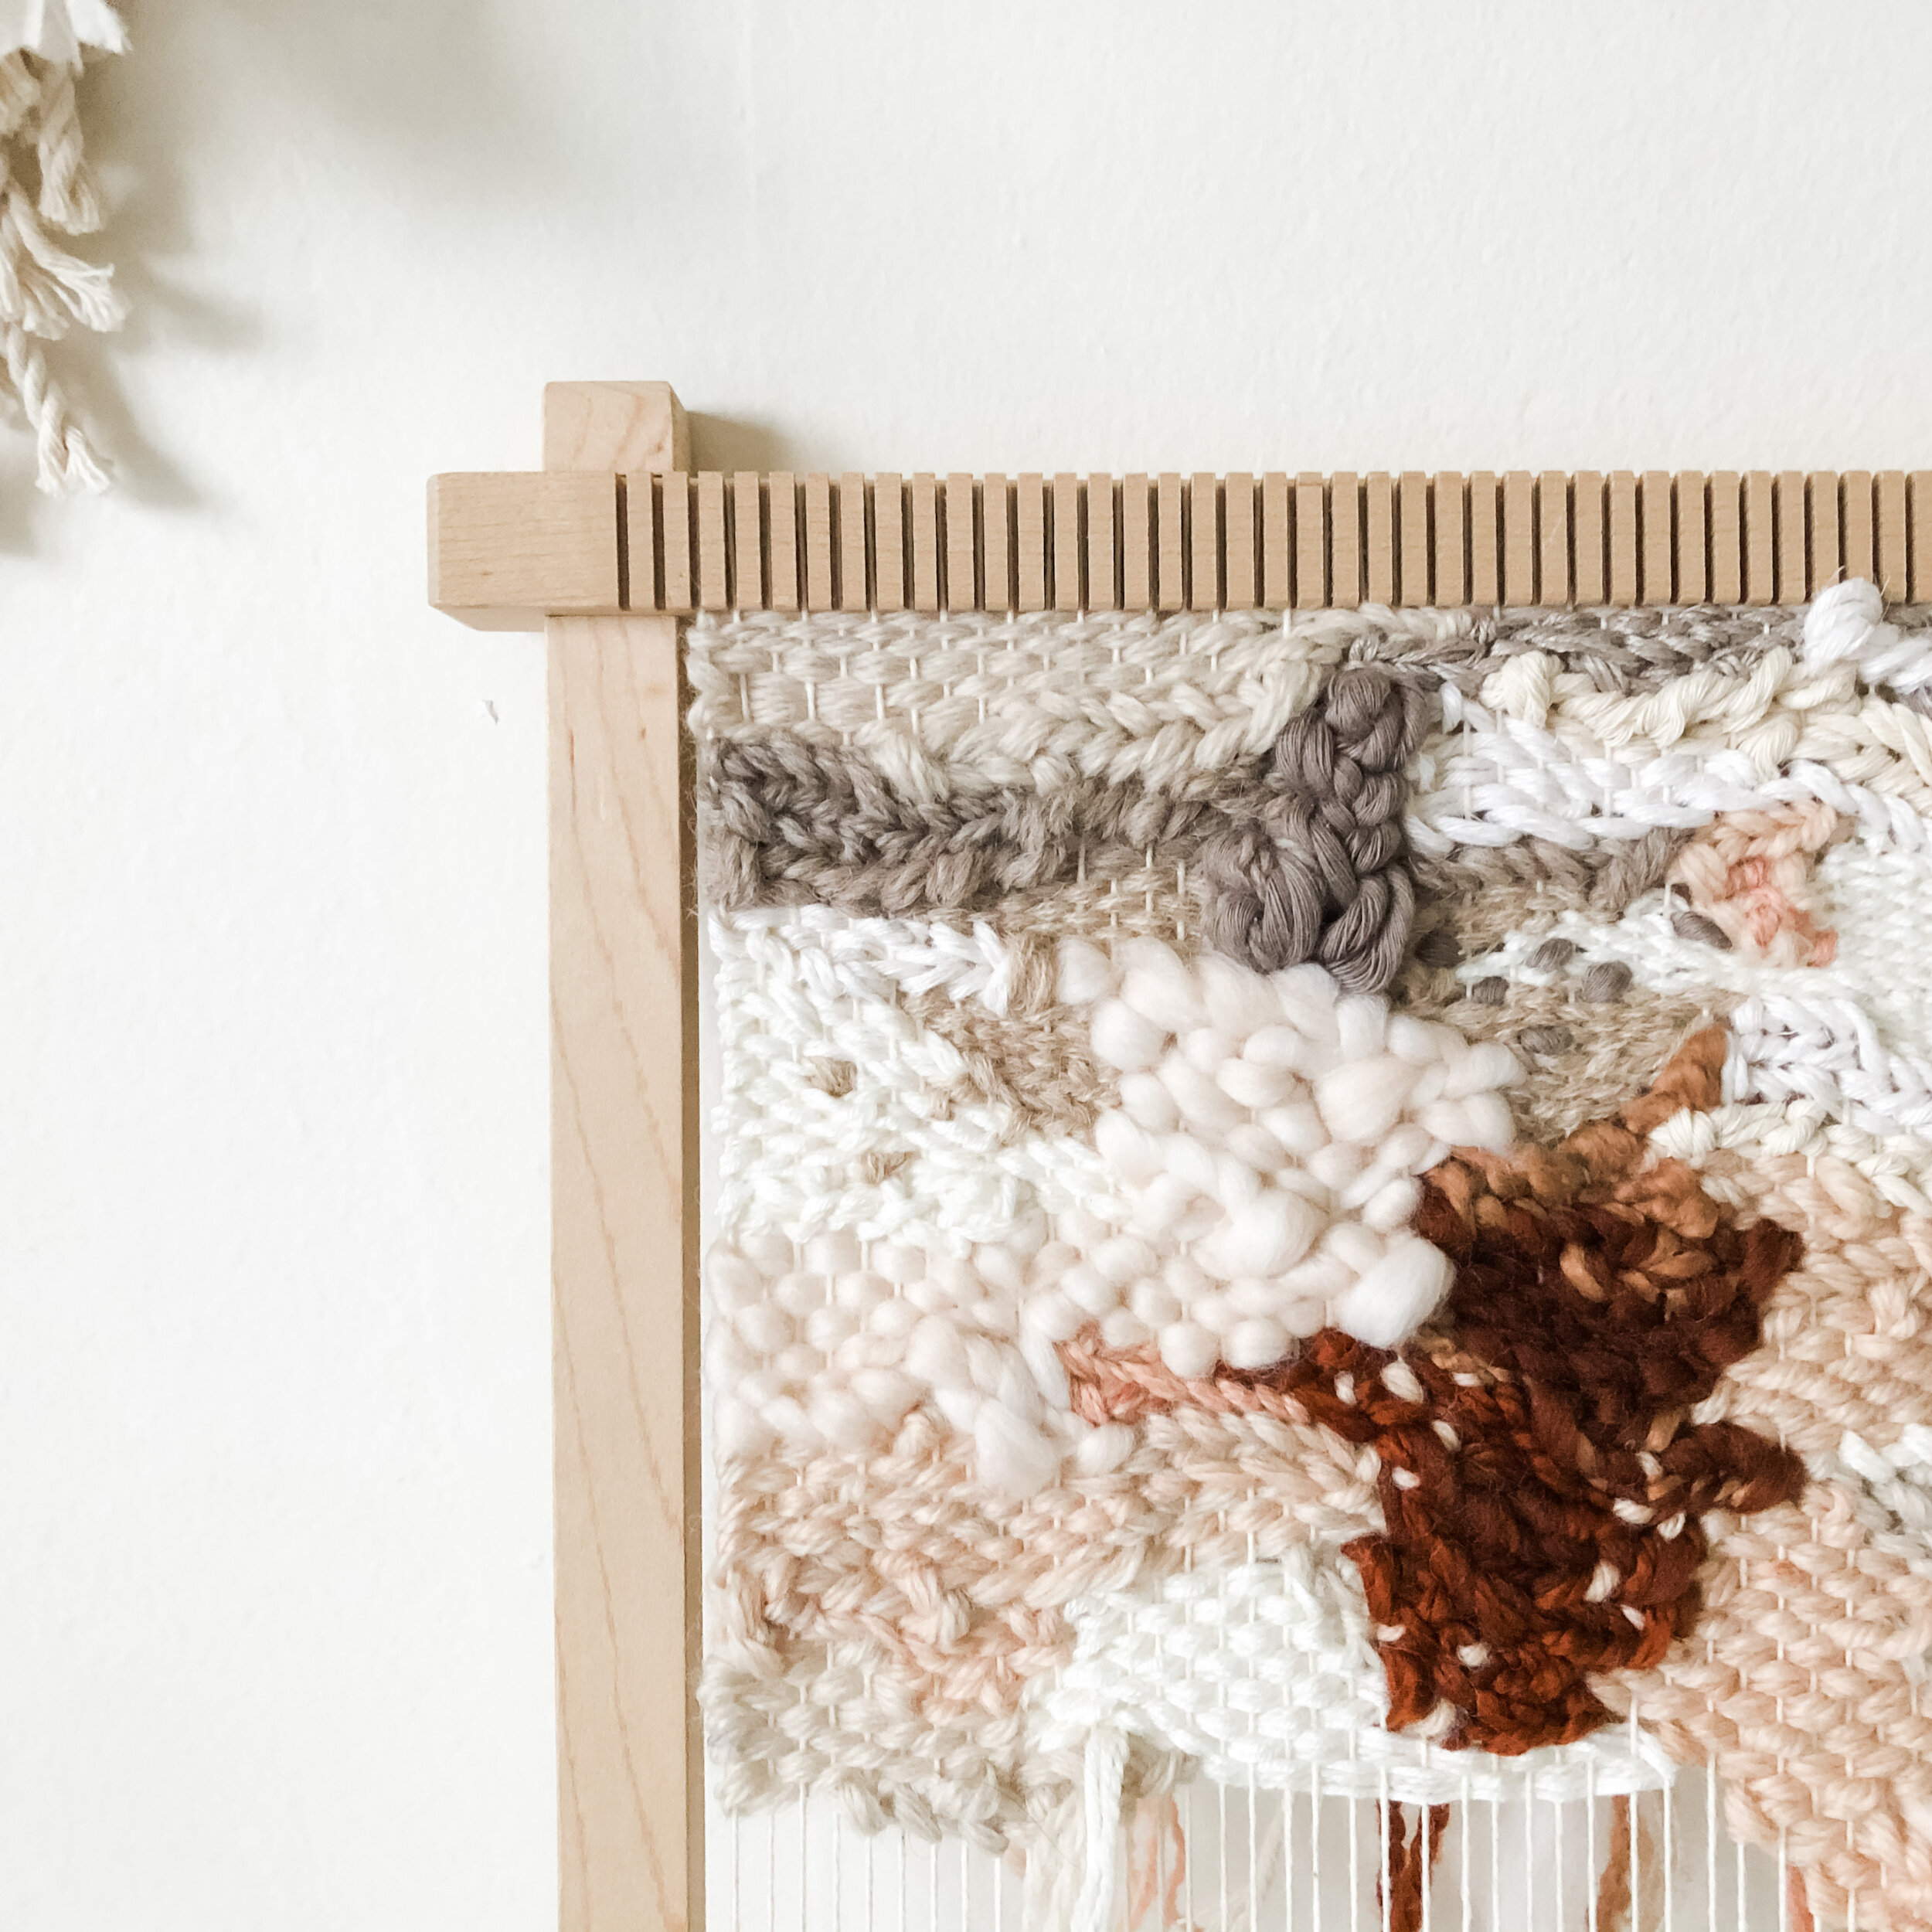
The challenge I gave myself was to weave two of her paintings on two different looms - a table loom first, and a rigid heddle table loom second. I’ve been weaving on a frame loom for the last 4.5 years and only recently (within the last year) started weaving on a rigid heddle loom. A frame loom (often called a tapestry loom) lends itself to a set size and allows for more flexibility for an organic type of weaving. A rigid heddle loom allows for an adjustable size and more intricate patterns can be created on it.
Because of the difference in the textiles that are created on them, I wanted to test what would happen through weaving a similar pair of work on each.
Project planning:
Using my (two) week project planning template, I laid out the two weeks of this project as one weaving per week. It was challenging at times, but it also allowed me to push through the moments in which I often stand back and reflect (or get frustrated) with my work. I didn’t realize how much I needed to spend less time over-thinking in my practice.

Goals:
I established my goals for this project far before even getting started. It was obvious- I wanted to learn and understand so much from this project!
They are:
Understand how colors and textures vary between painting and weaving. ✔︎
Interpret how the motion of painting feels on a loom. ✔︎
How to better blend color, layer colors, etc. ✔︎
Identify similarities or differences in style and texture between the looms. ♡

The palette represented the beauty of Joshua Tree National Park - all of these colors were chosen not only to compliment Sarah Delaney’s work, but also from my memory and time spent in the park.
Details:
project type \\ weaving (using 2 different types of looms)
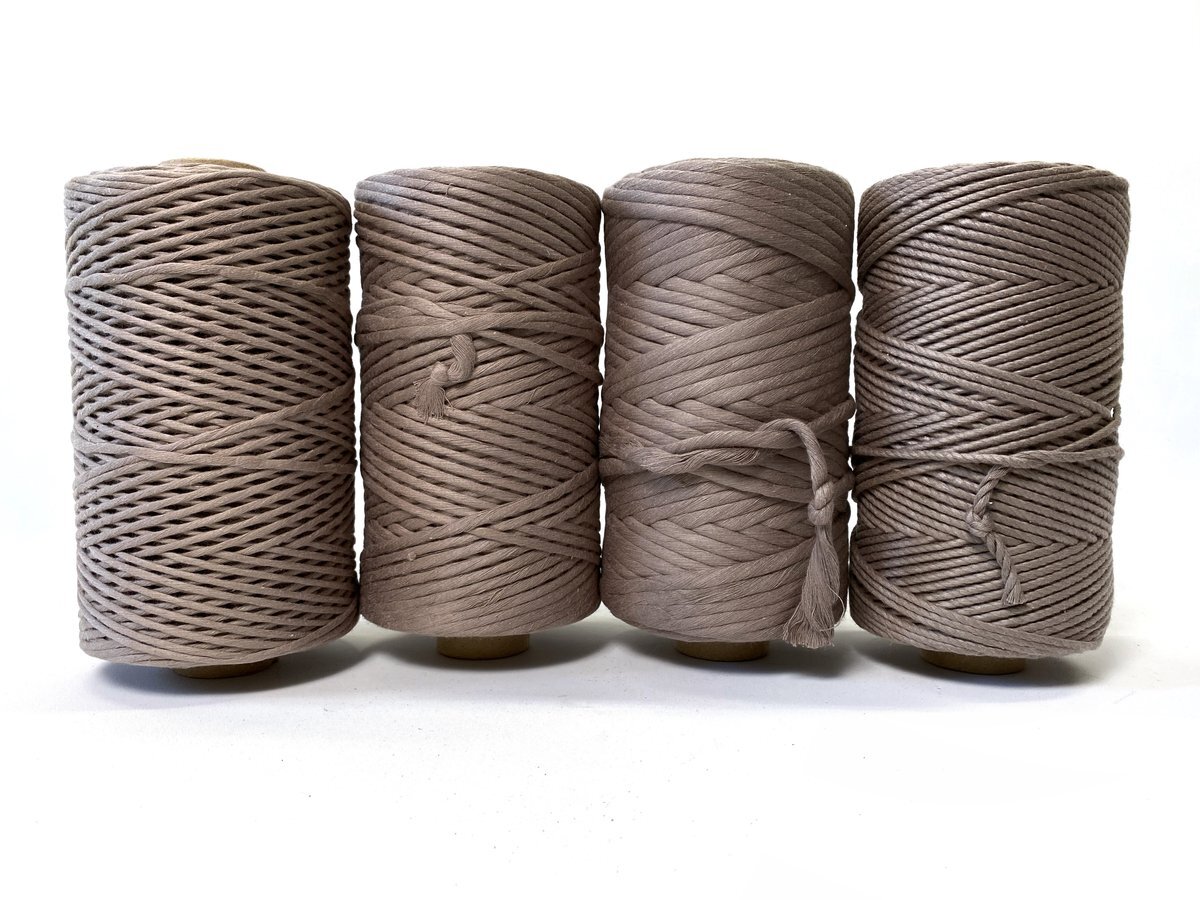
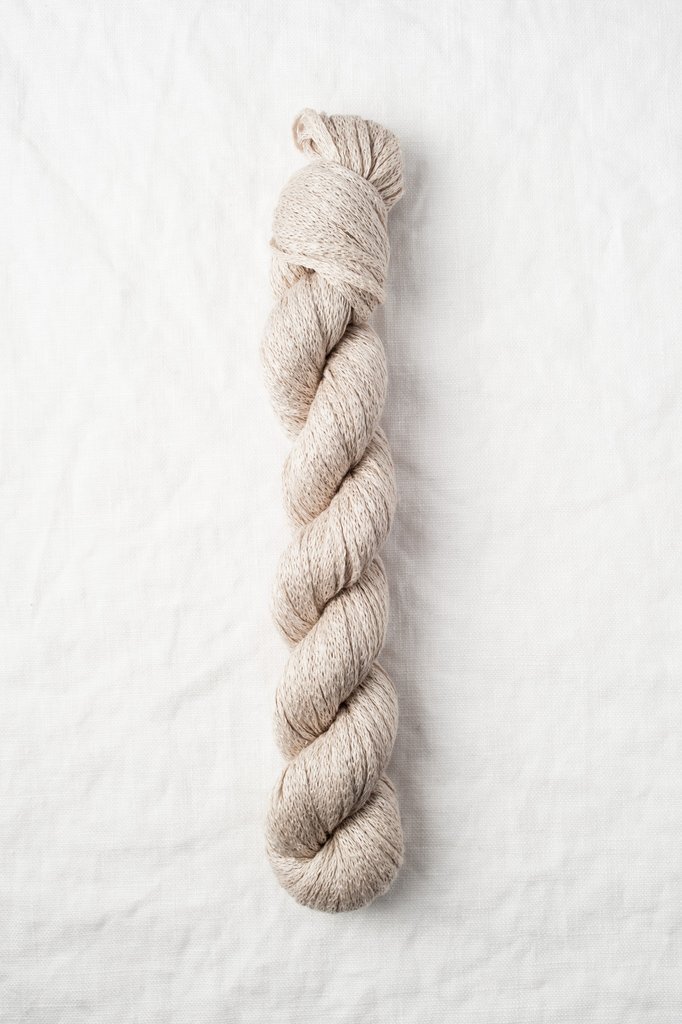
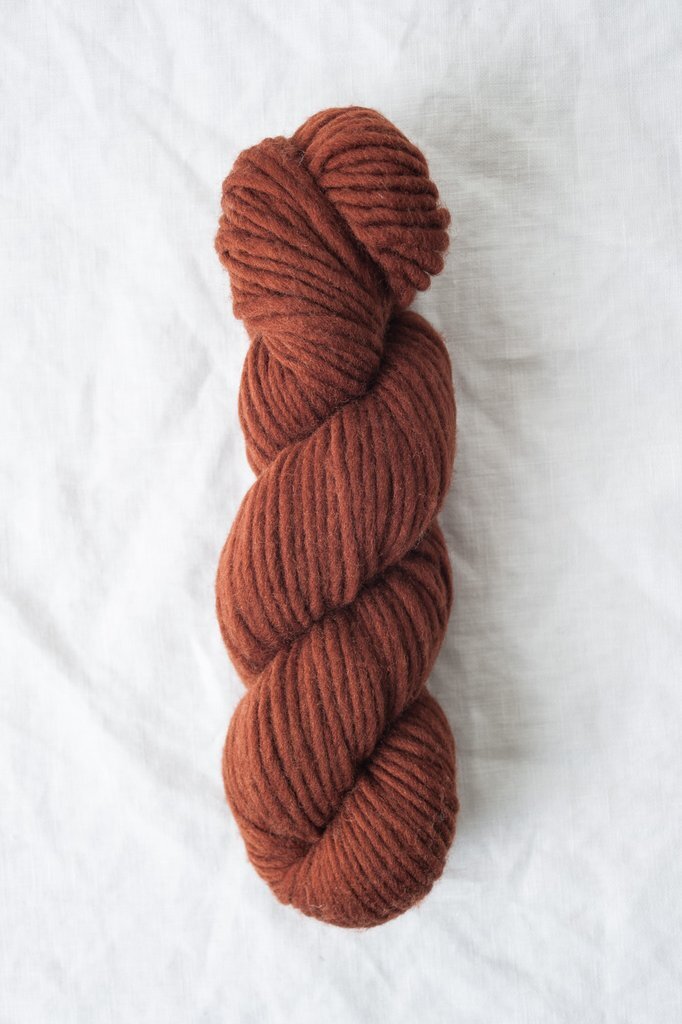
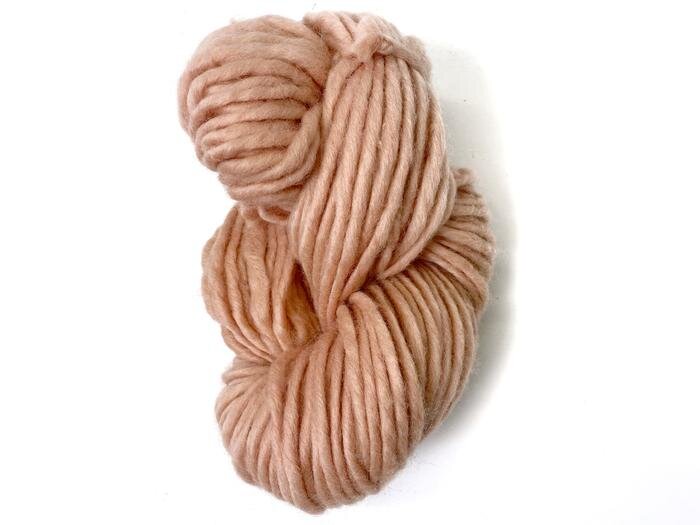
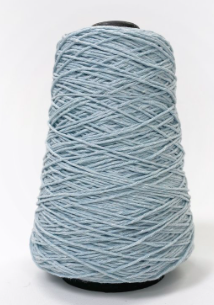
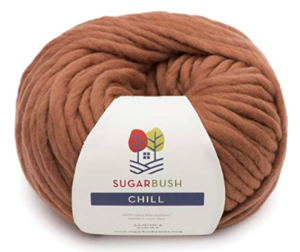
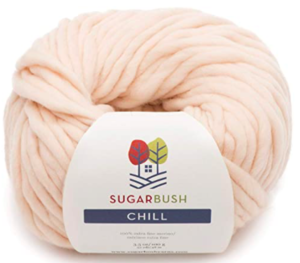
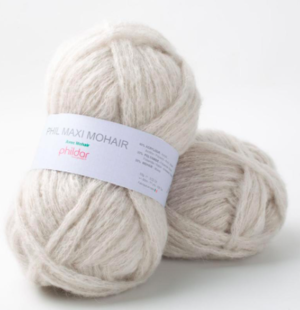
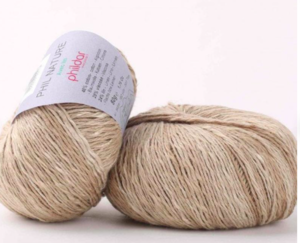
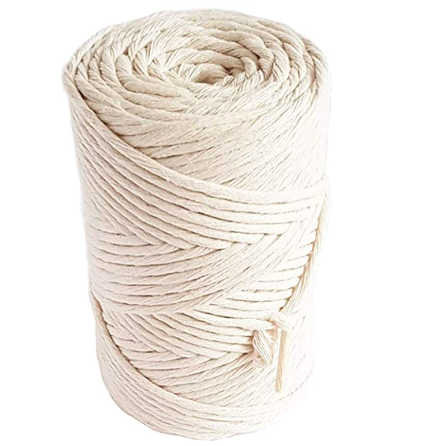
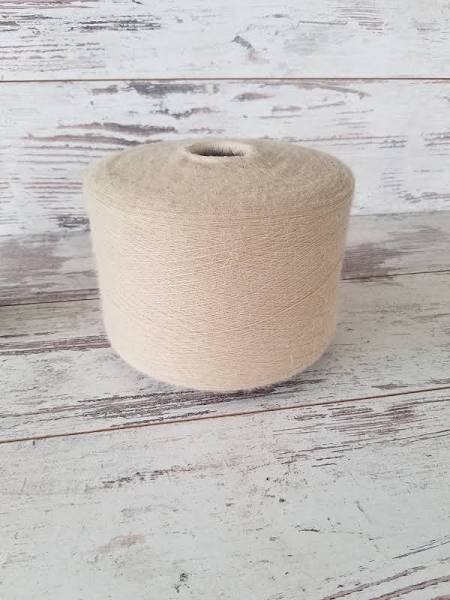
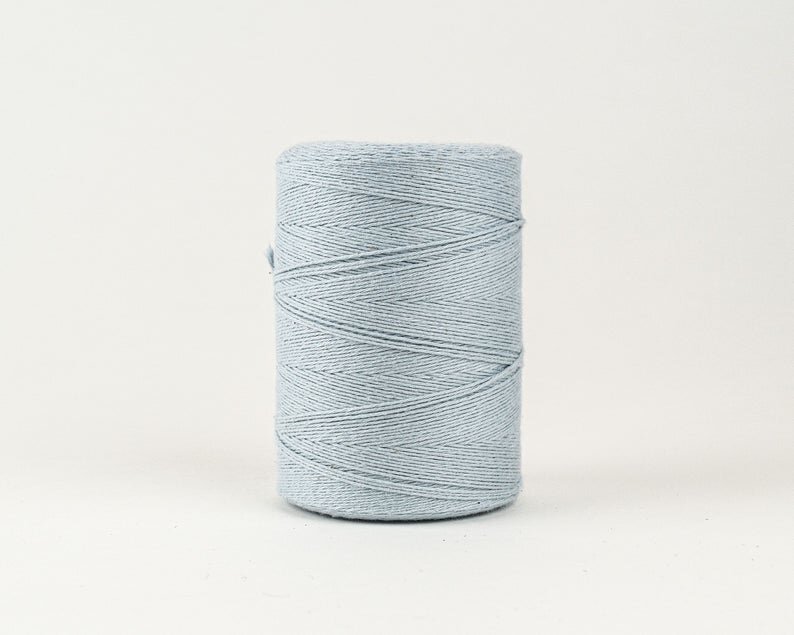
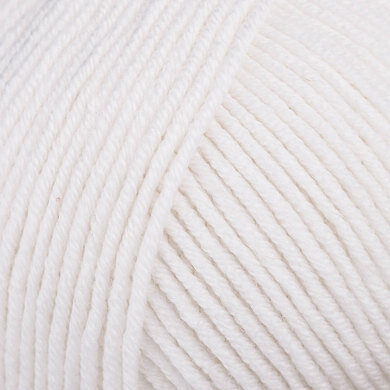
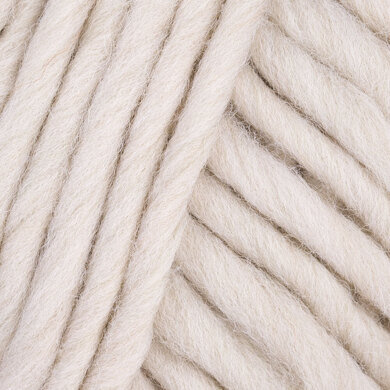
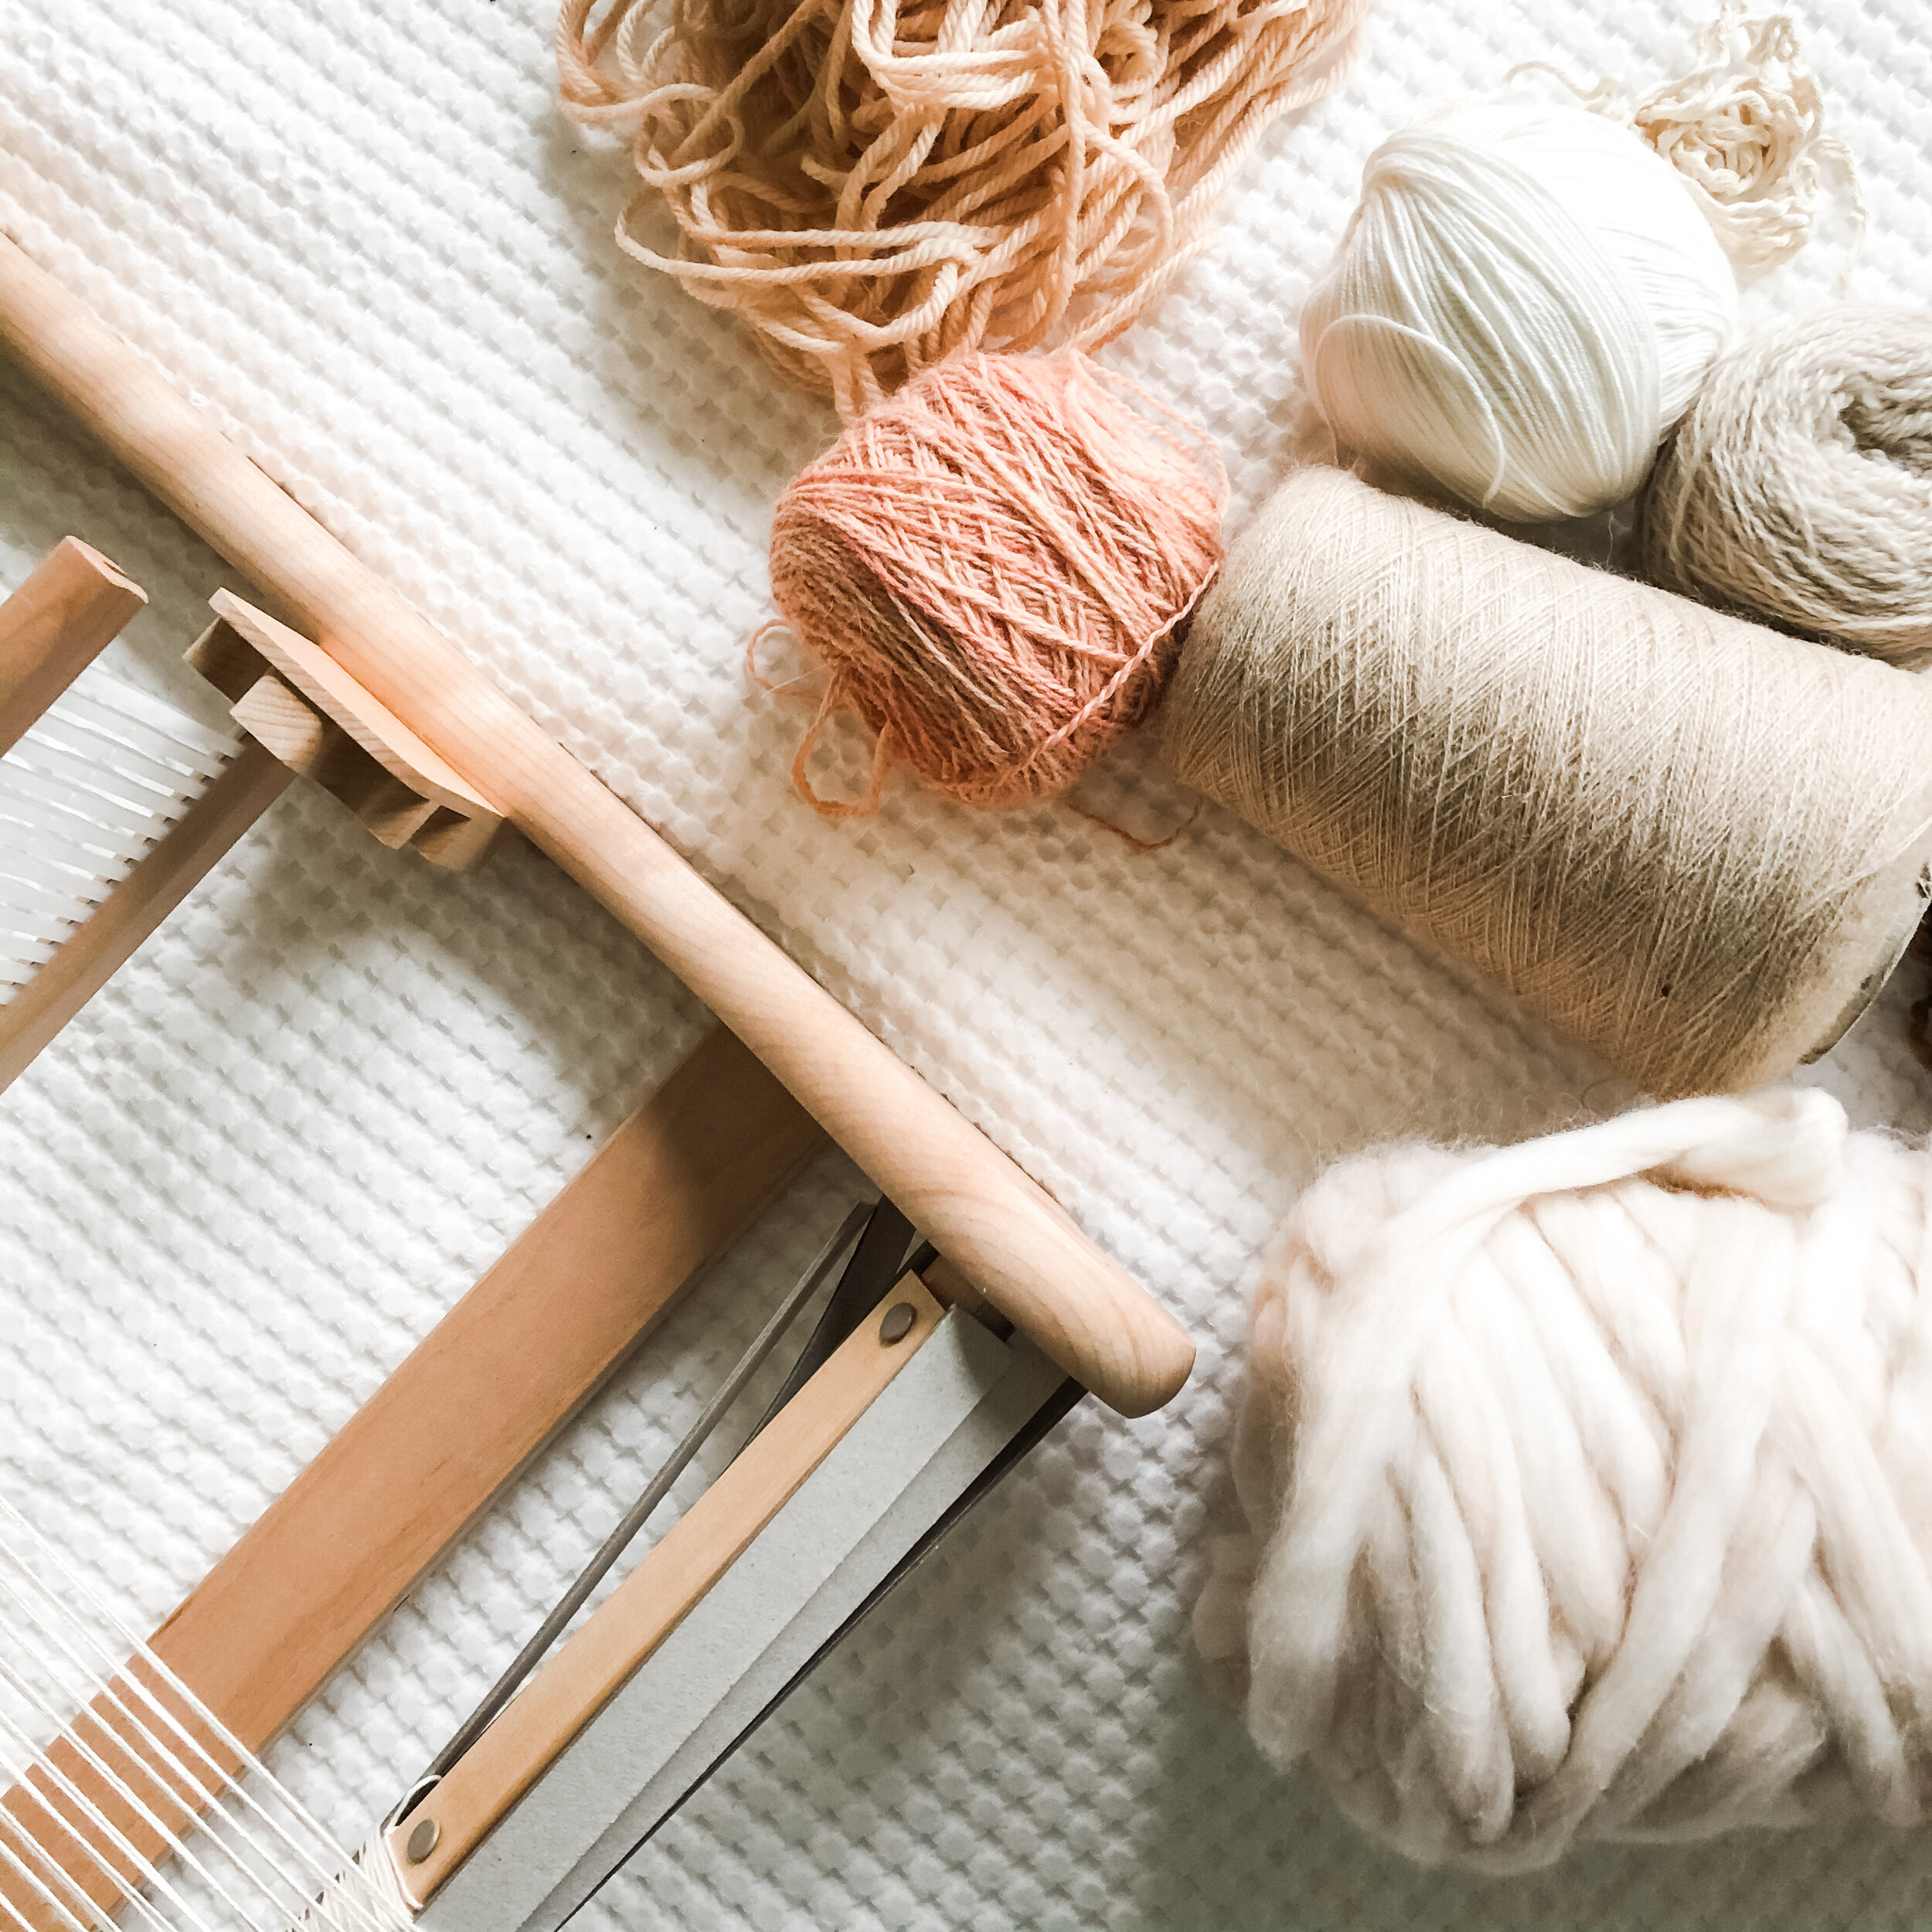
materials \\ *various fiber and string, warping string
tools \\ frame loom, **24” rigid heddle loom (warp was only ~18” wide), steel tapestry needle, **wooden shuttle, wooden weaving needle, tracing paper, pens
estimated hours \\ ~15hr/weaving
*see below for links to some of the goods ;)
** use HOUSEWEAVING for 10% off your purchase (can only be used once)


Process:
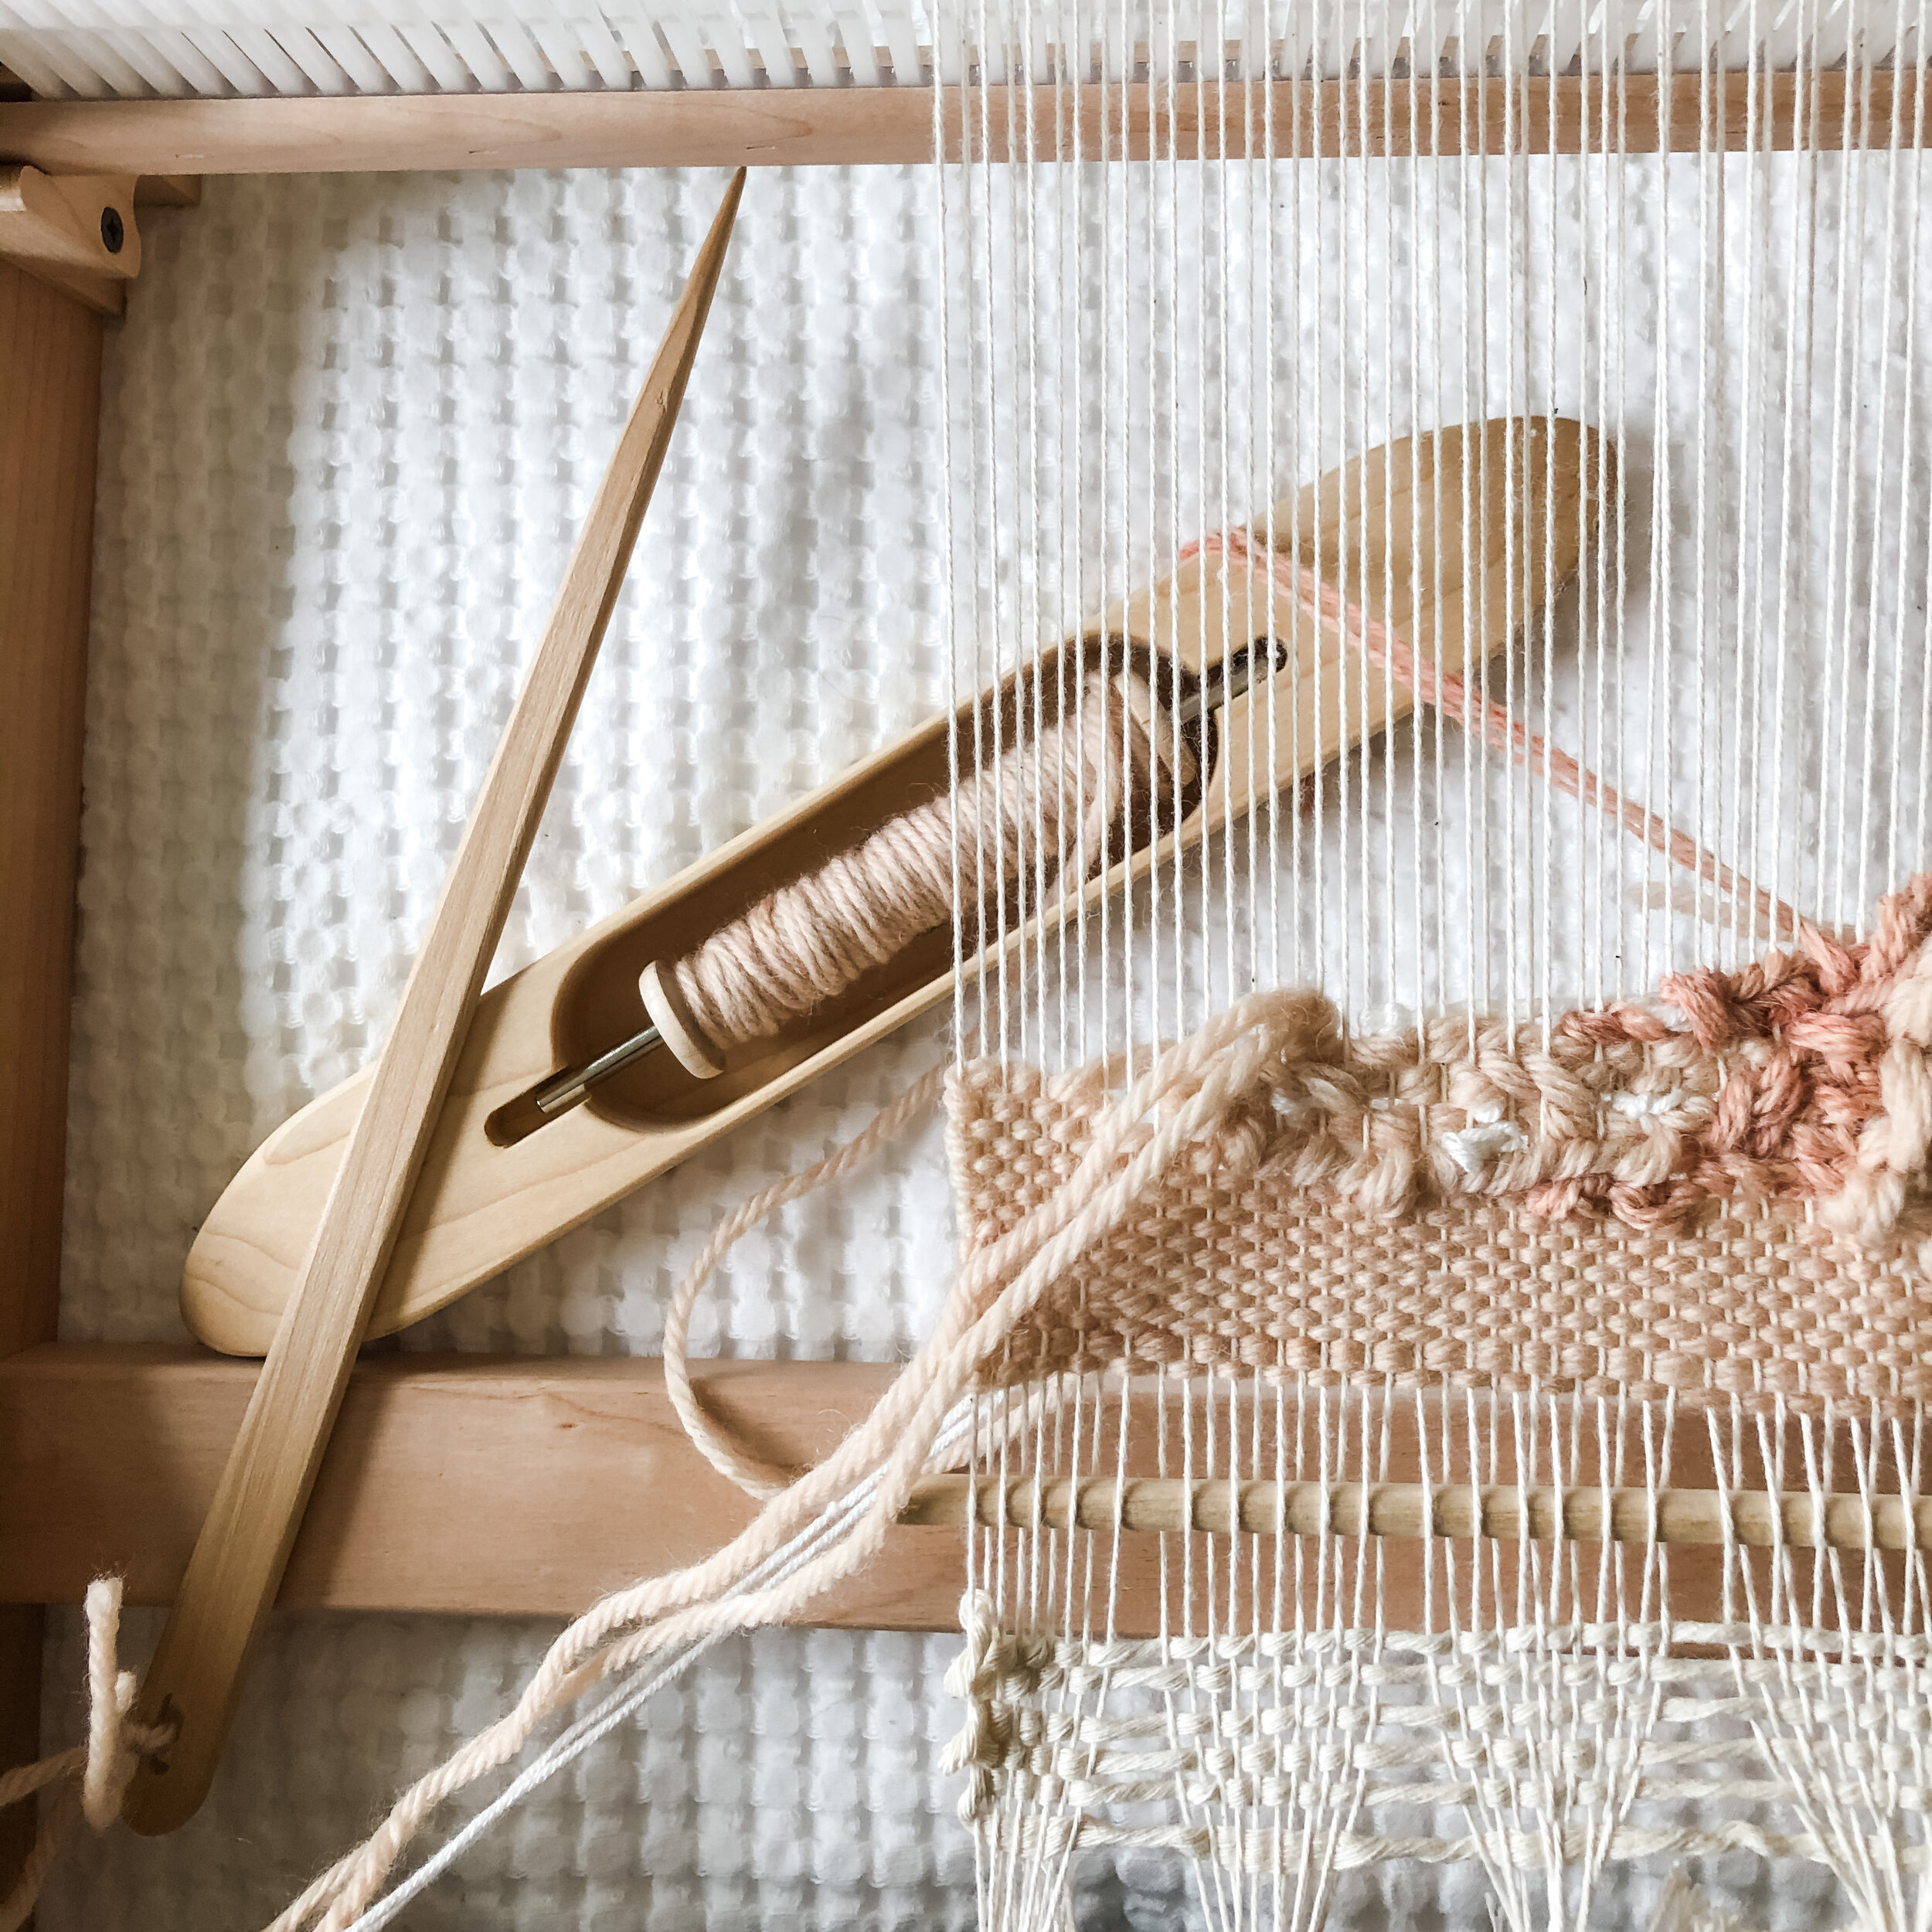
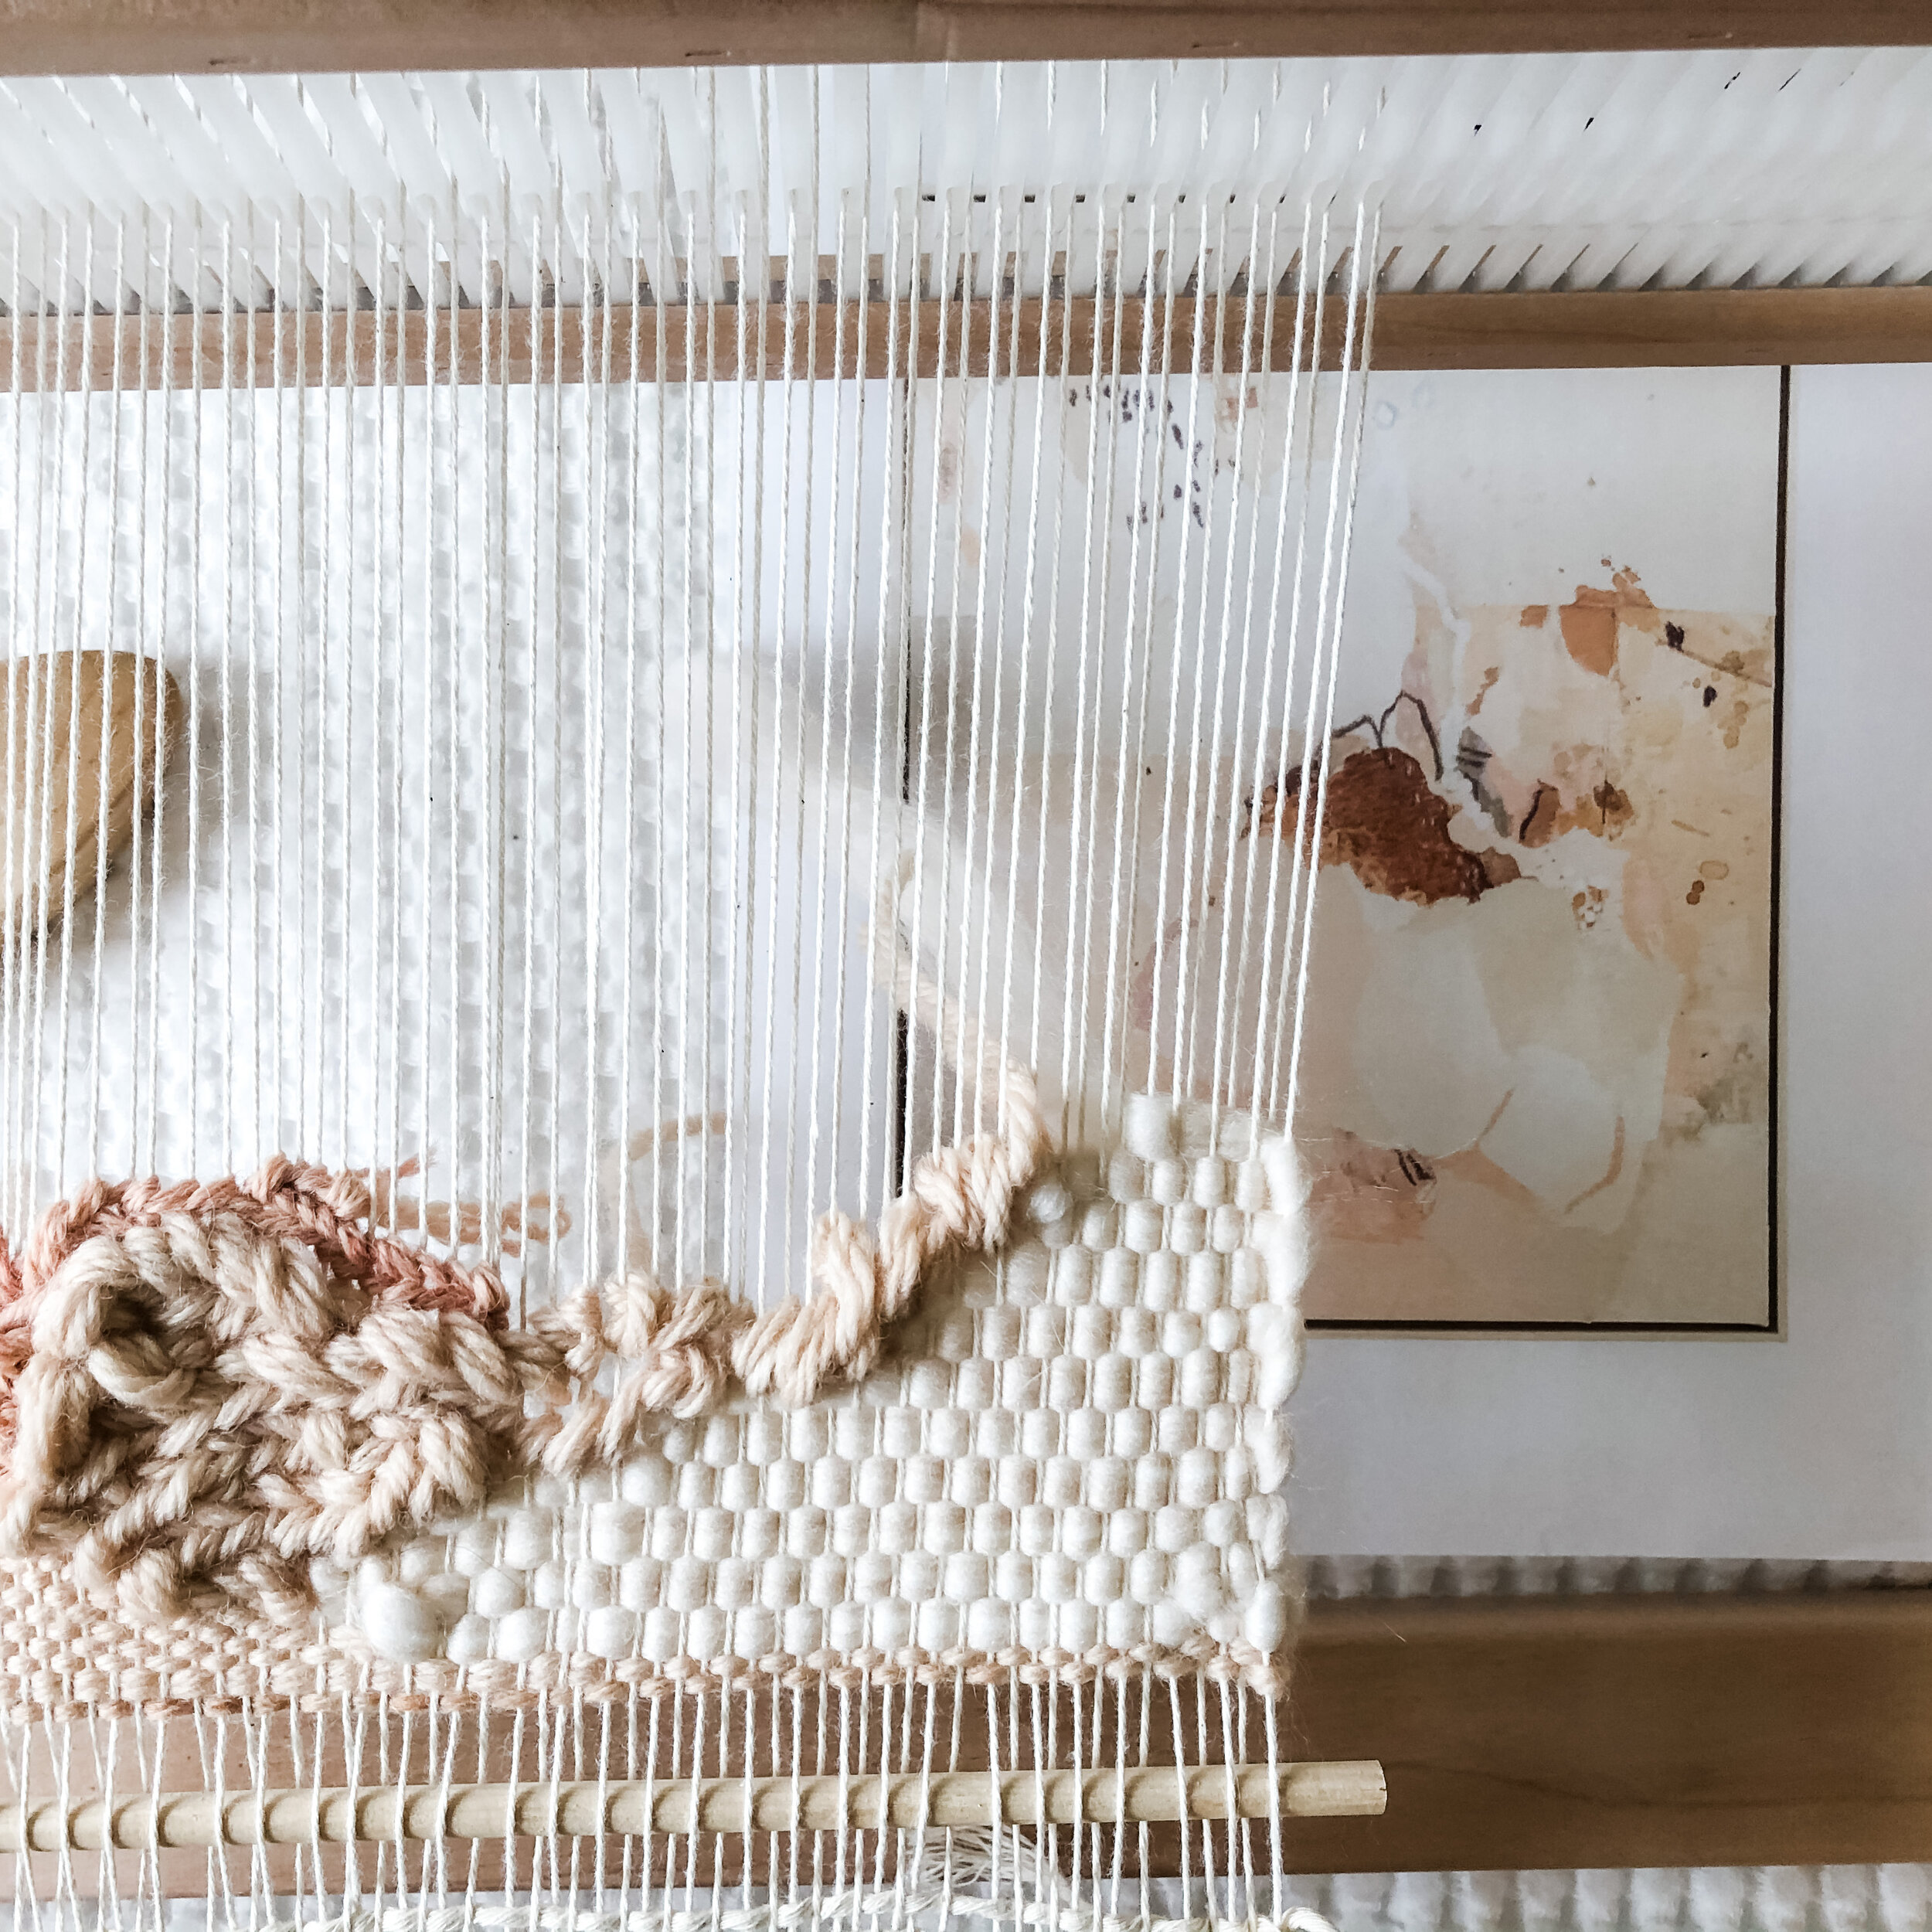
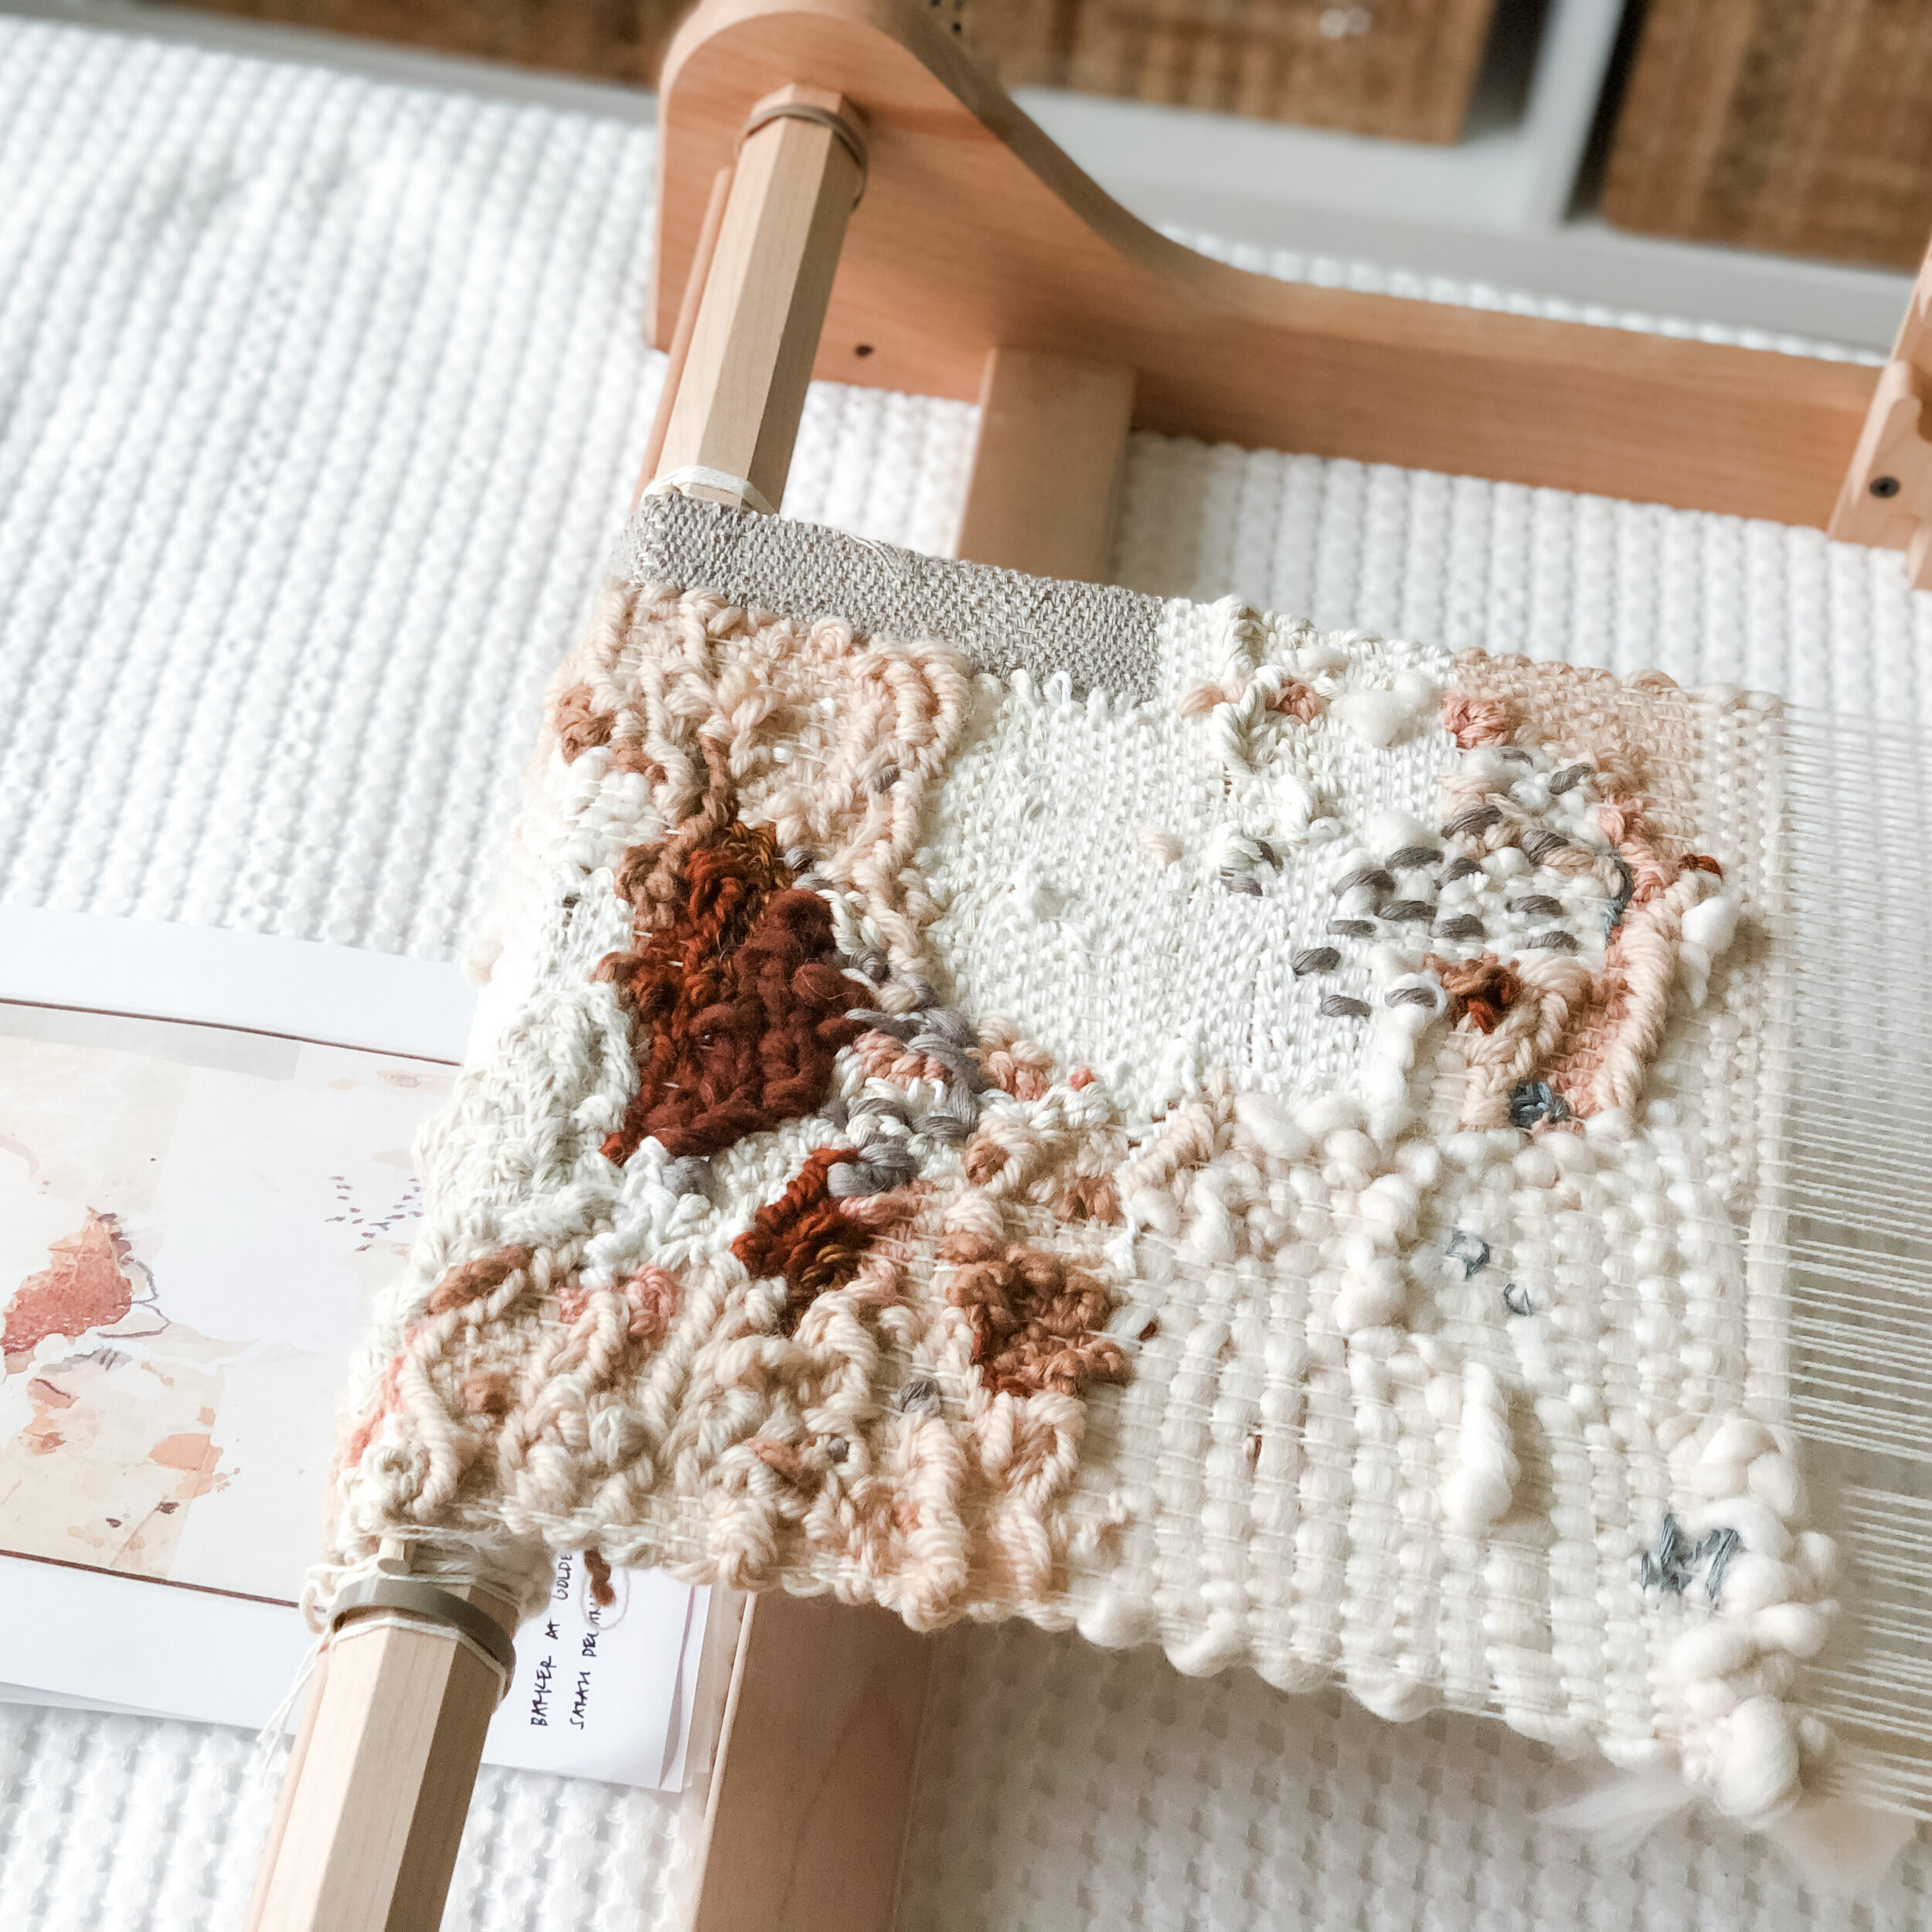
I started this process by printing Sarah Delaney’s paintings and sketching over them using tracing paper. I wanted to identify how I’d translate the textures and colors of the paintings into woven form. What weaving techniques would be used for the brighter colors? The gradients? The lines of color? Sketching over them allowed me to understand where I naturally felt inclined to provide, for example, higher pile (more texture) and then how that would be possible on either of the looms.

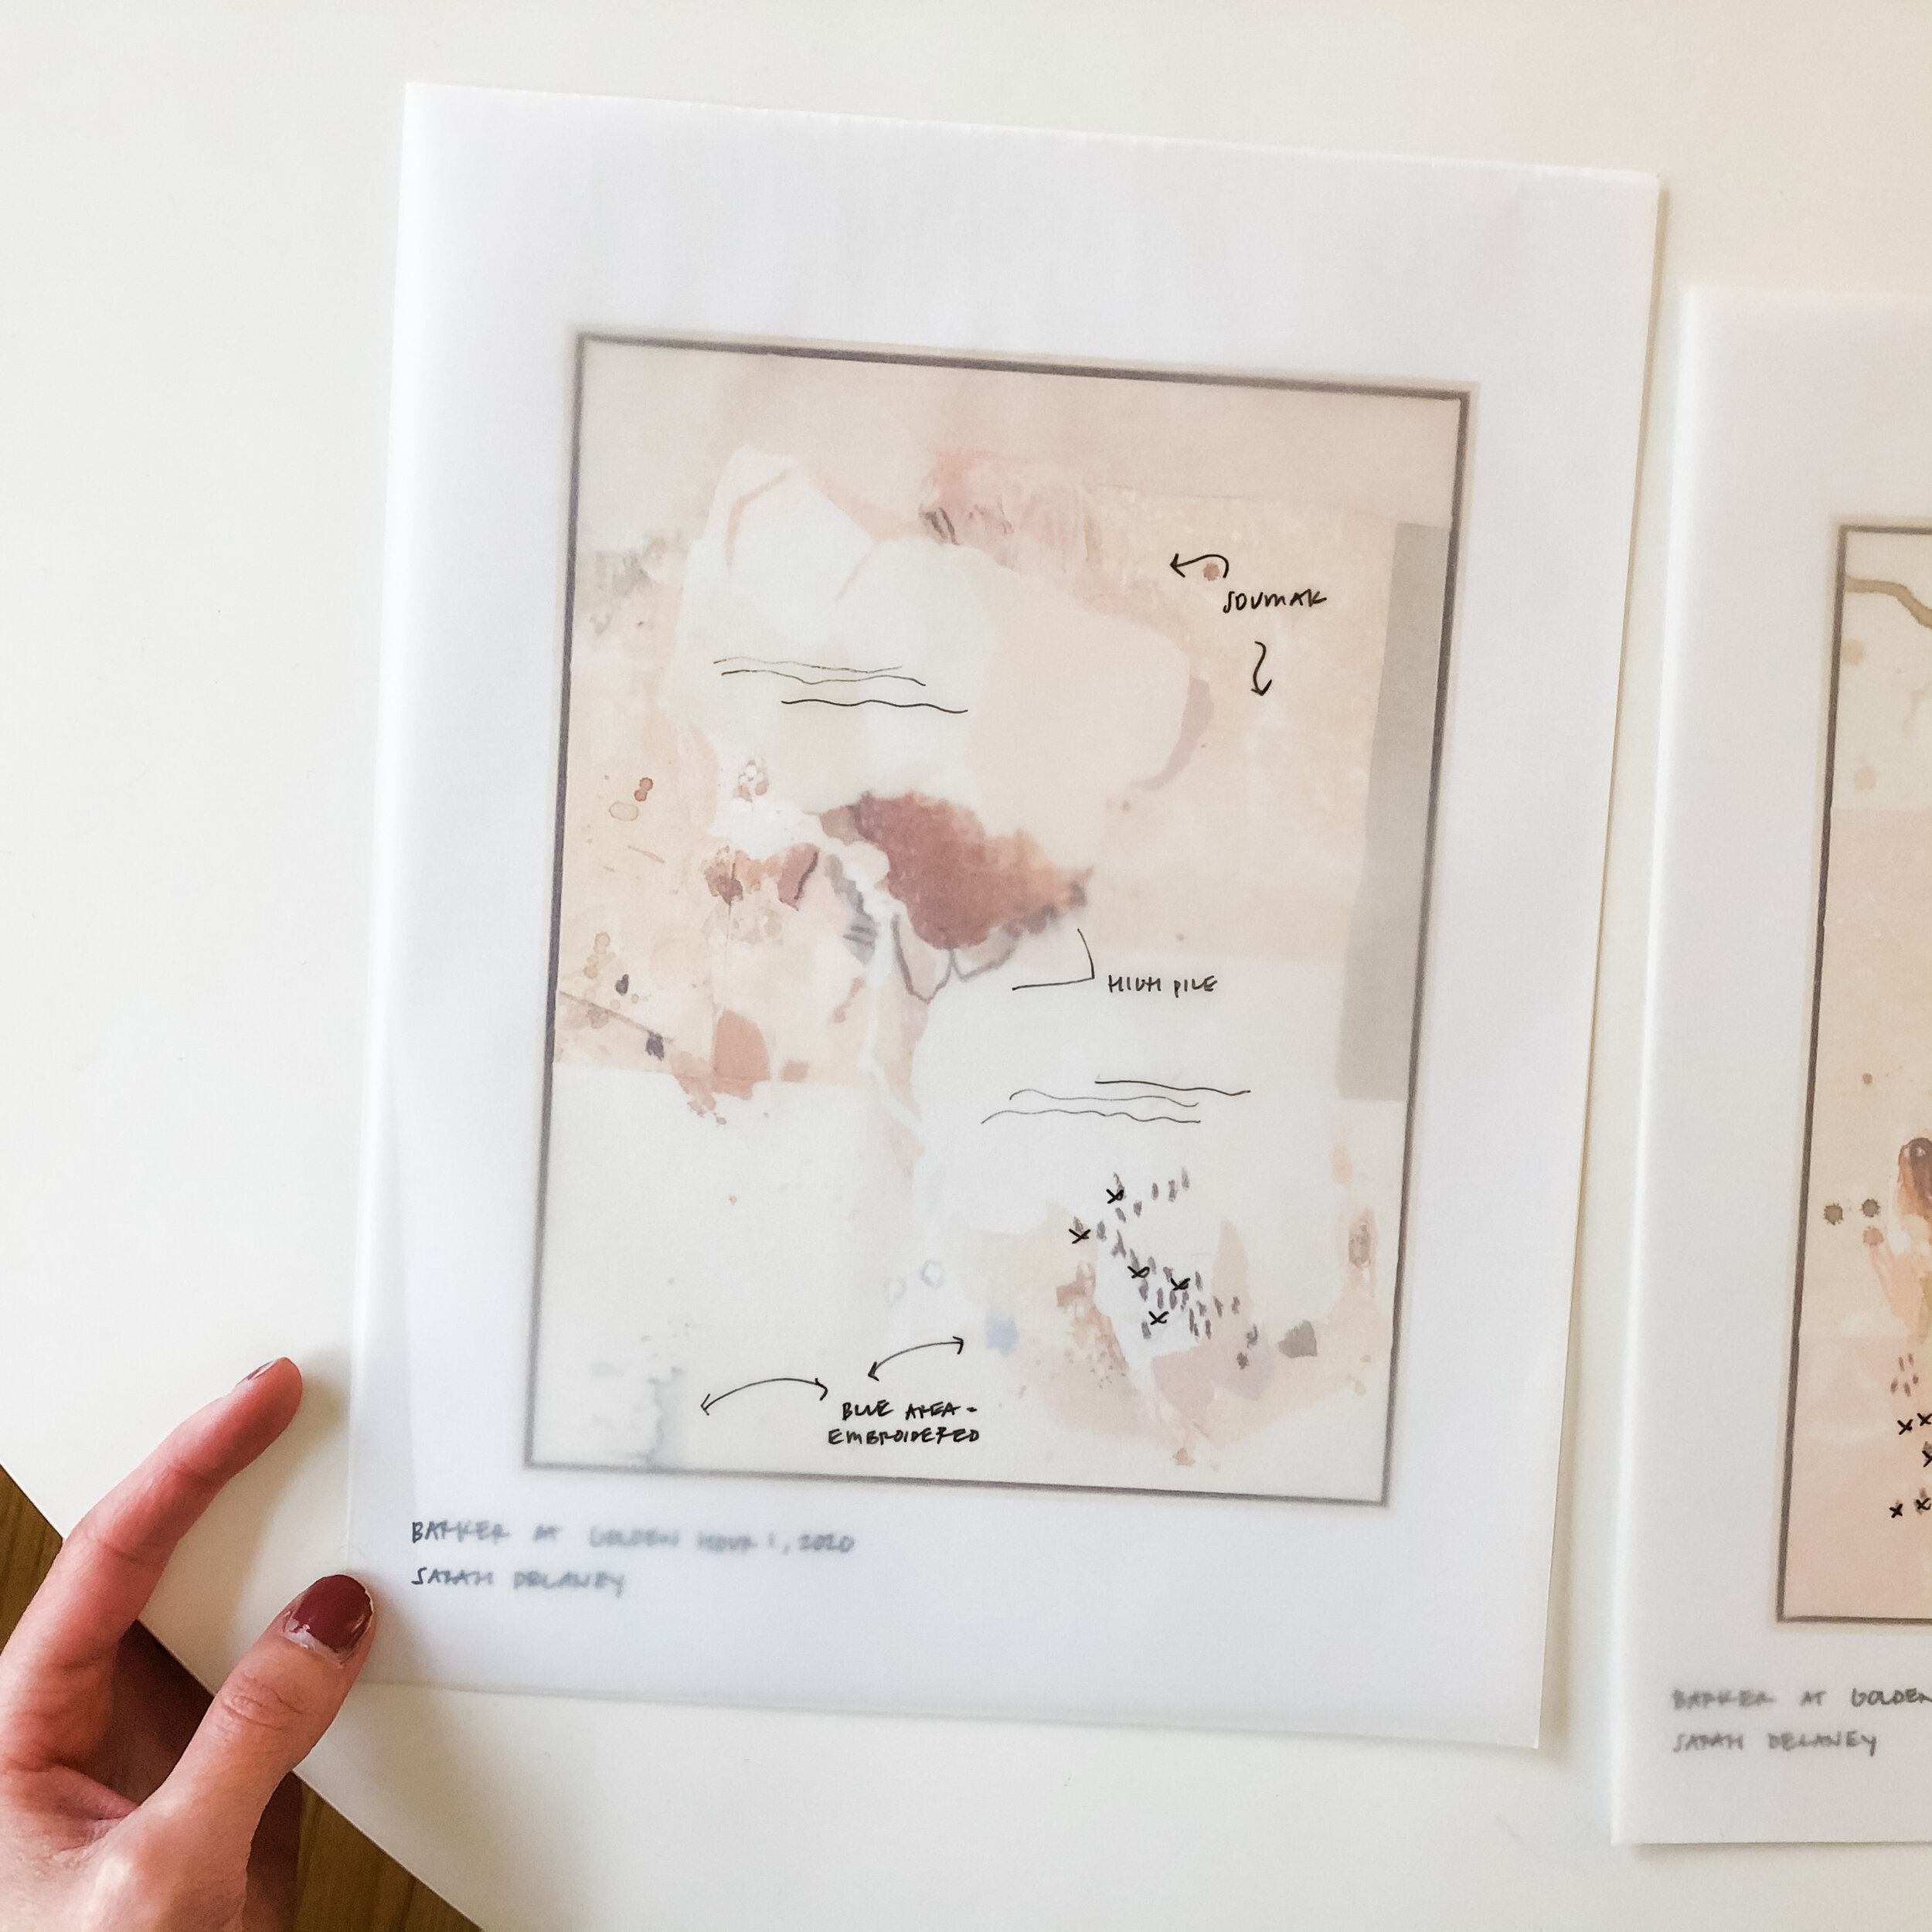

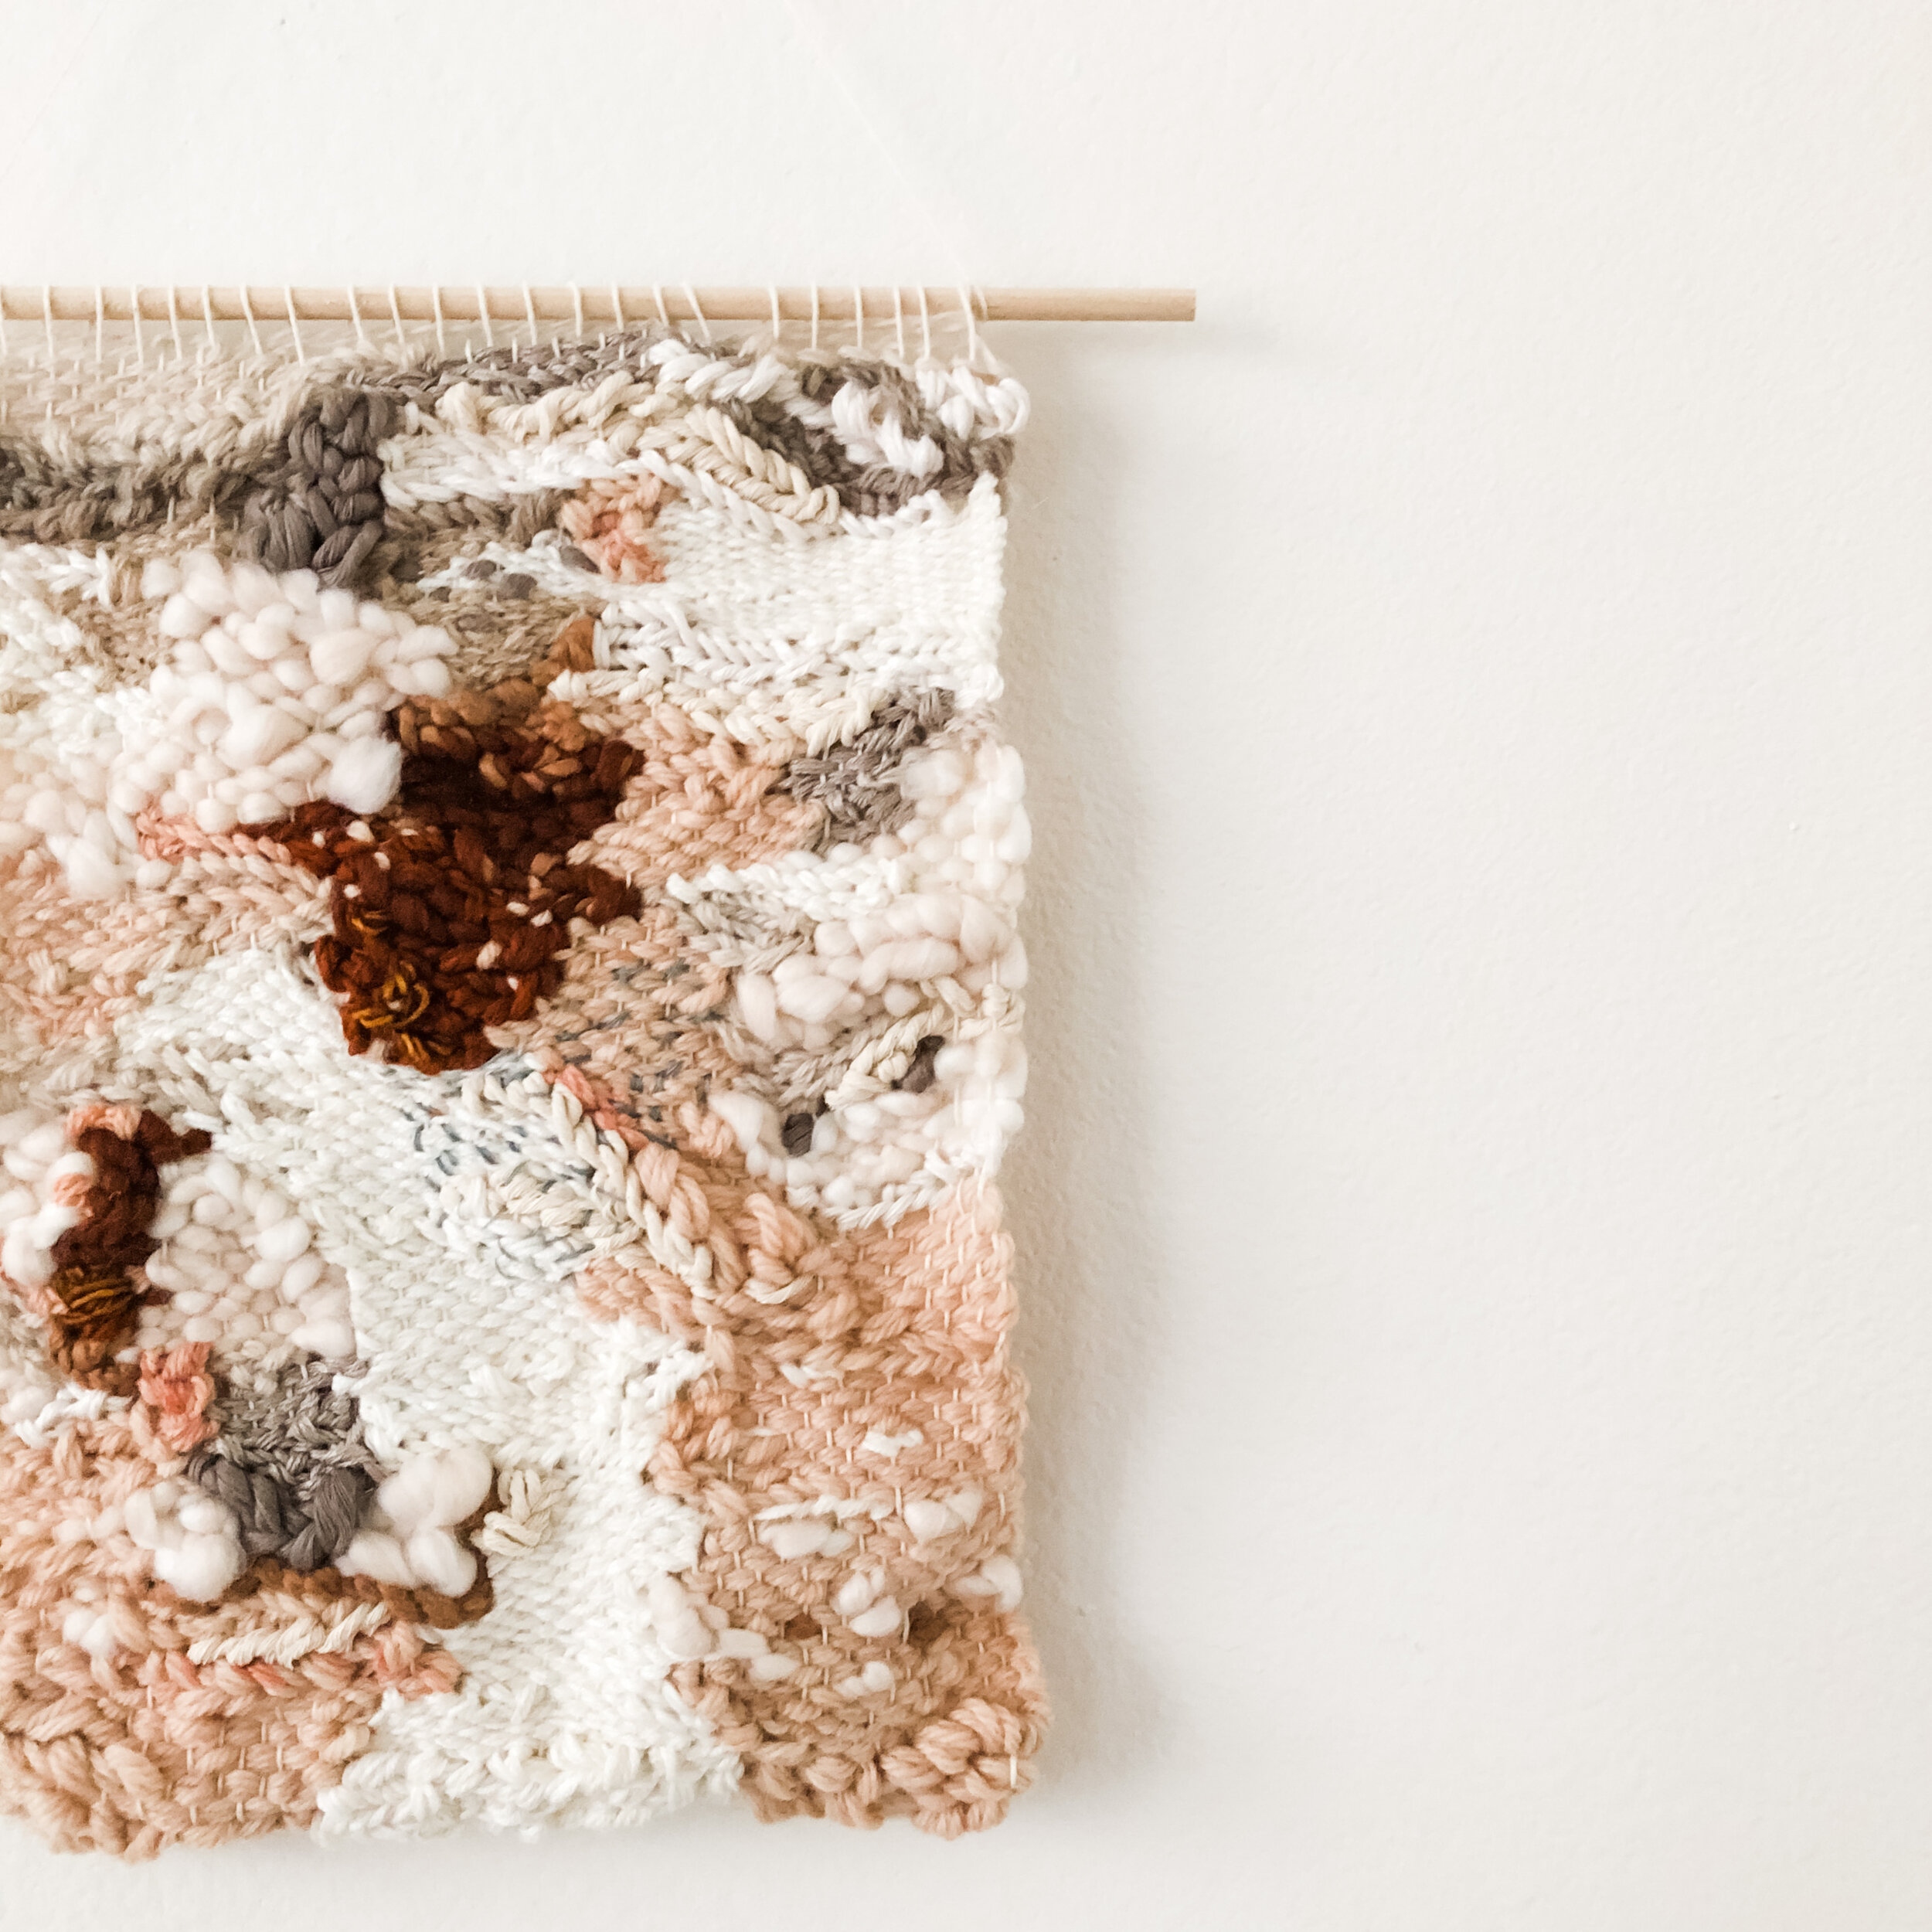
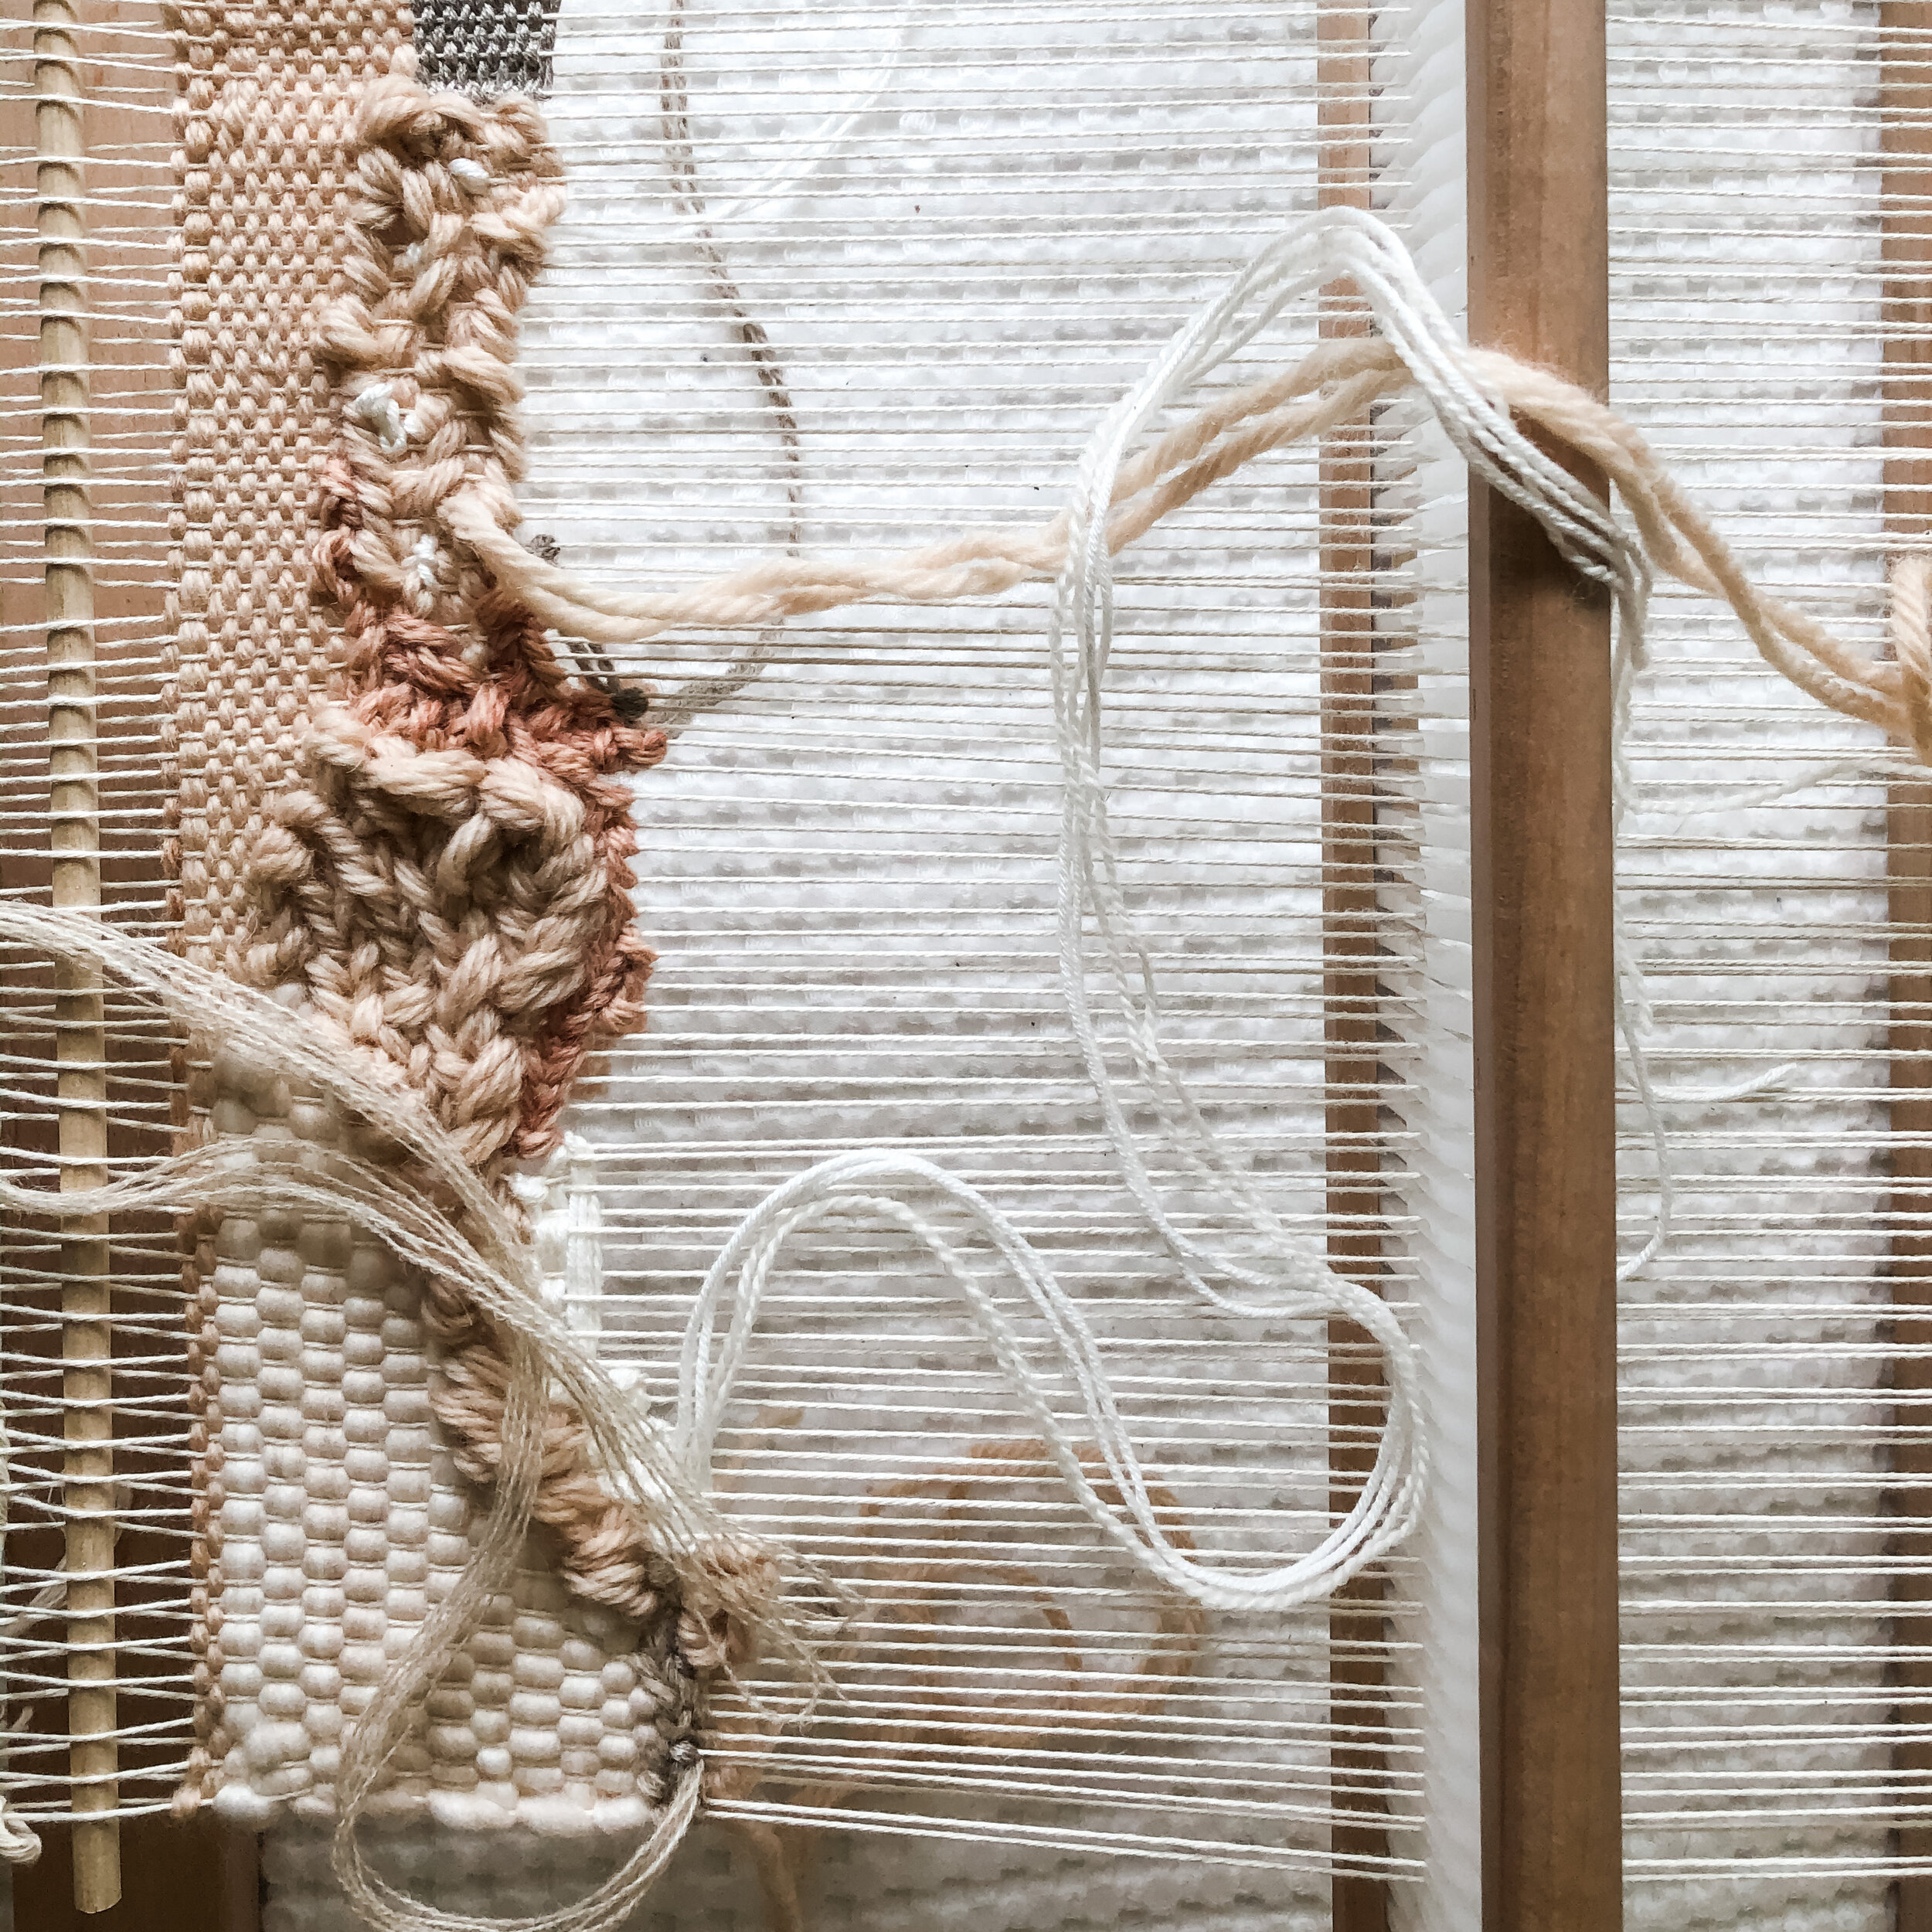
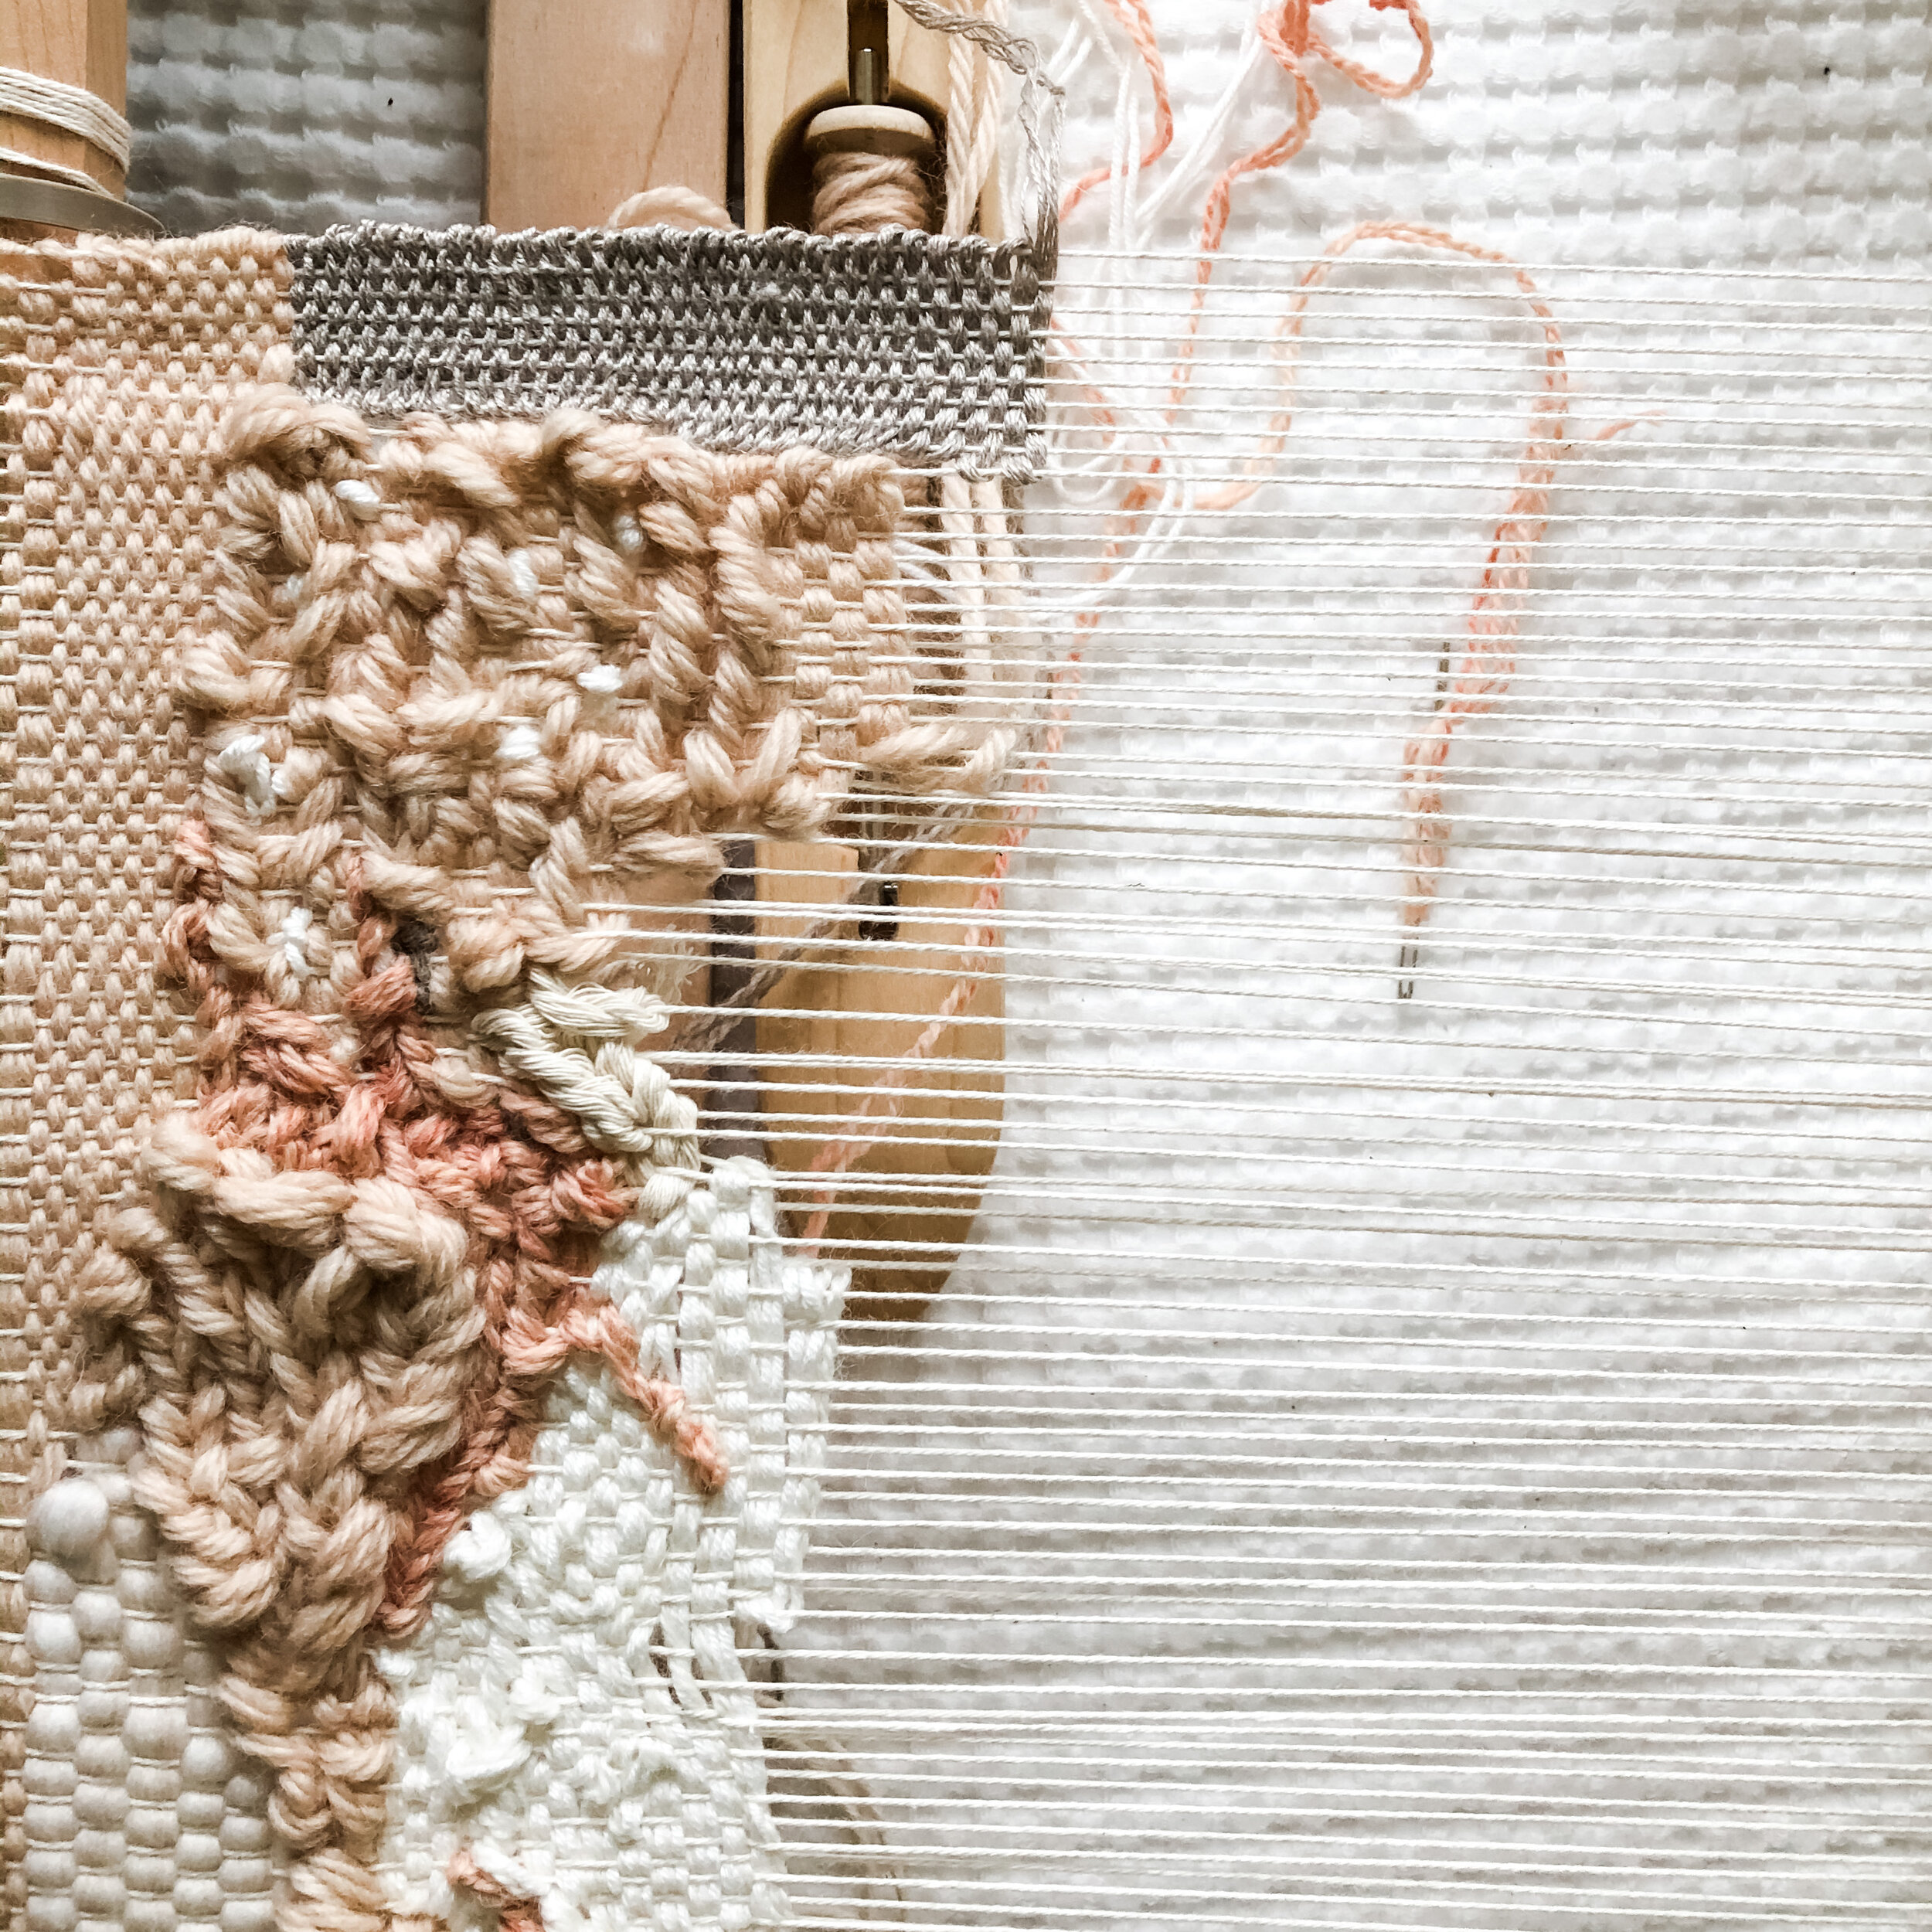
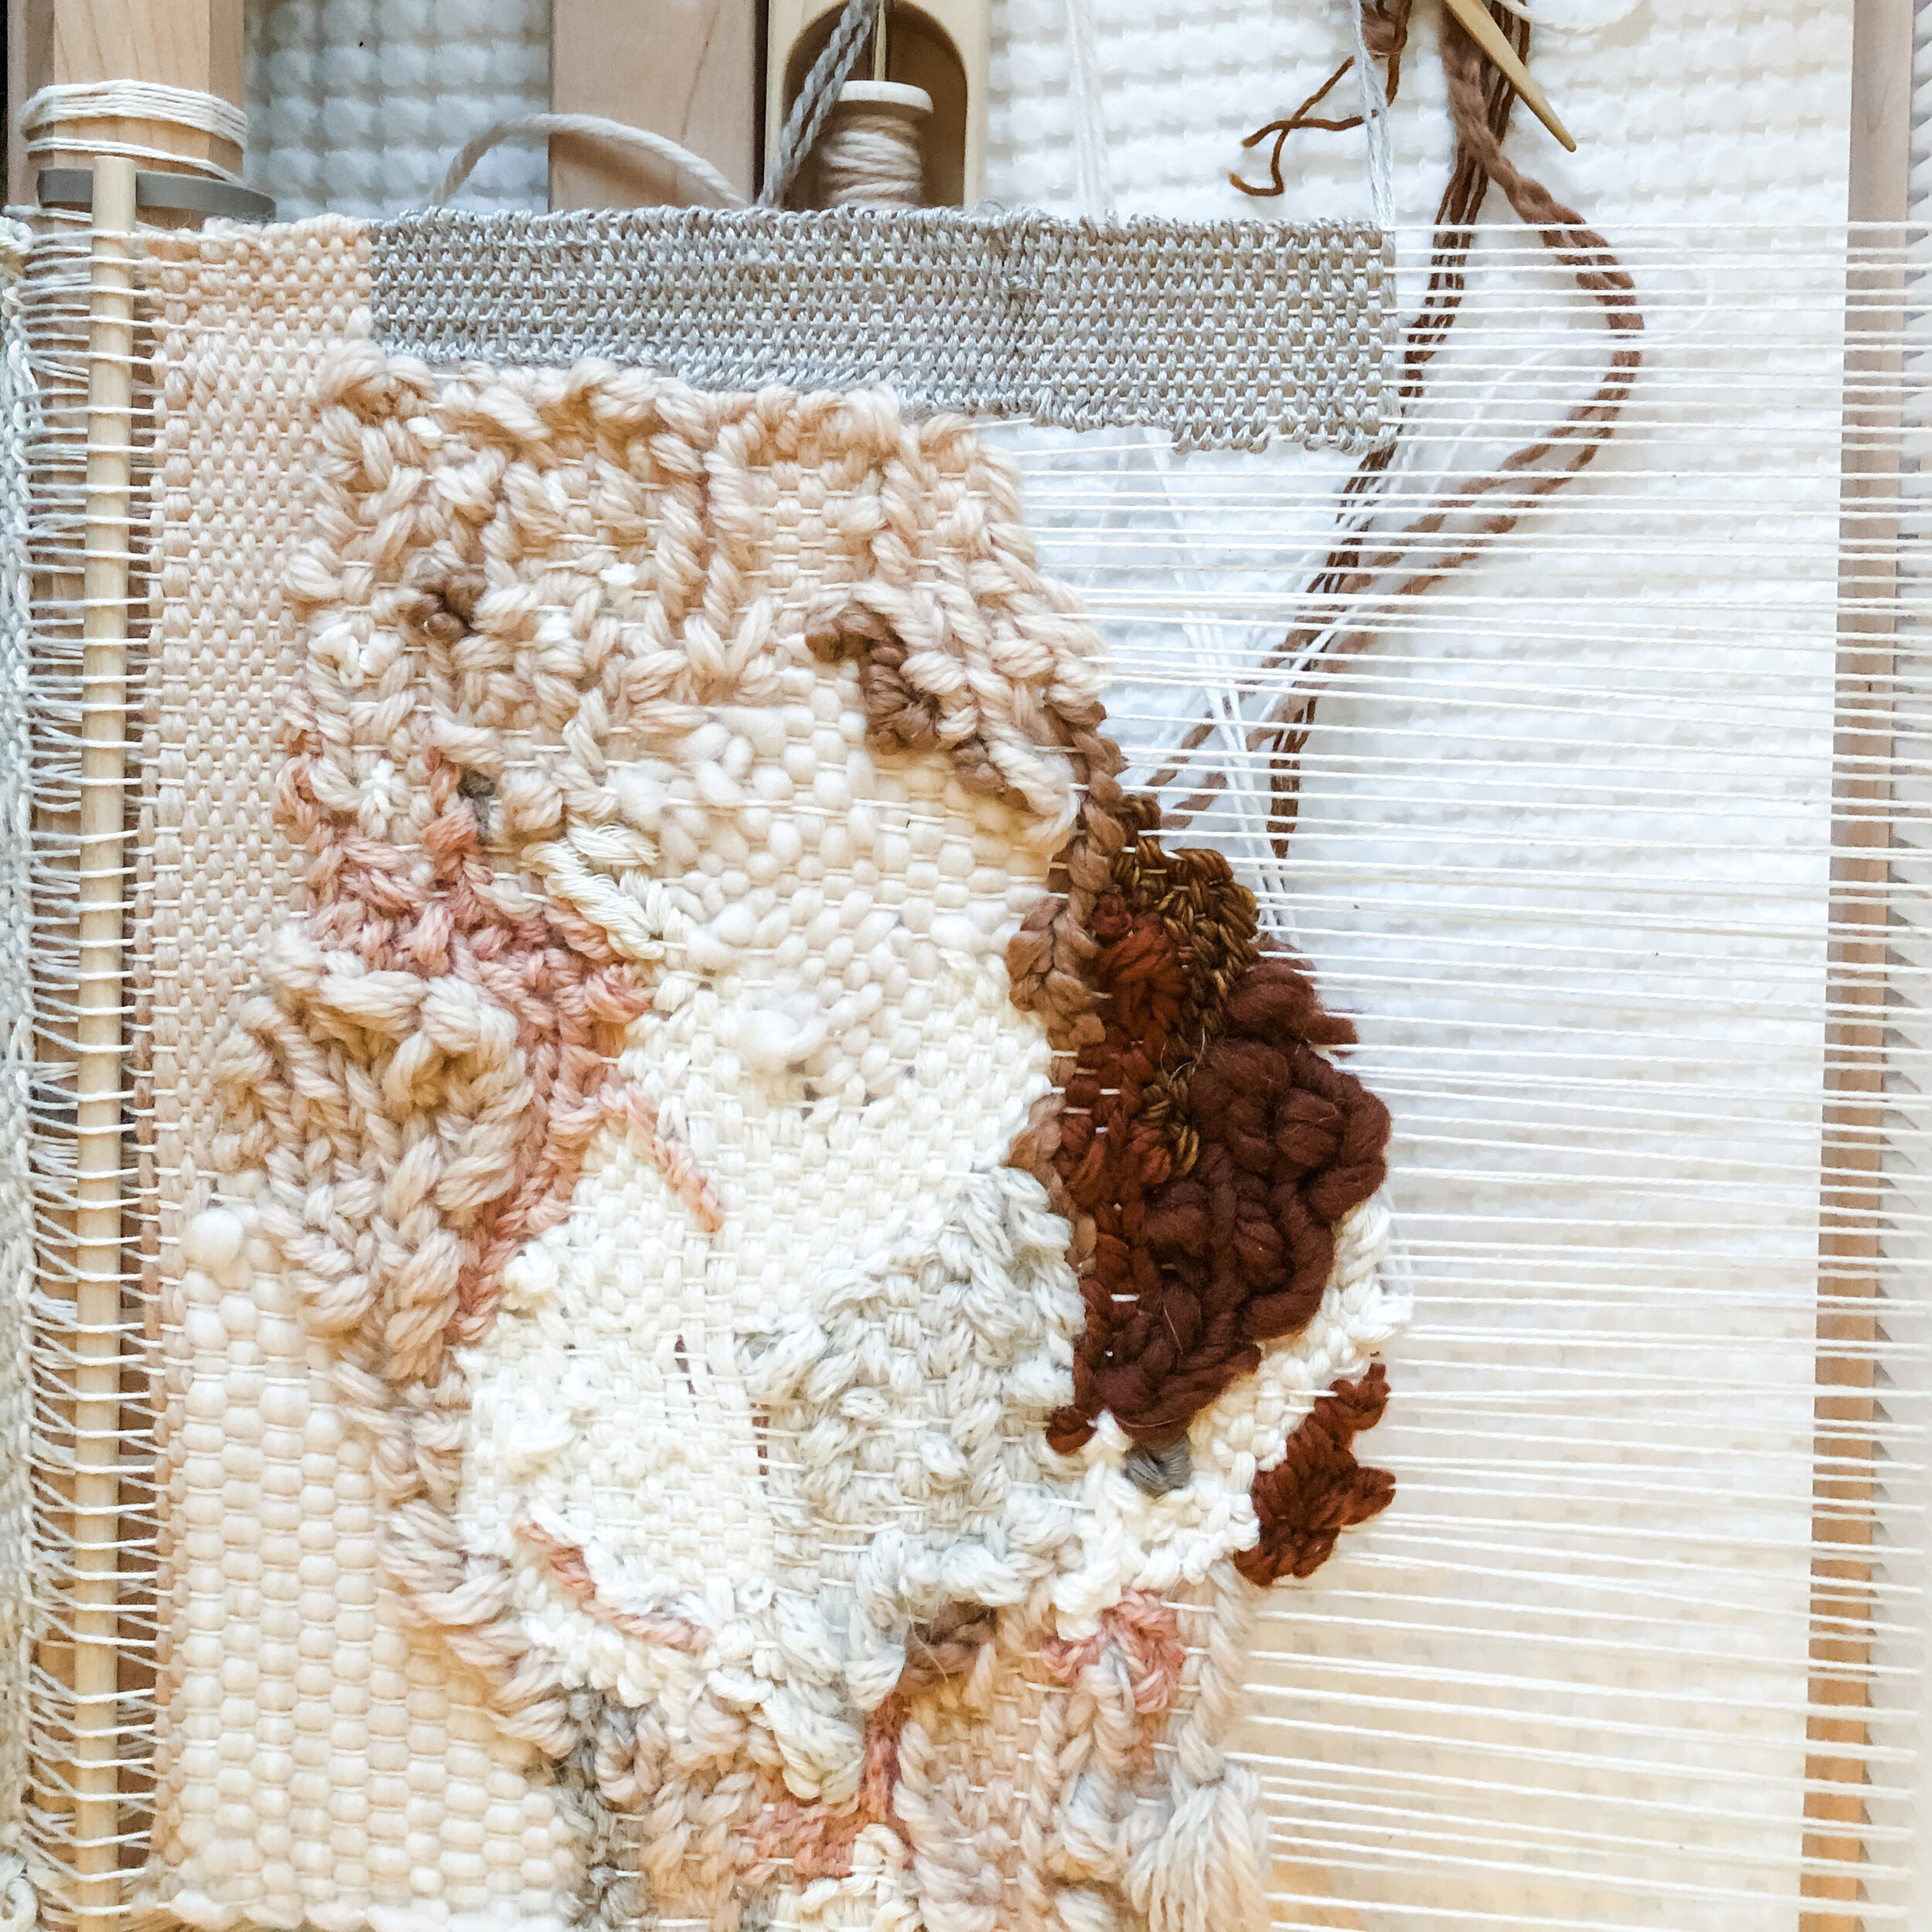
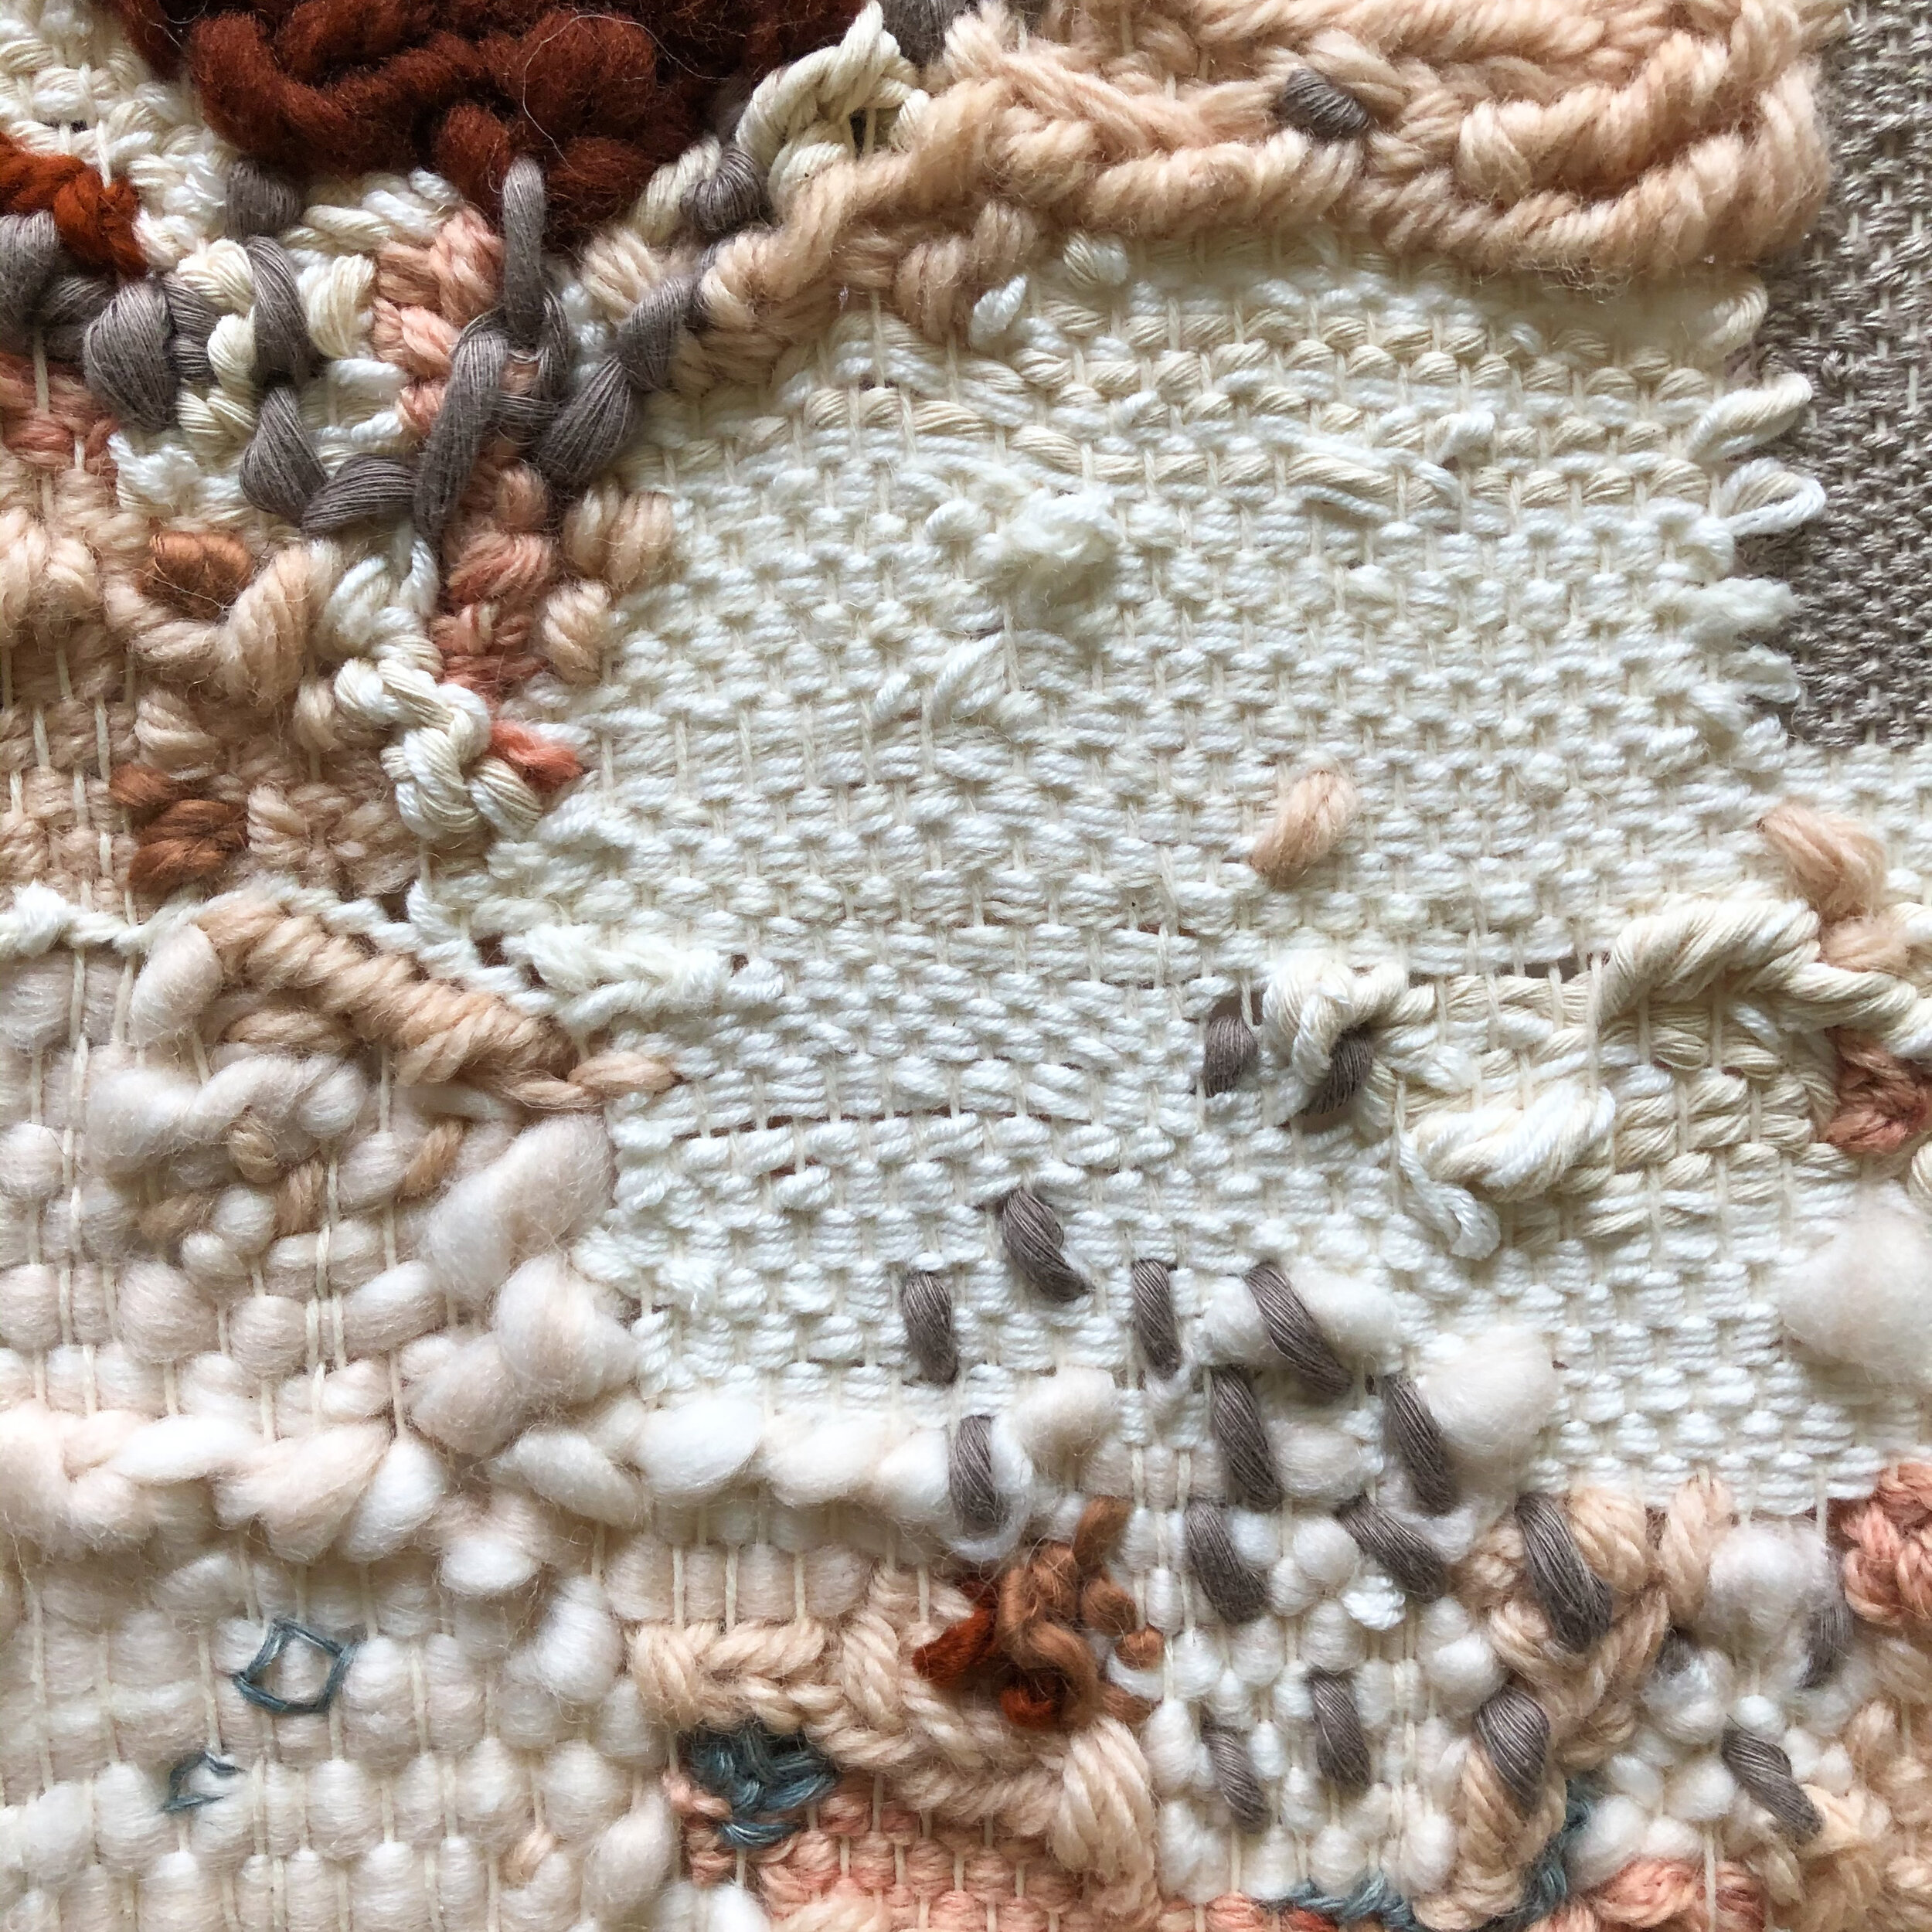
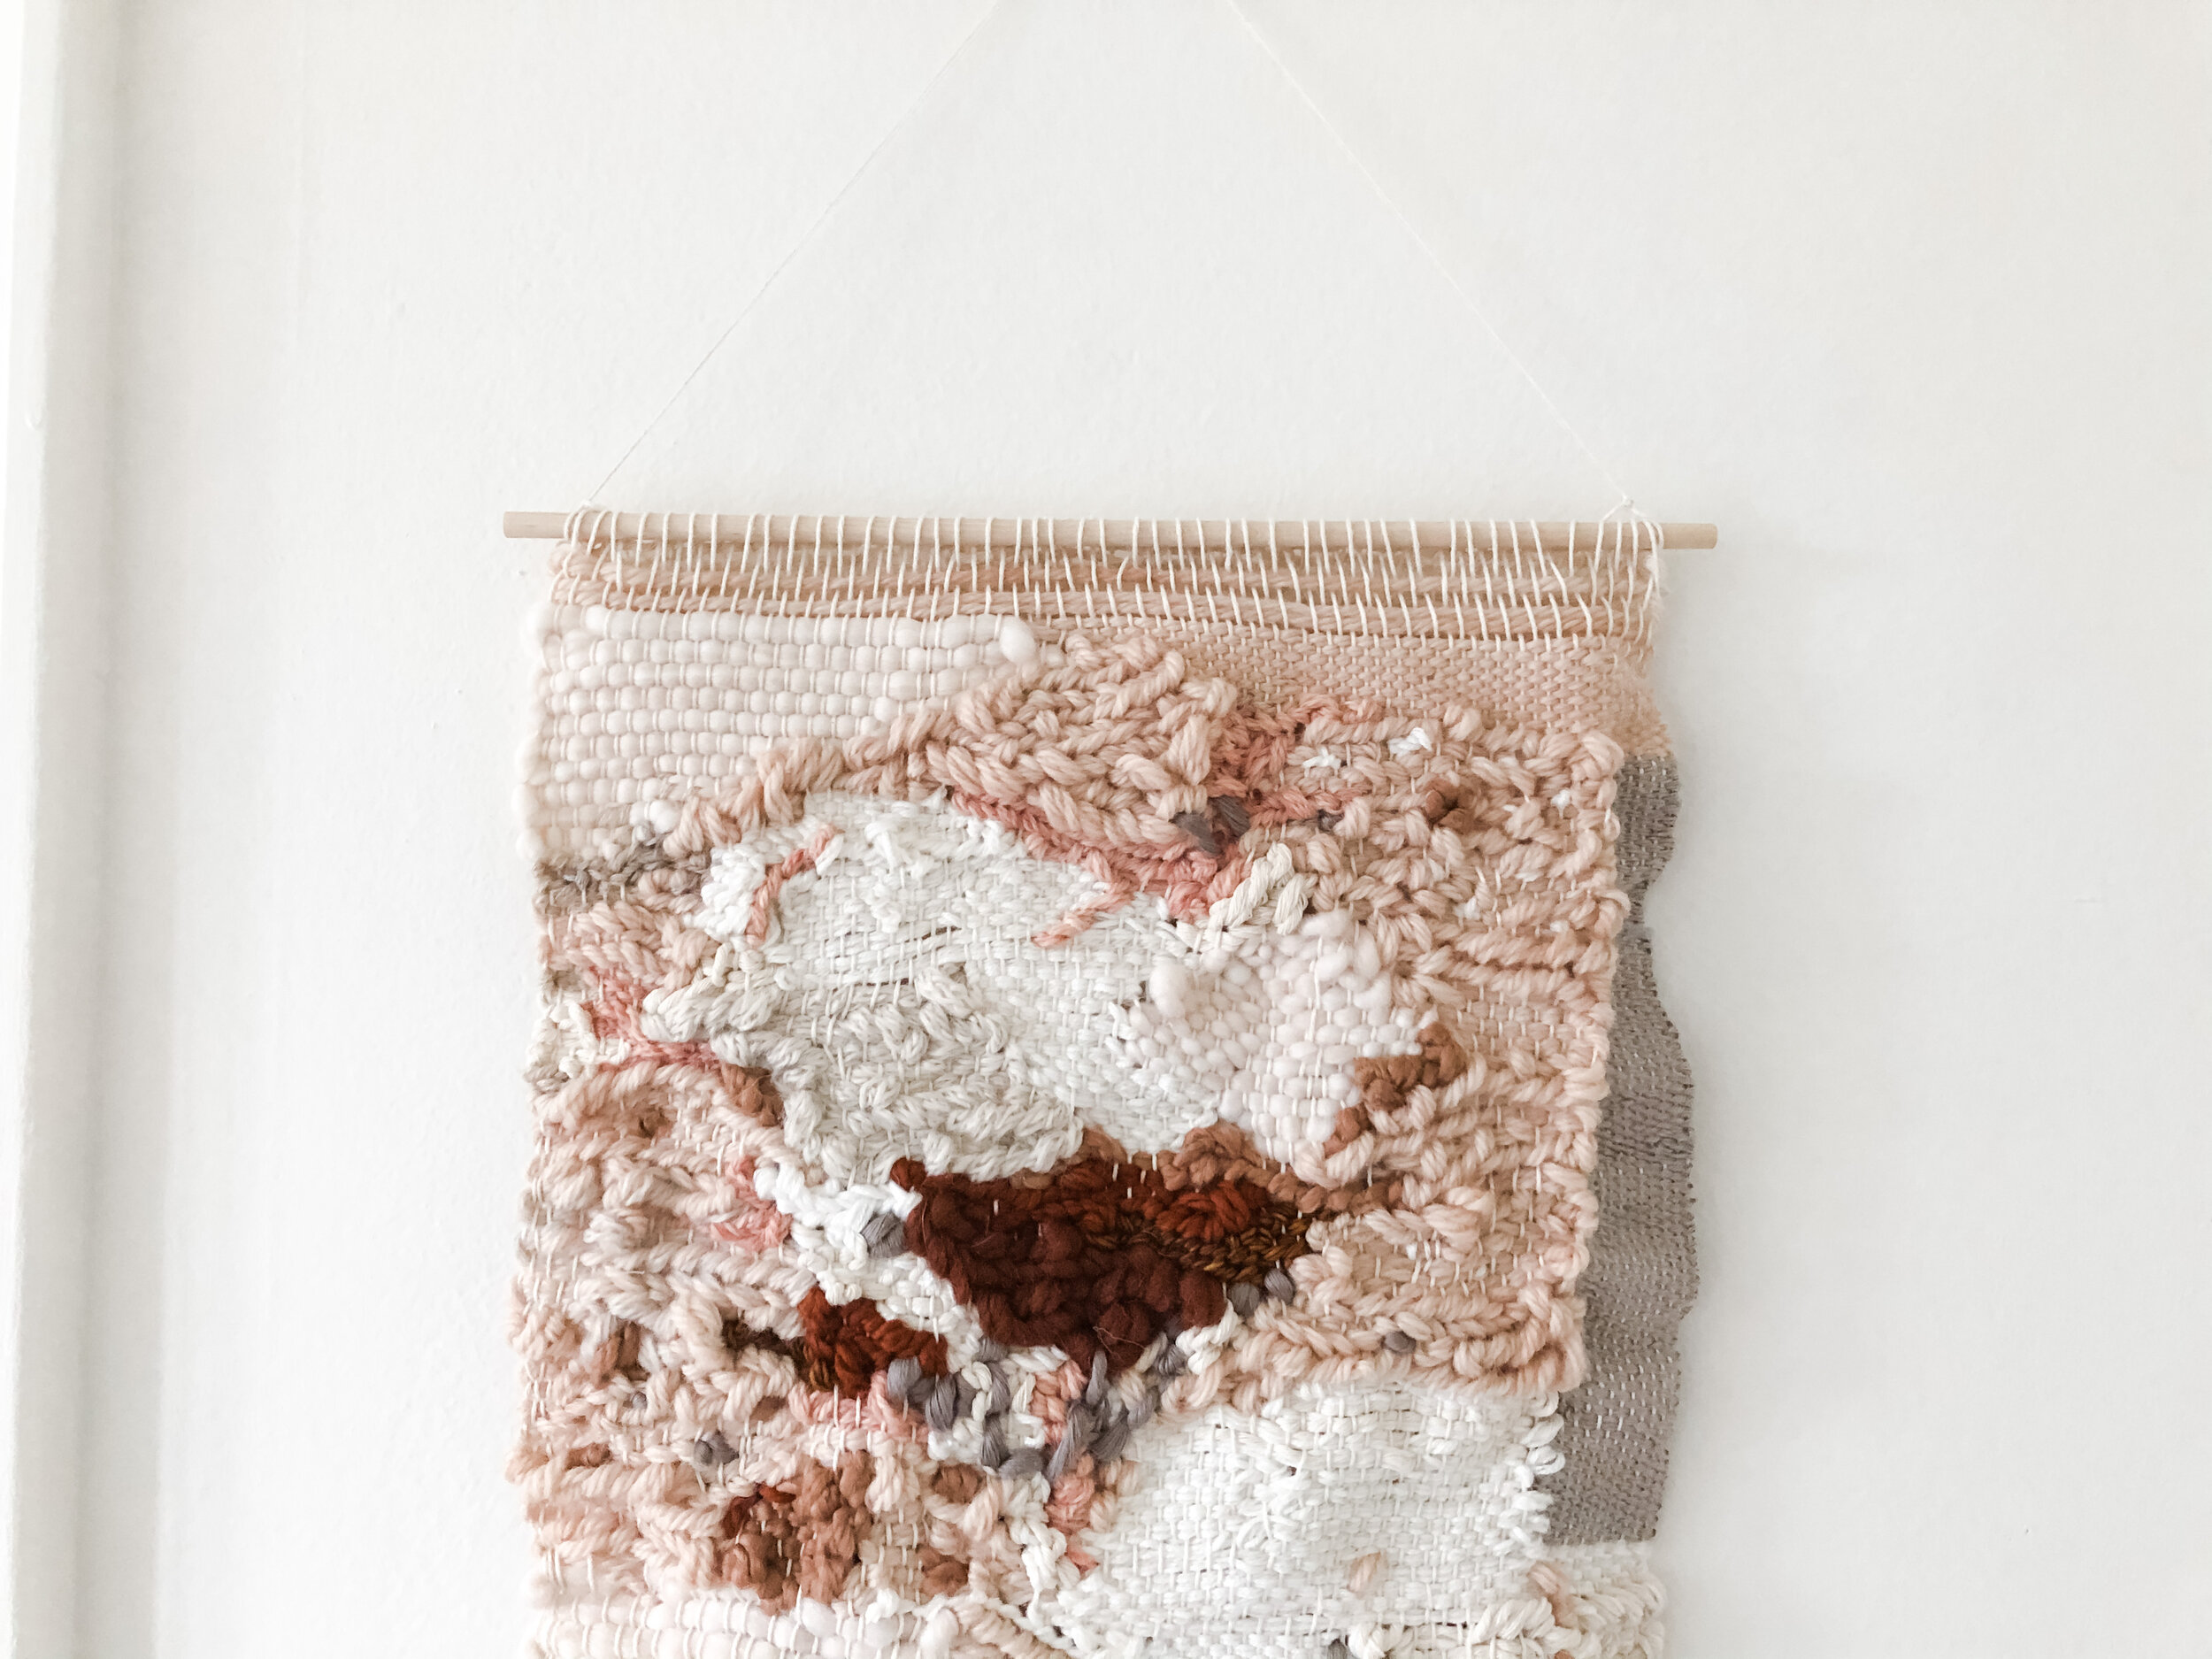
The first weaving was on a 12” wide x 20” long frame (tapestry) loom. This was a fairly fast weave for me as I am used to weaving on this type of loom. I layered a lot in this tapestry by using solid colors as the base and then taking a steel tapestry needle with another color and embroidering over. This helped add the pops of light blue, the darker brown lines, and ultimately infuse some of the speckles of color into other large fields of a single color.
Prior to this project, I decided to share a video (IGTV to be exact ;)) on Instagram that outlined ‘how to warp a frame loom \\’. In this video, I shared why it’s important to keep your warping string (vertical strings, forms a base for a weaving) taut. In these process pictures, you can see the far right warping string wasn’t tight and therefore affected the overall shape of my weaving. Always looking to improve!
And then.. it was finished!

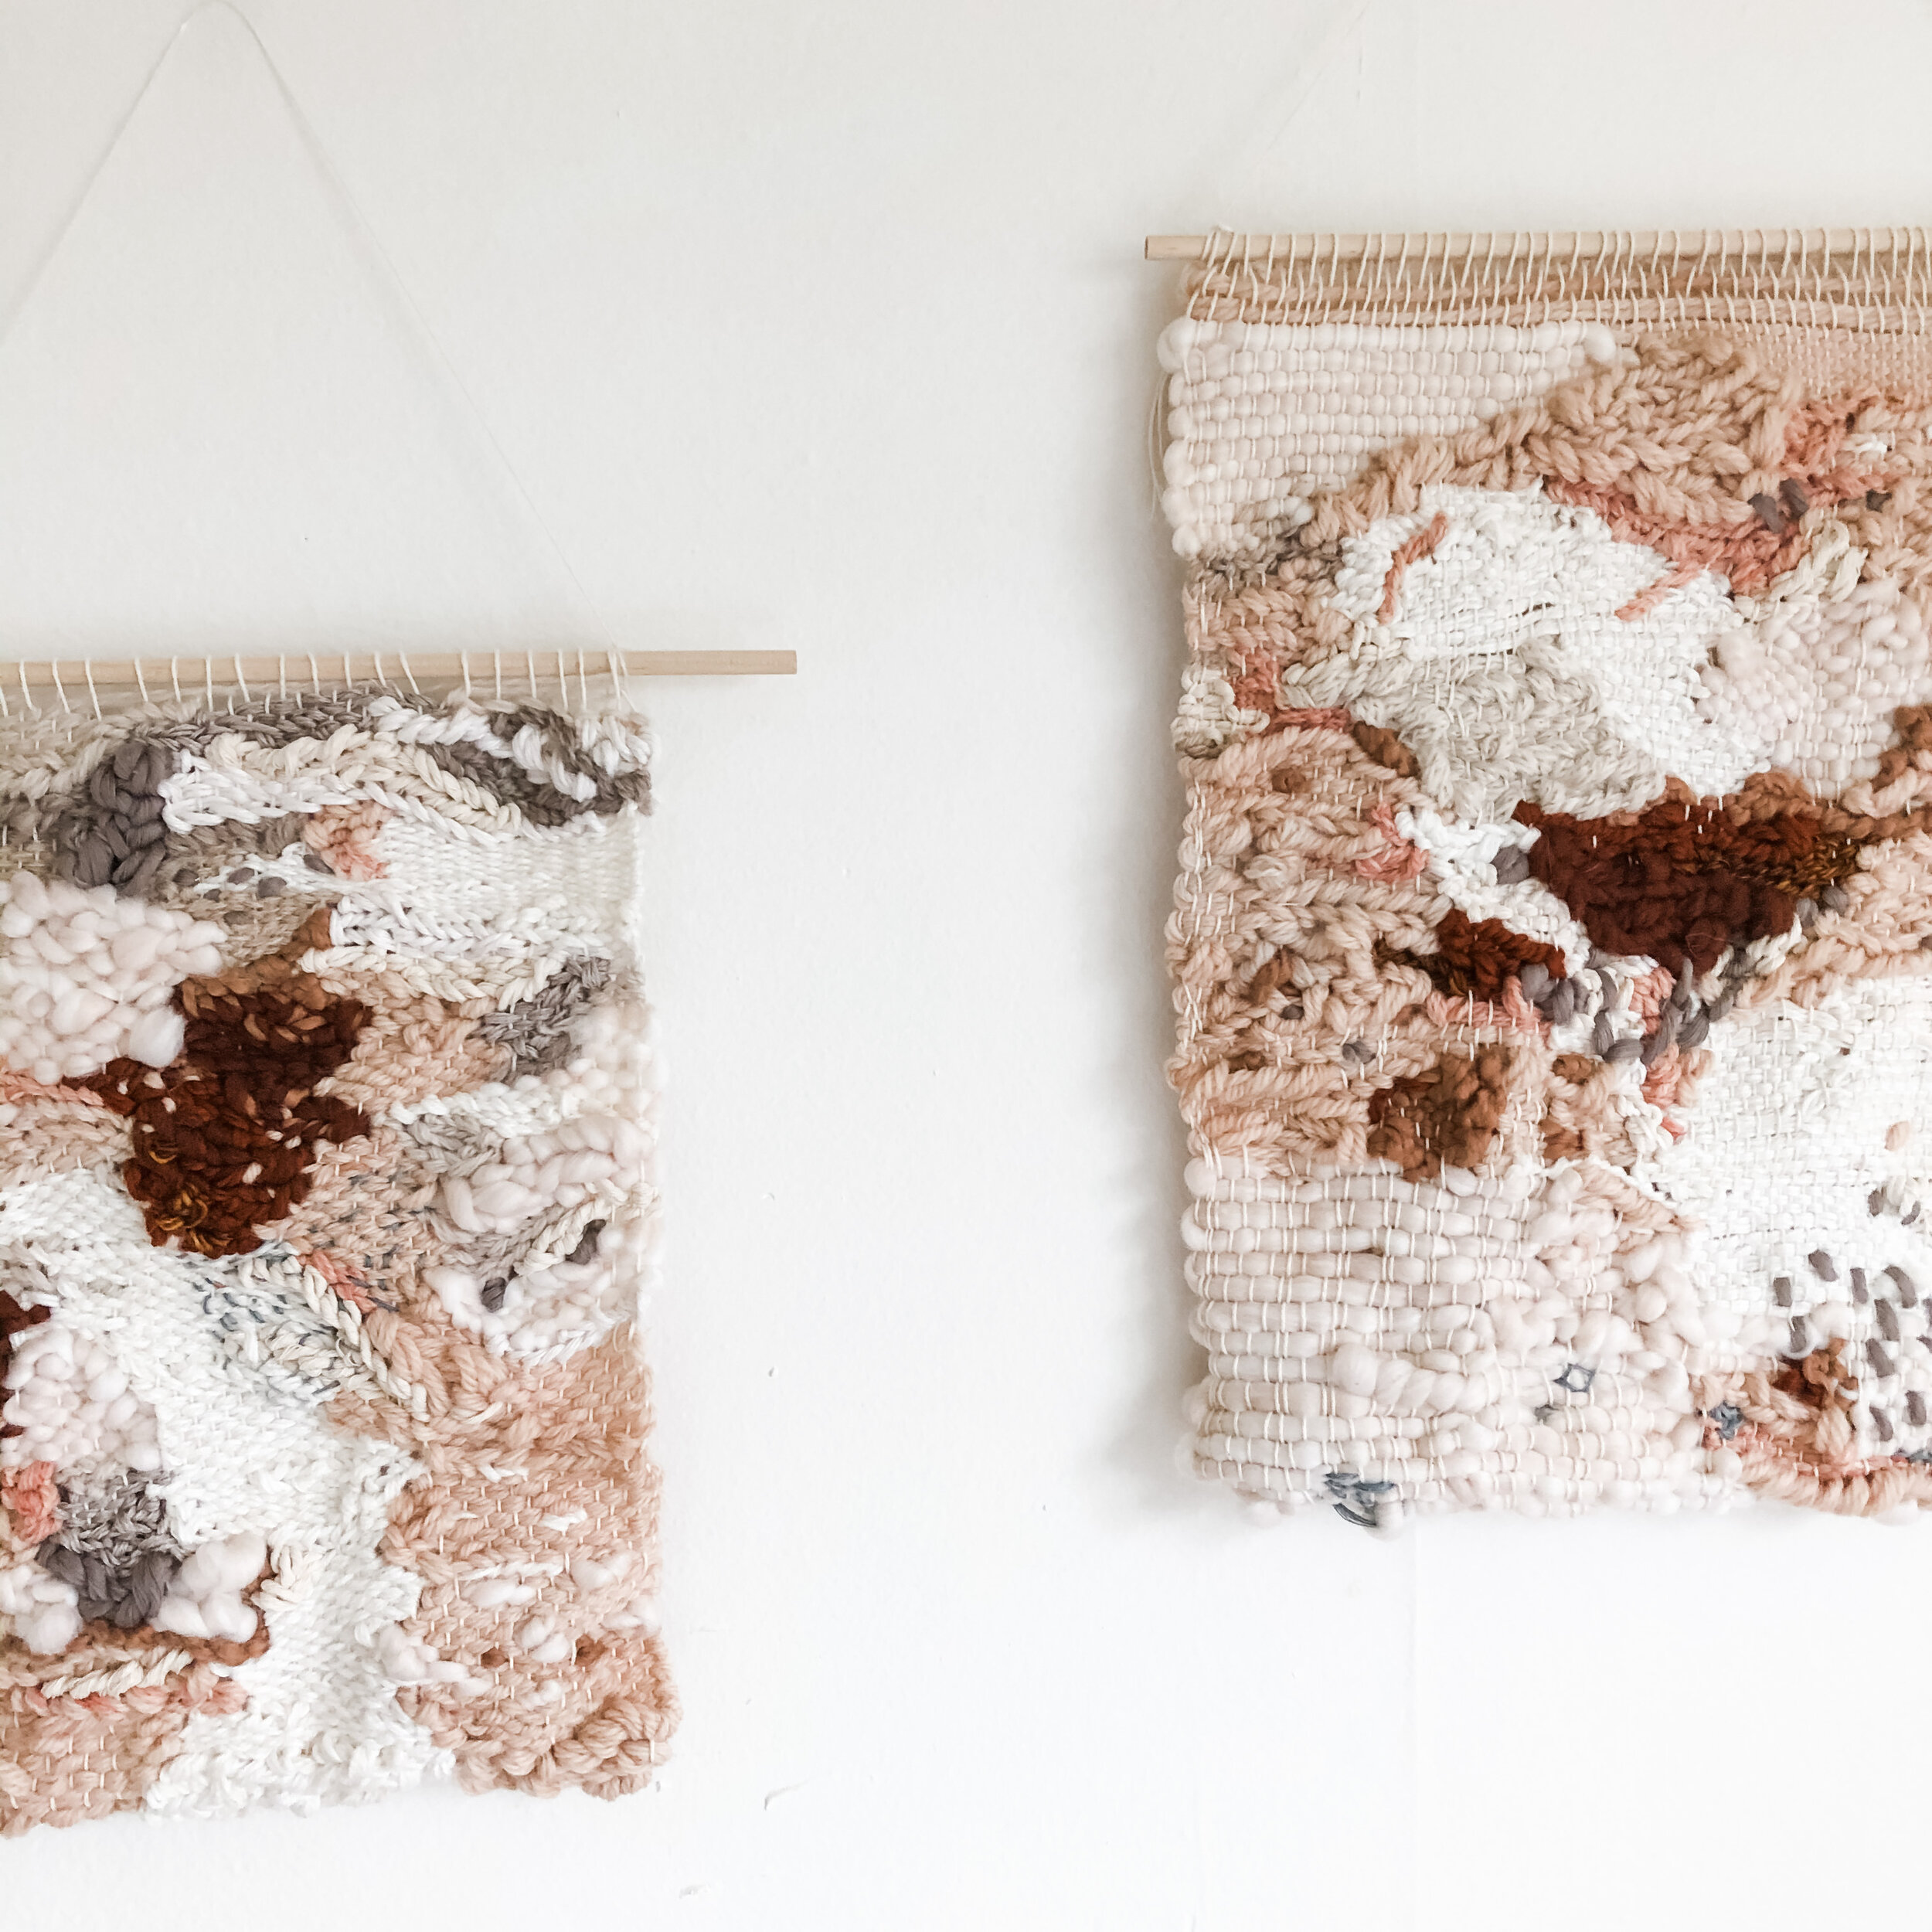
The second weaving was woven on a 24” rigid heddle loom. To make this weaving relatively the same size as the first, I only warped a width of ~18”. What I love about rigid heddle looms is the feeling of stability- the warp always feels like it has the right tightness. What I did find much harder on this loom was:
Harder to organically weave. I found myself not using the heddle as much as I would here because weaving organically didn’t allow the weaving to build equally across. Sometimes in the middle of the process, one side progressed further than the other, making the use of the heddle here nearly impossible.
Frame looms allow you to see the tapestry as a whole. Using a rigid heddle, the start of the weaving is eventually rolled around the cloth beam so it “disappears” from sight and I’m not longer able to see the tapestry as a whole here. This took visualizing to a whole new level. :)
The hardest for me (I know some of you will laugh at this!), was weaving from bottom-up or essentially… backwards! I’ve always woven top down, meaning I start at the top of the weaving where the hanging rod is, and work my way down. It just happened to be how I set myself up for this weaving that got me in this predicament. It definitely confused me at times, having to remember where I was in the process. And the biggest pet-peeve, is truly weaving across already-woven fibers. There’s nothing that’ll snag them more than that!
Overall, I would have to say that I loved the textures on this more than my previous explorations on a frame loom. There is just something so unique about being able to have the richness of the Tabby technique (on a super tight warp) come through next to the organic feel of Soumak.
And then… it was finished!
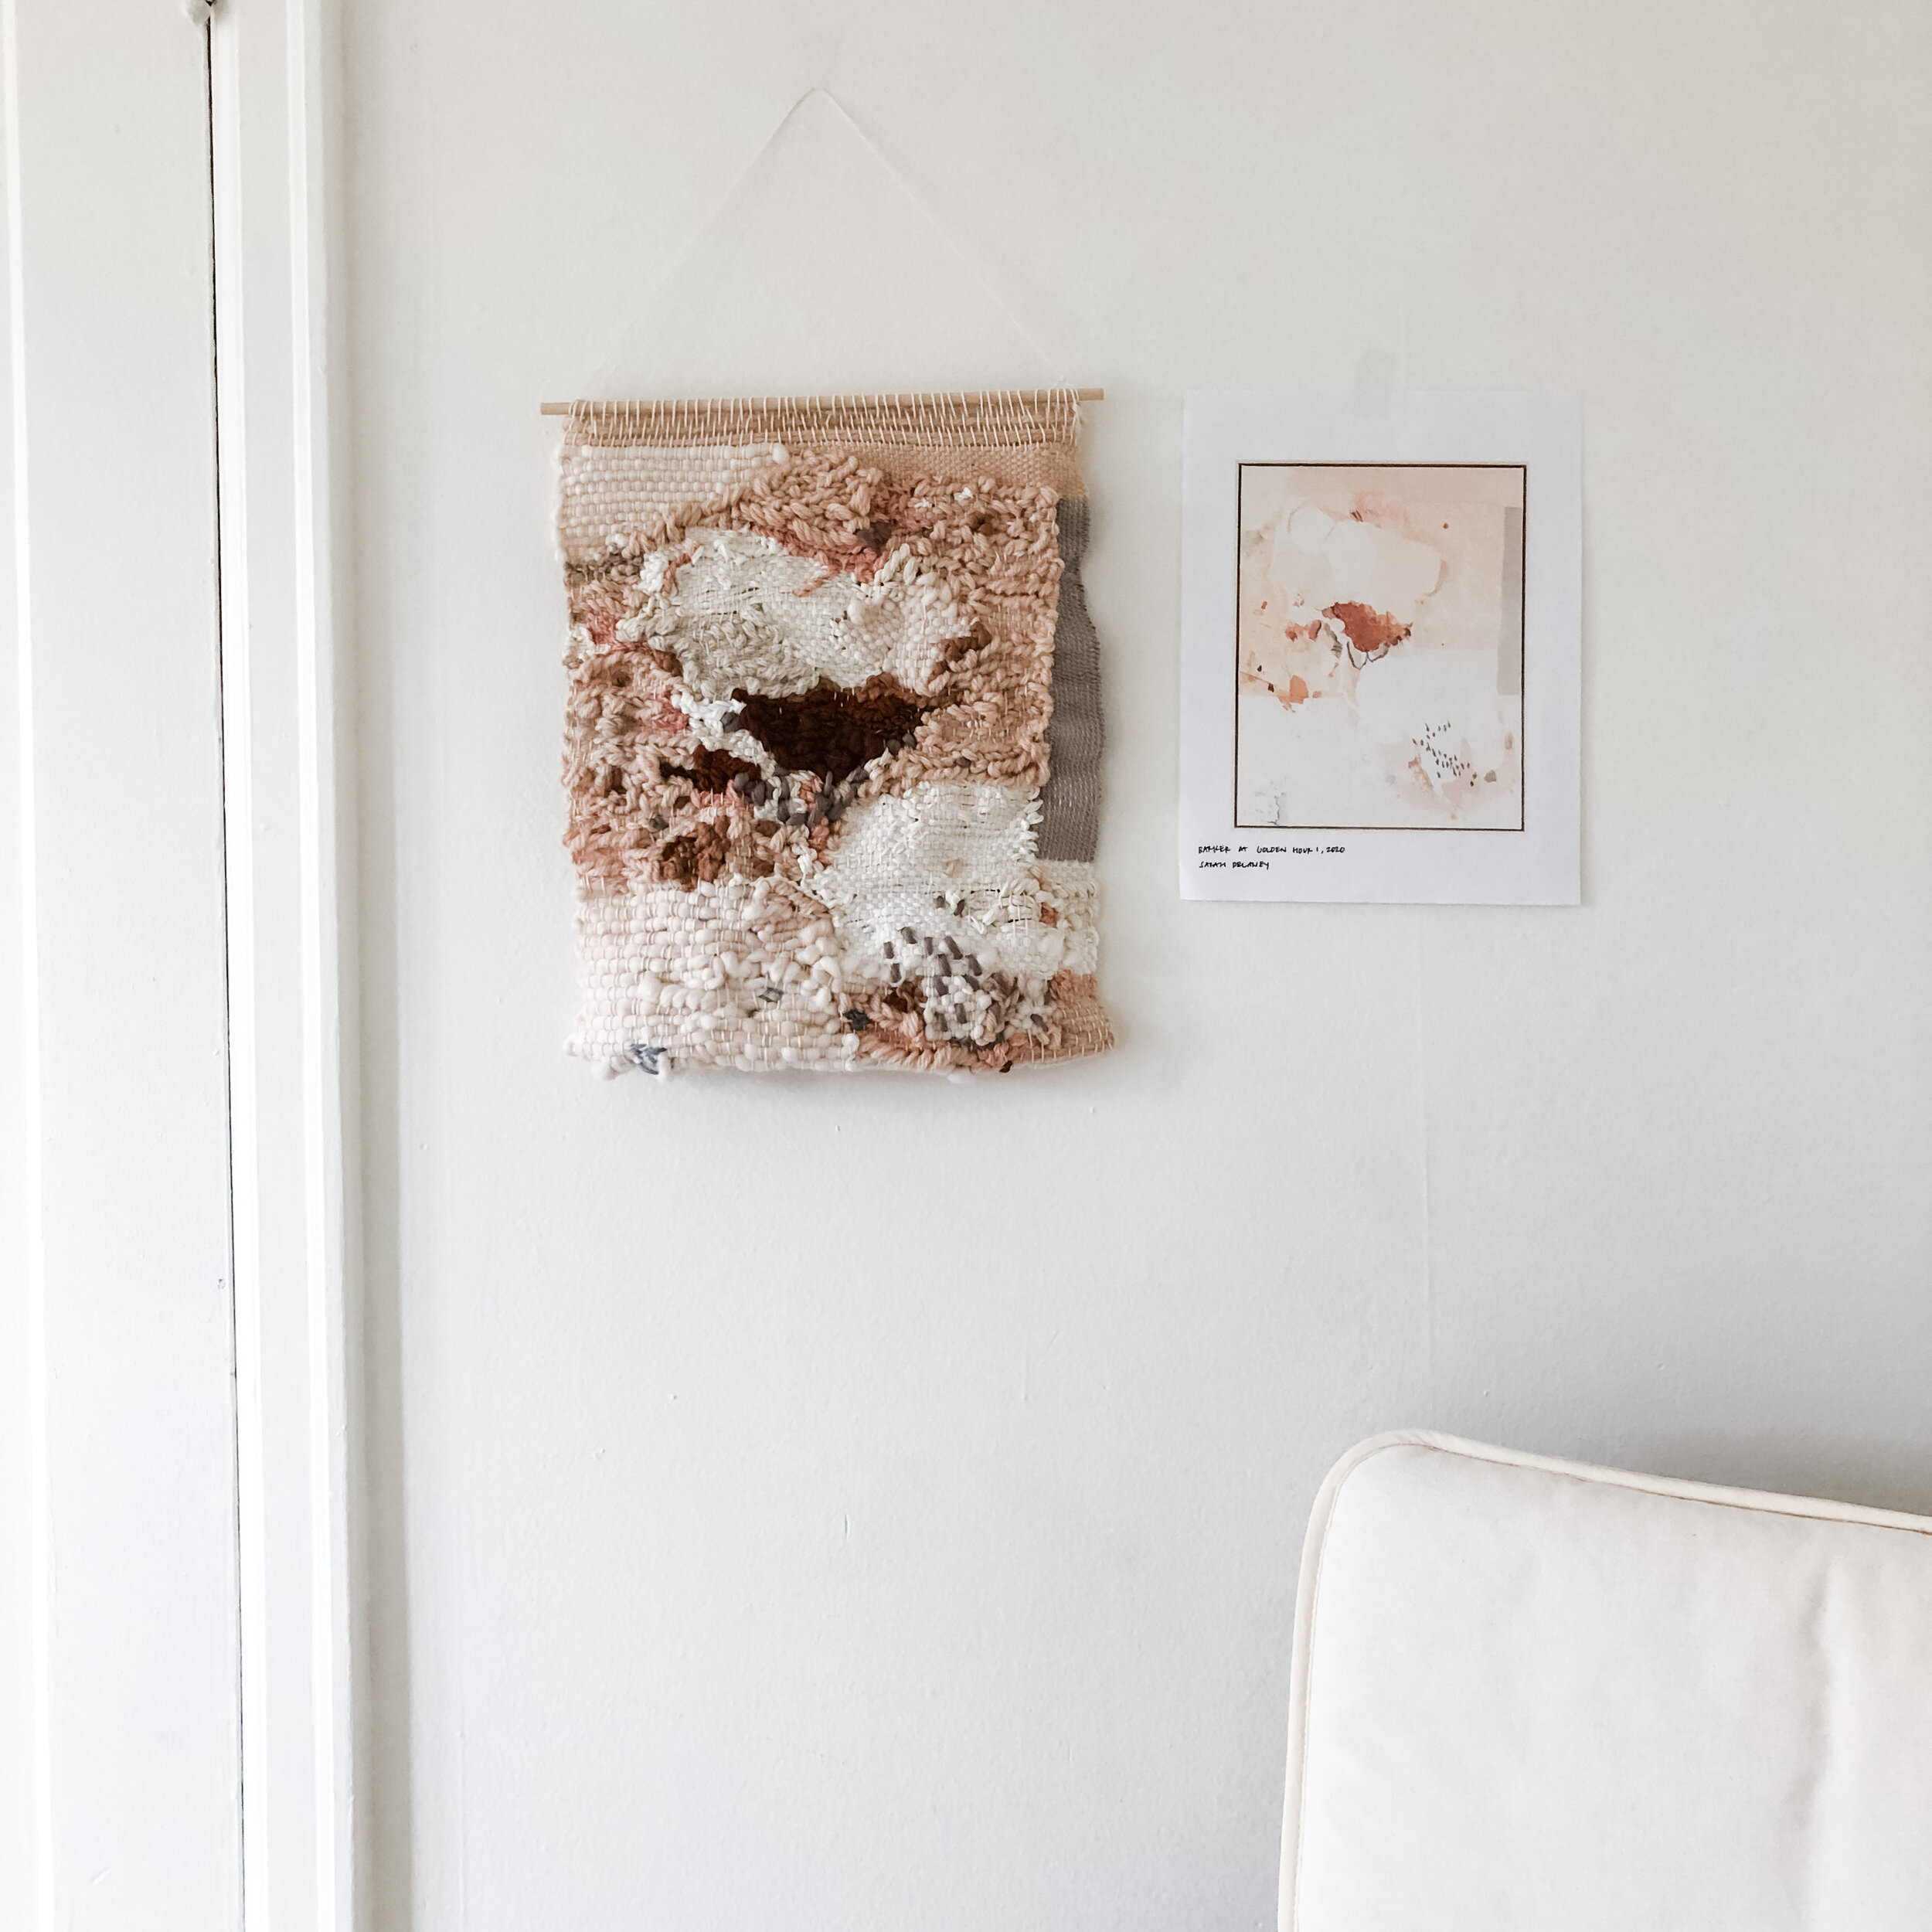
And most importantly, seeing them next to each other and then together with their original inspiration was really amazing to see!


Reflecting…
If I’ve convinced you to ‘paint’ via weaving, I’ve done my job here. :)
In all seriousness, this project allowed me a lot of growth and tested me in new ways. That should be a goal for every project, no matter how big, small, quick, long, for yourself, or for others. Growth is growth and it’s important!
A few tips on how to paint in weaving:
weave together with (2) different strands of fiber
switch between Soumak and regular Tabby often in the same row to add more texture organically
embroider back over for more texture + smaller dashes of color
blend edges by staggering colors on the same vertical warp threads
use various shades of one color next to each other to create a gradient
This video can be found on IG here!

As always (and if you made it this far down the post), THANK YOU!