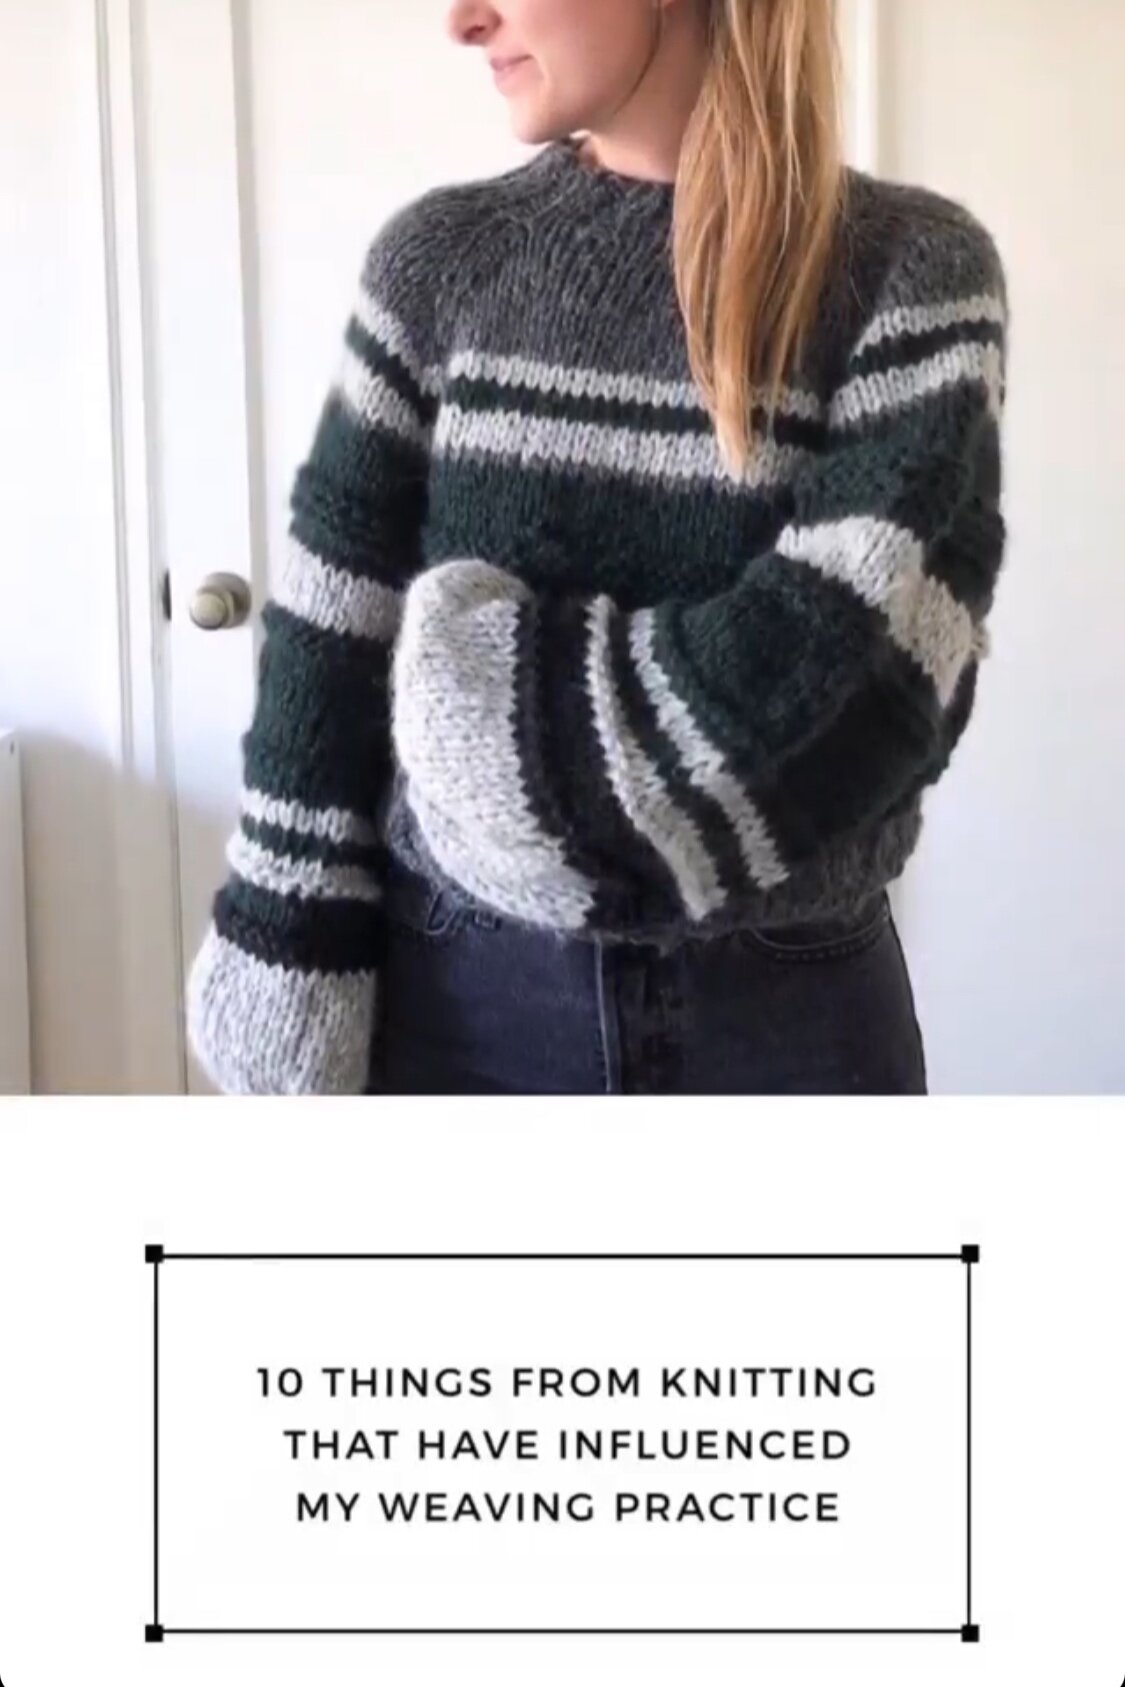
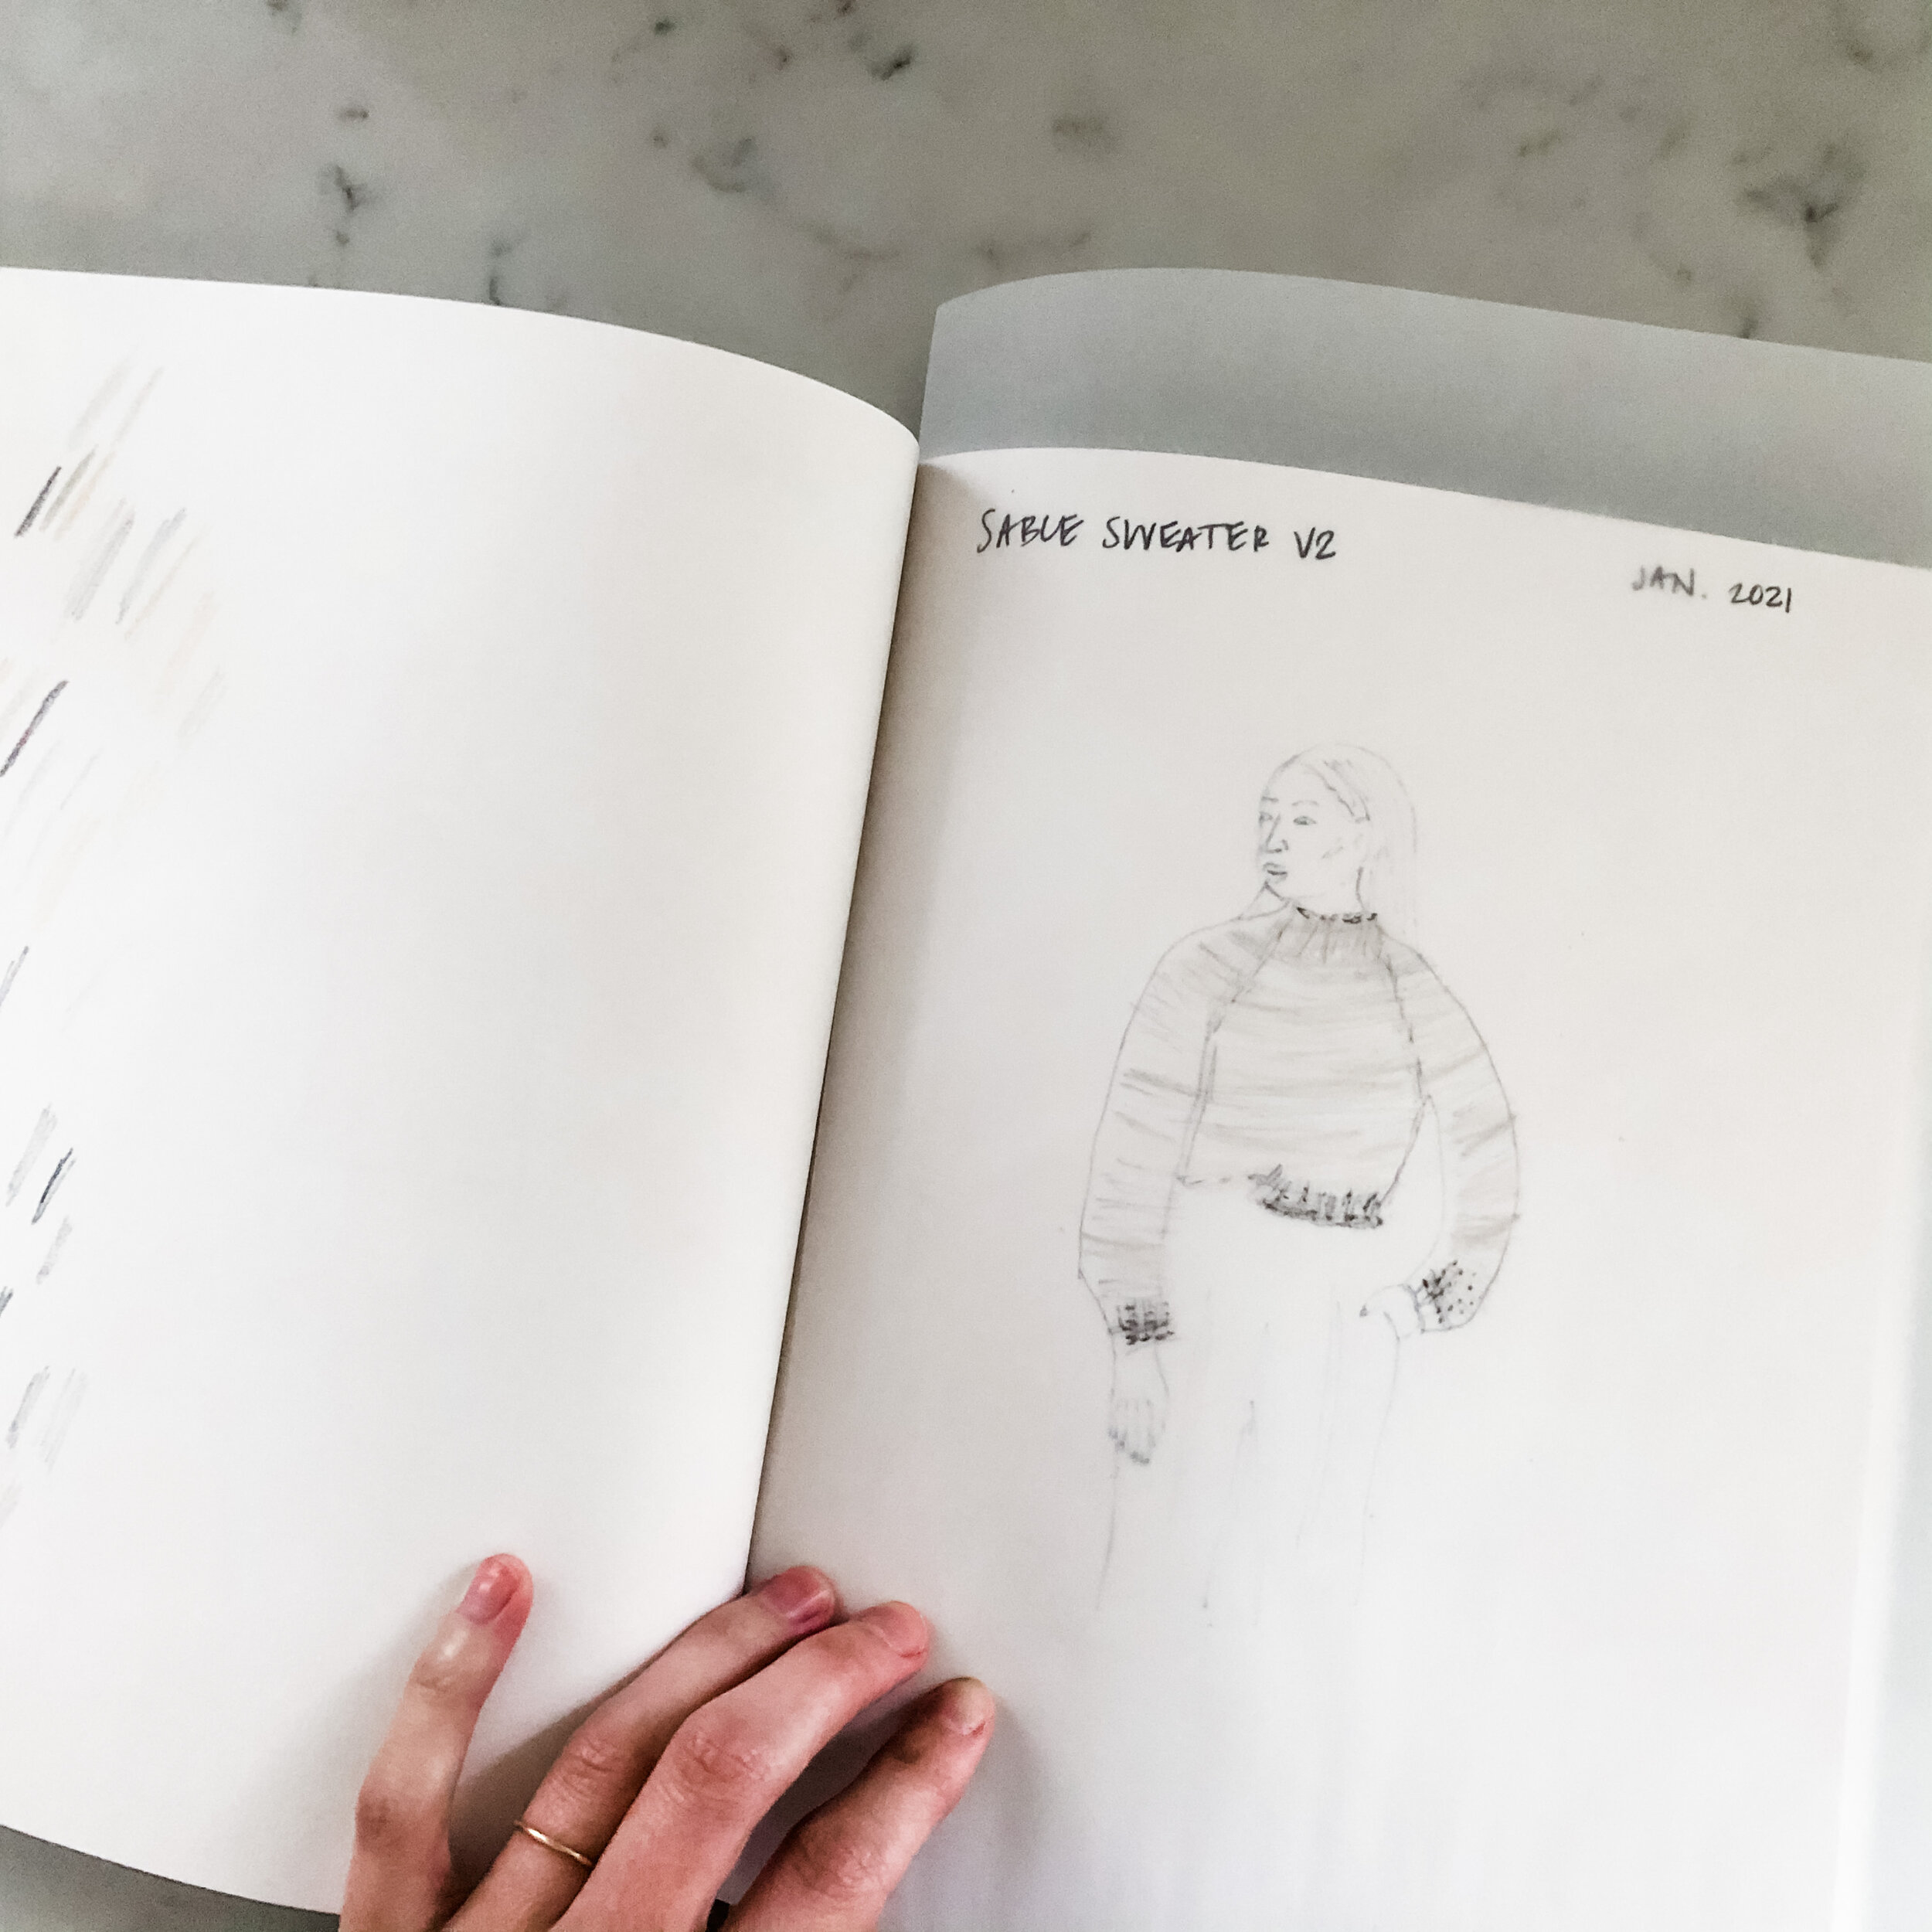
project 1: 2021 \\ Sable Sweater v2

Welcoming 2021 with open arms and a very long to-do list…
As mentioned in my previous 2021 Creative Goals blog post, I am aiming to tackle (2) projects a month that are more “experimental” in order to push and inspire my weaving practice. Read the post to understand why!
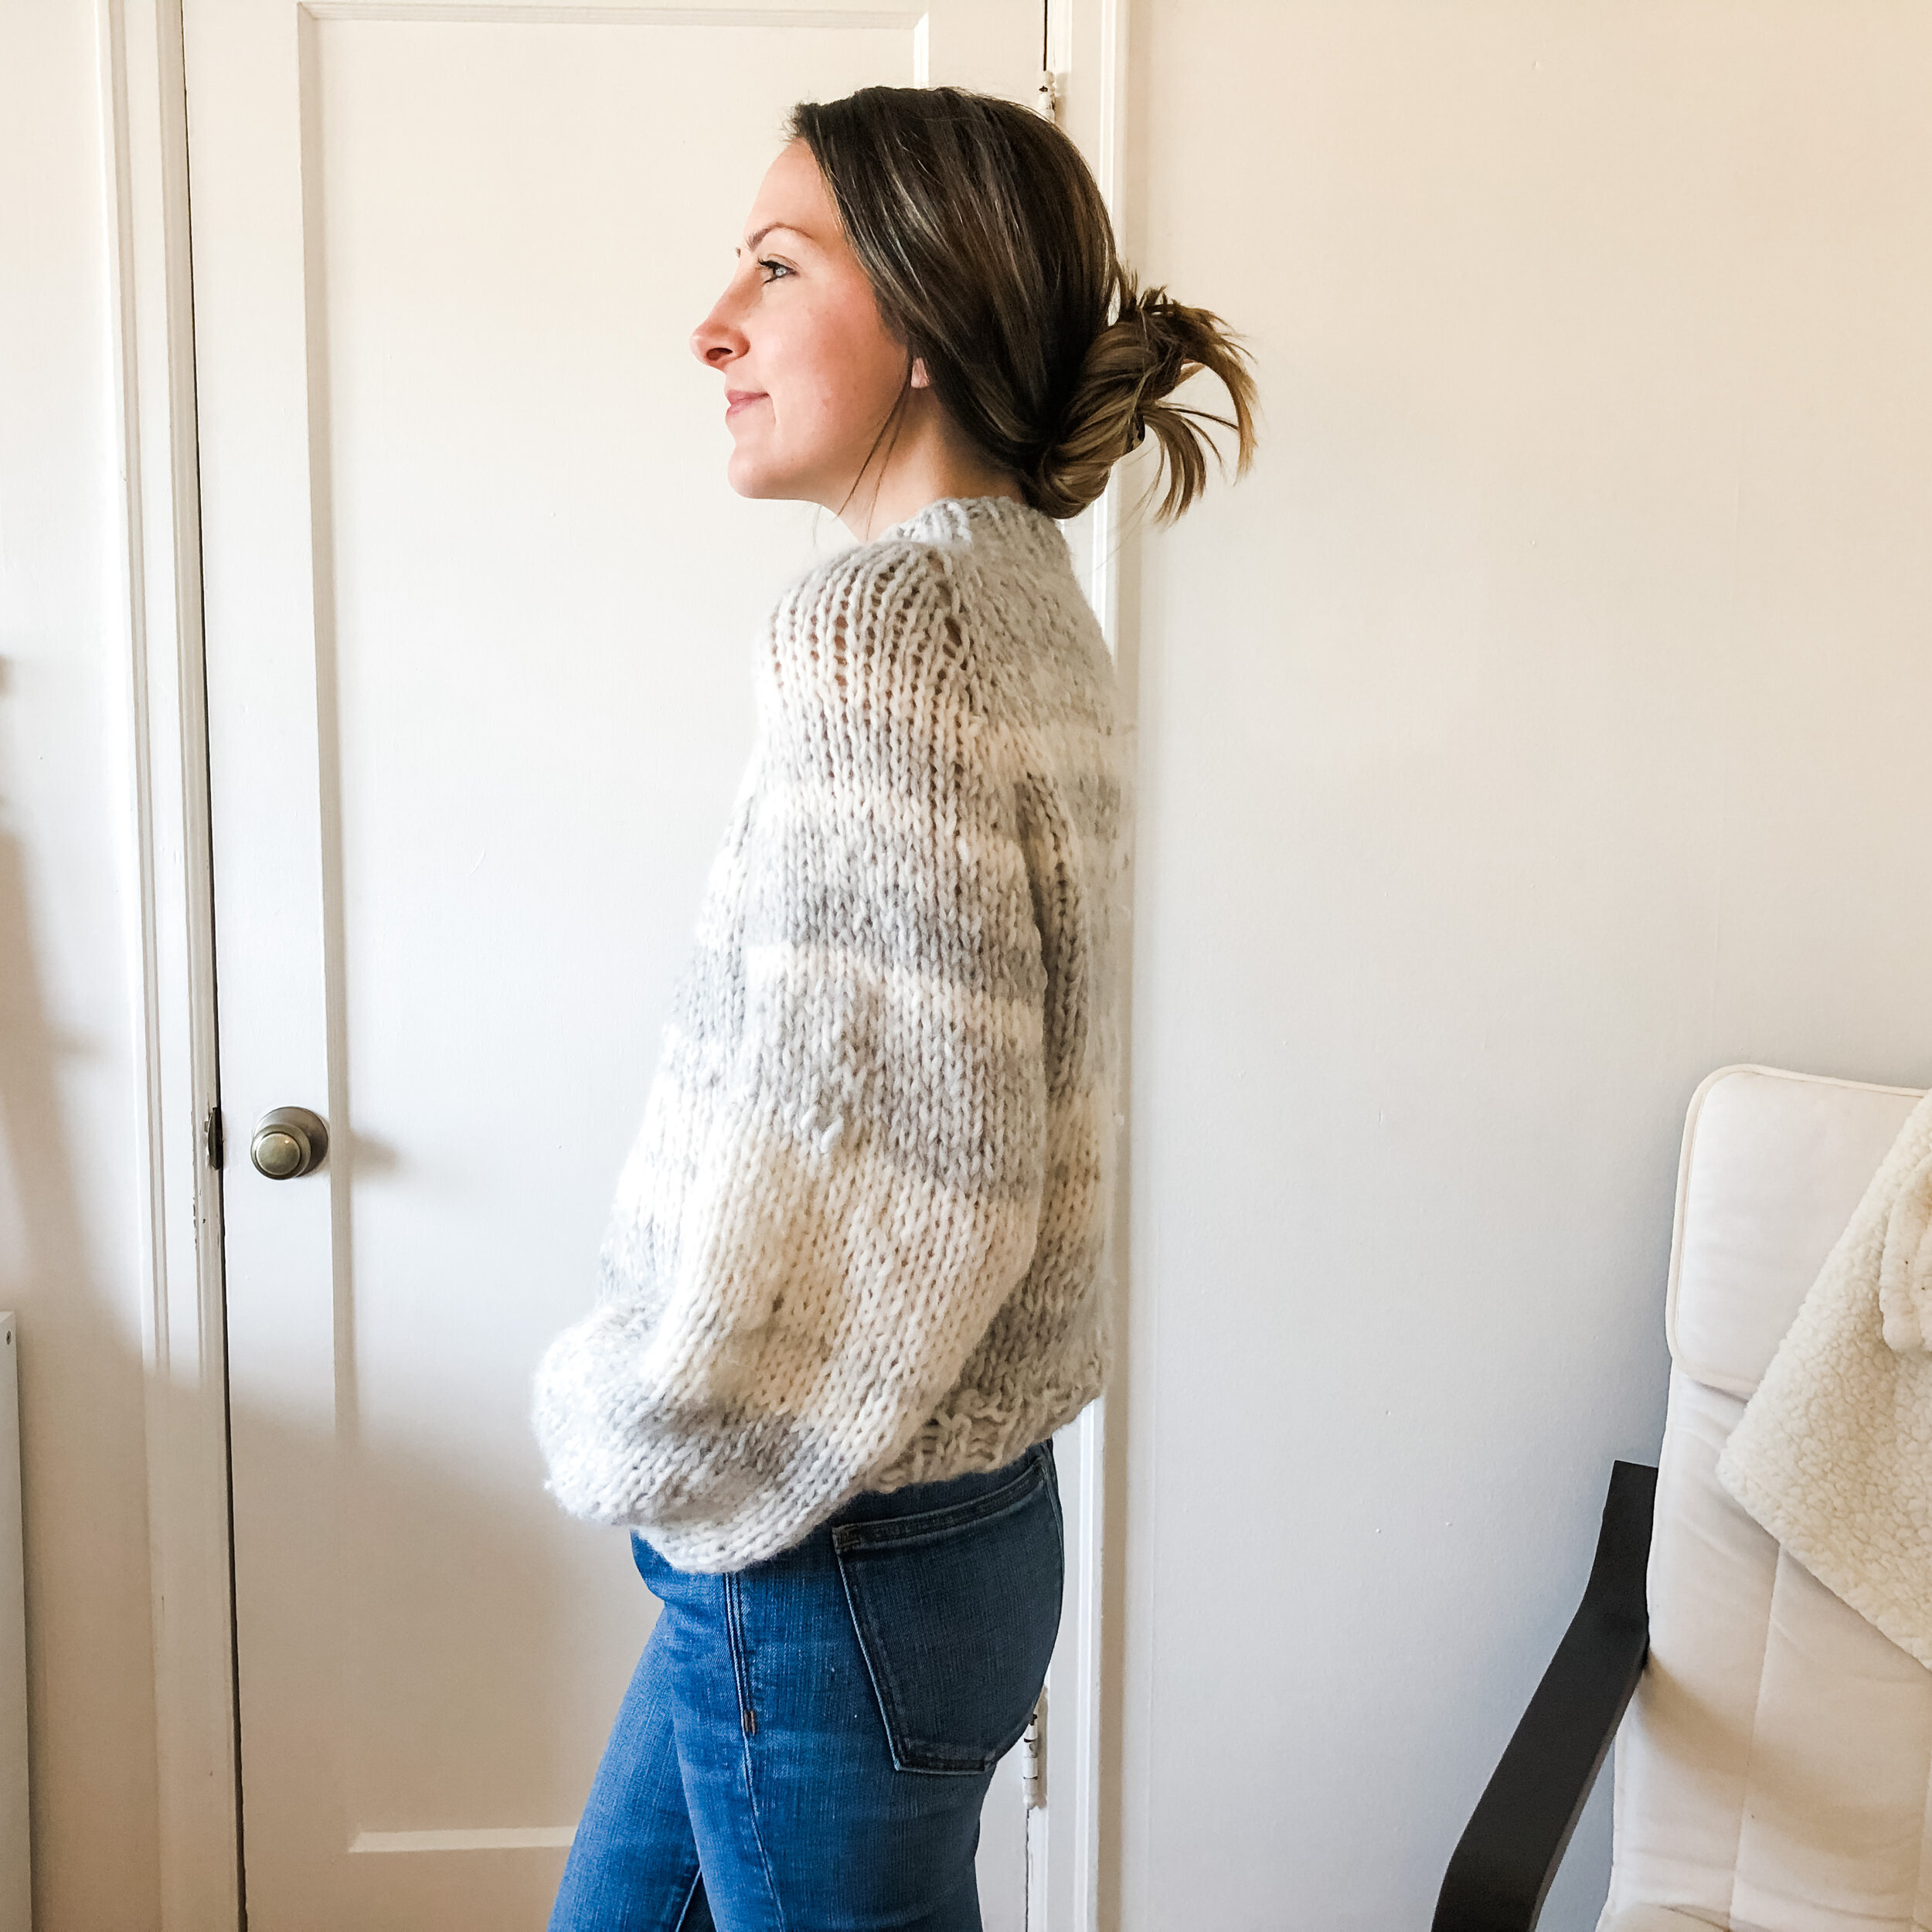
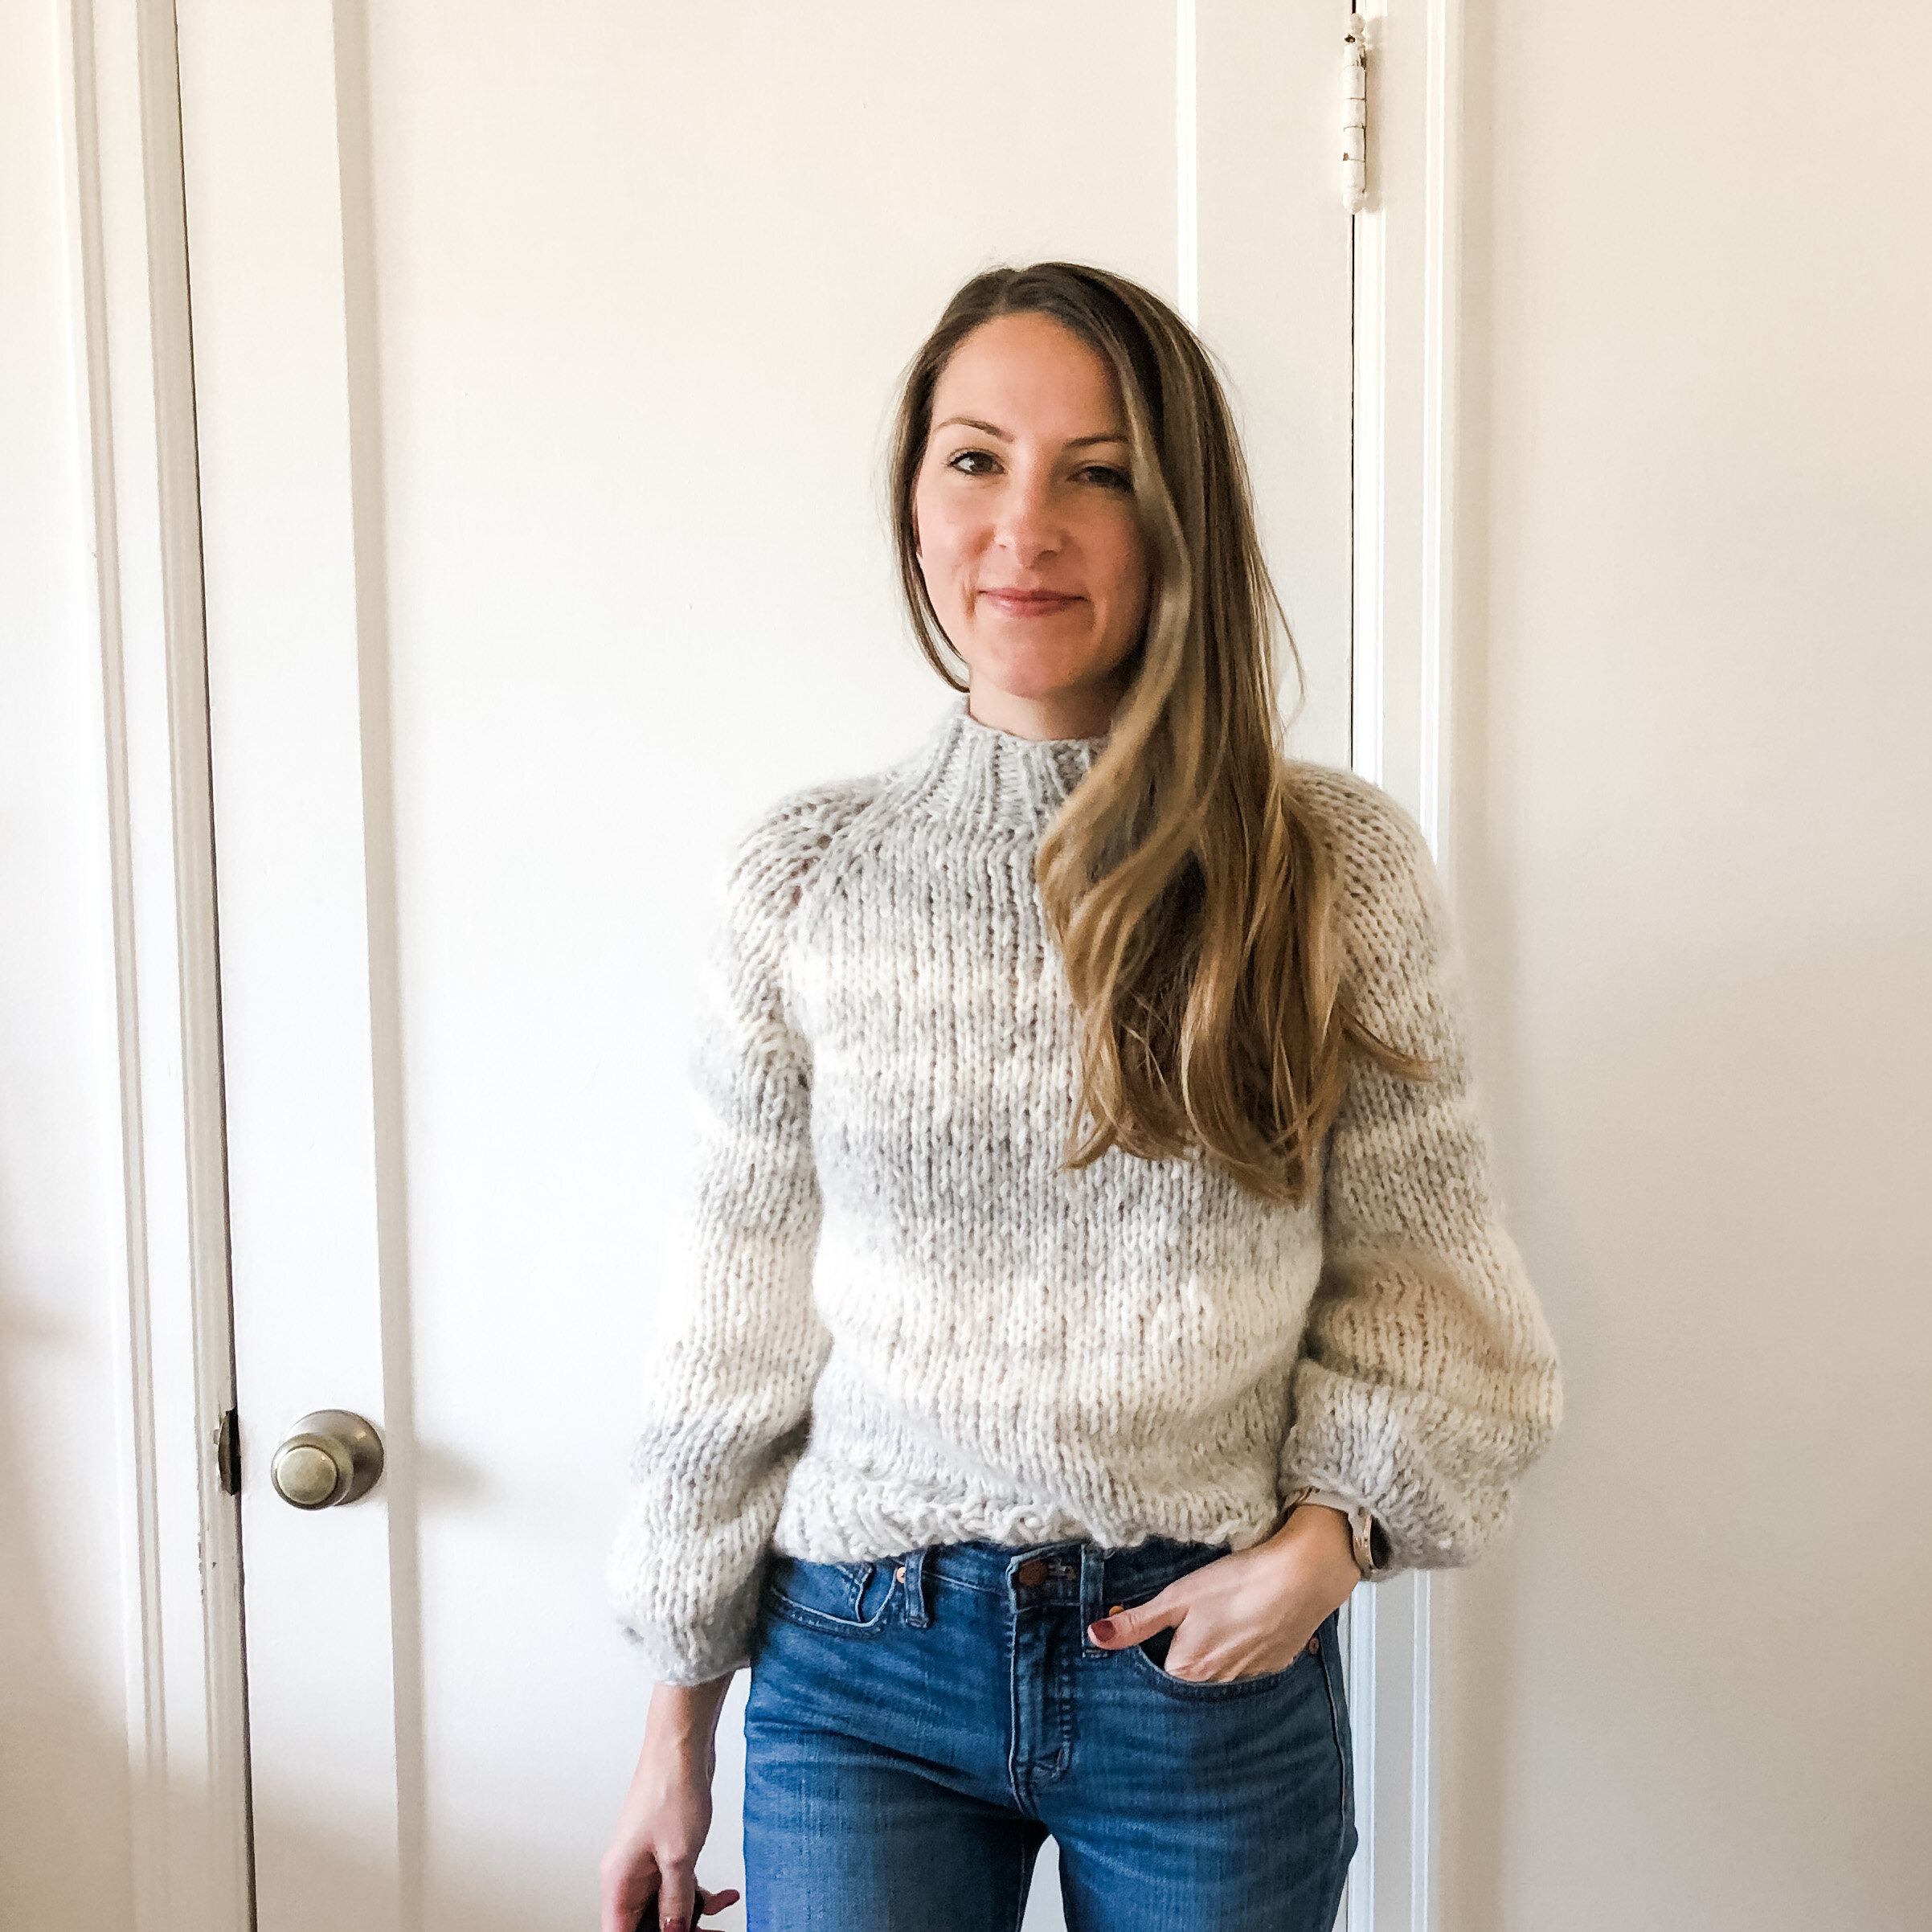
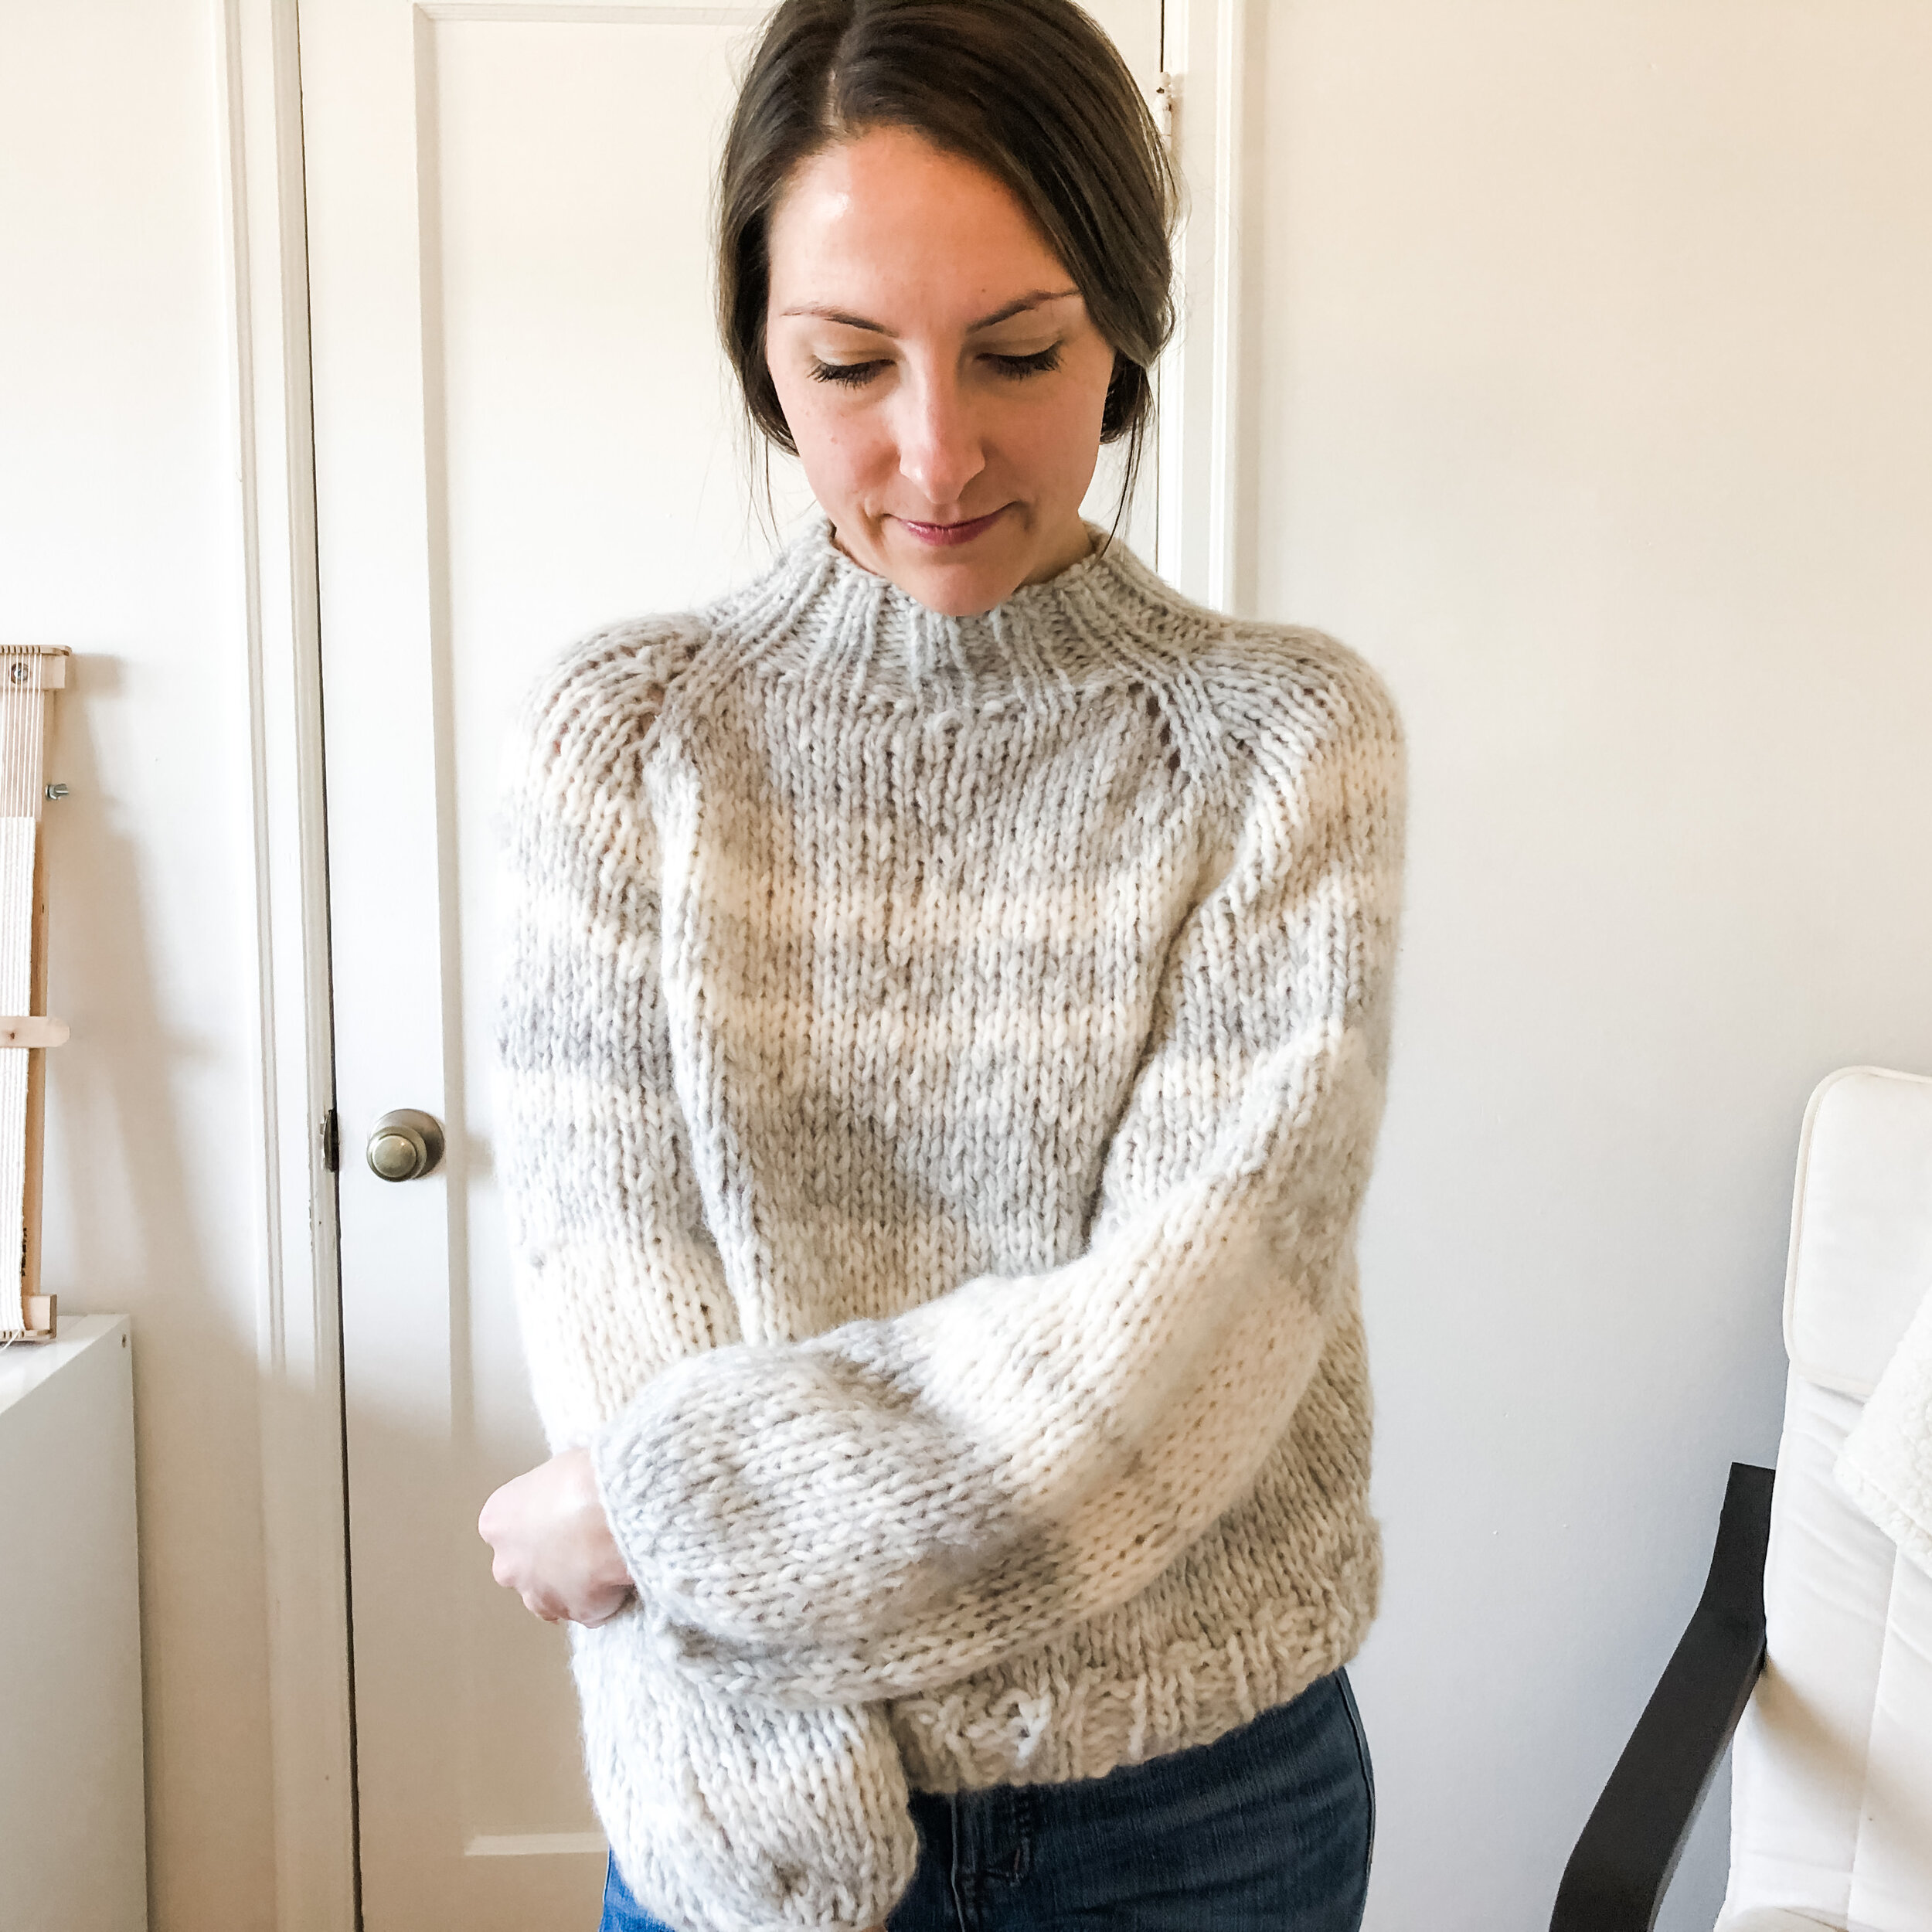
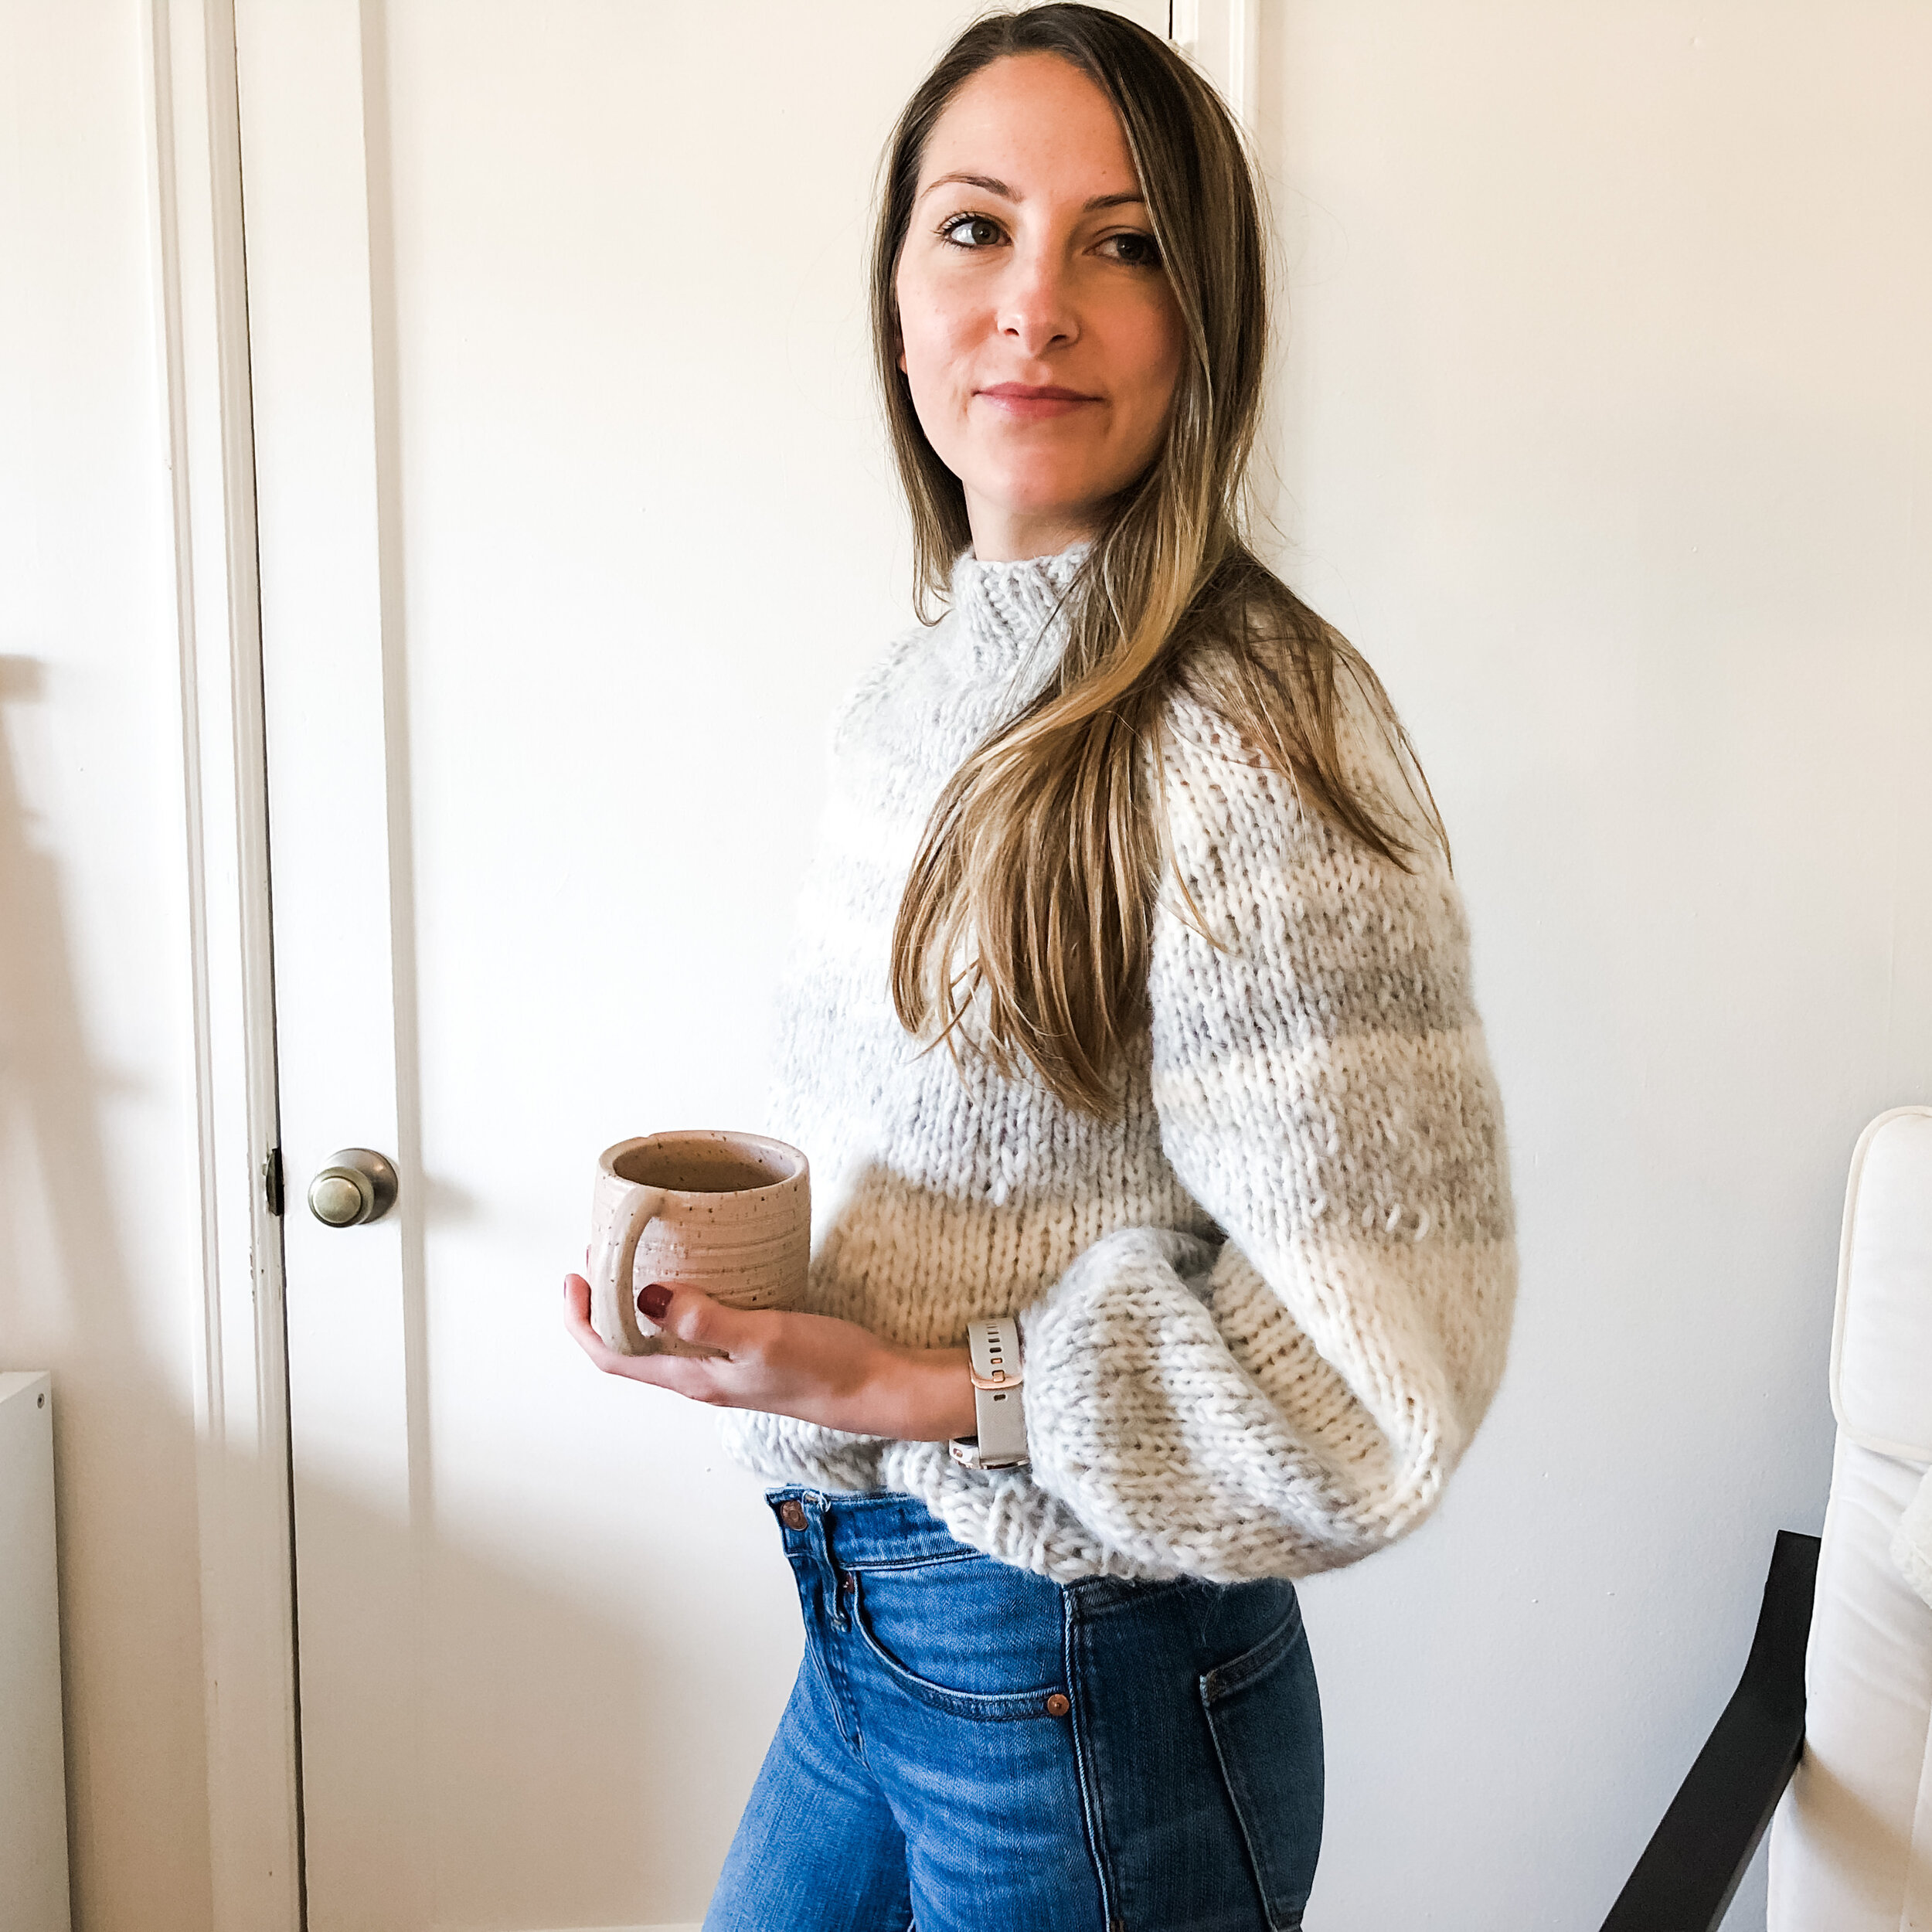
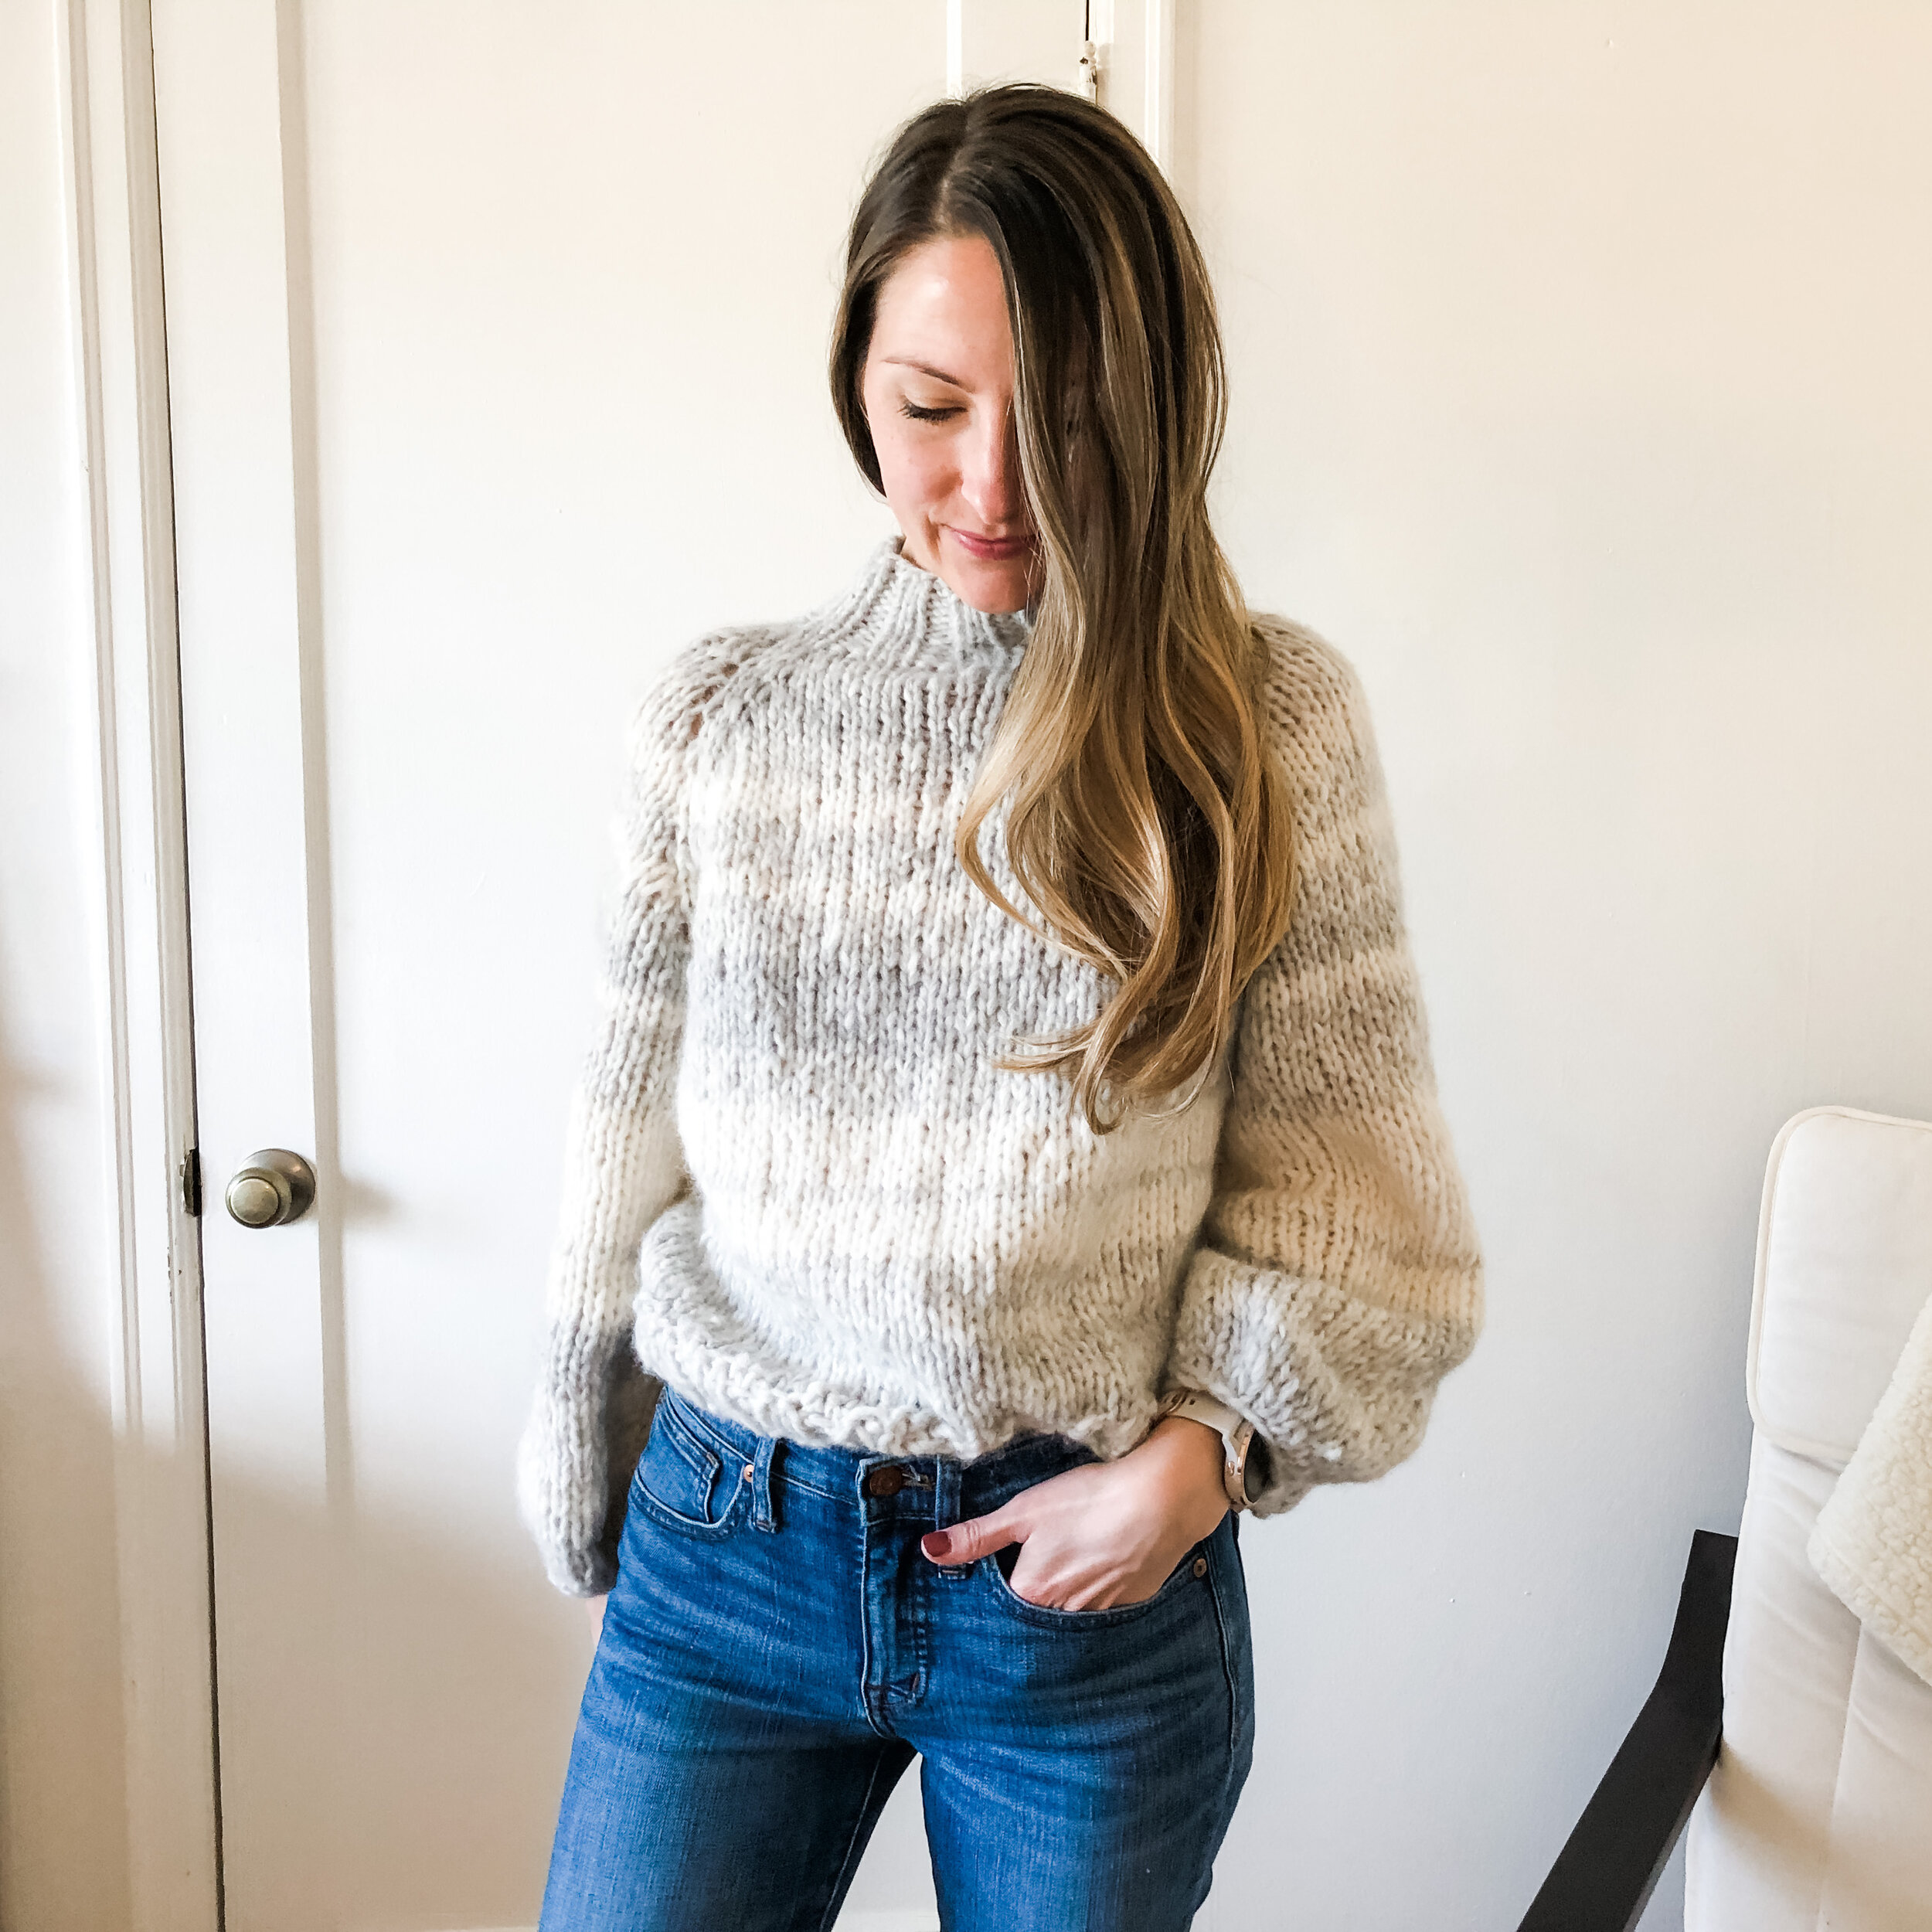
This Sable Sweater v2 is my first project of this year! I am excited to tell you all about the reason this project made it on my list for this, the process behind making it, and most importantly — how what I’ve learned here will translate and help inform my next project!
About this project:
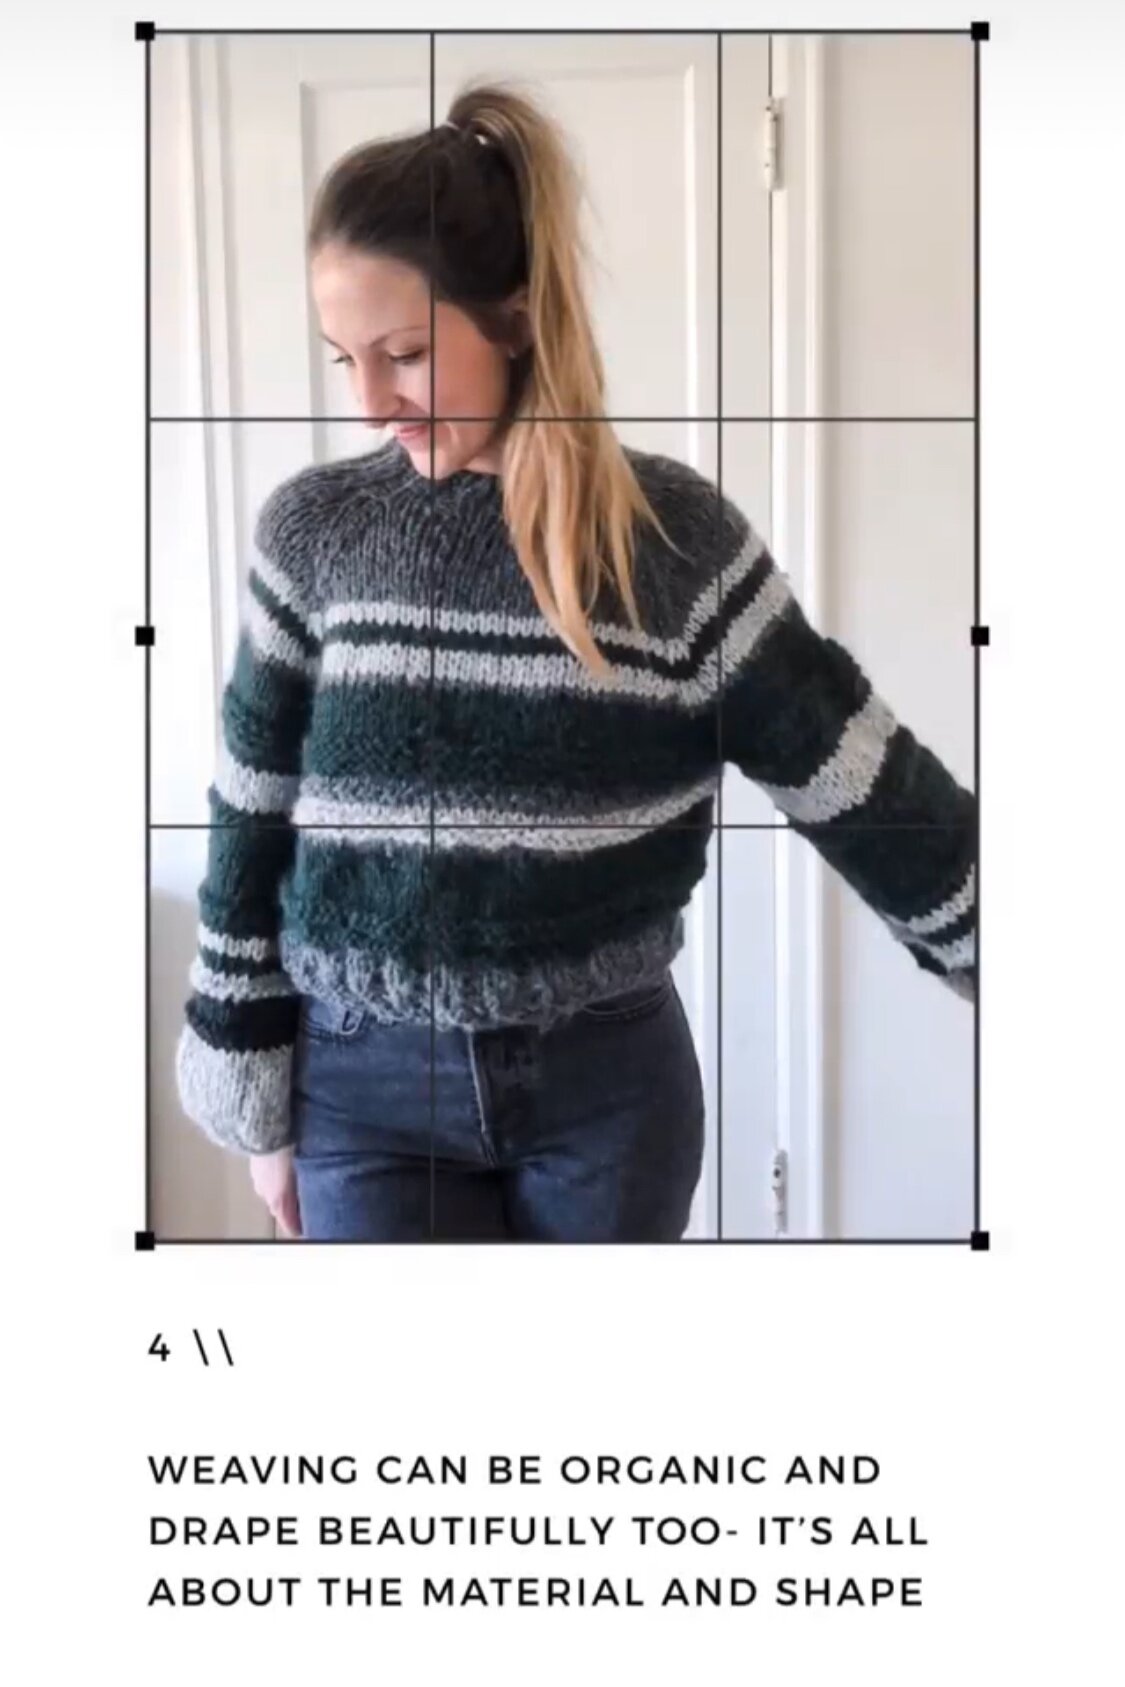
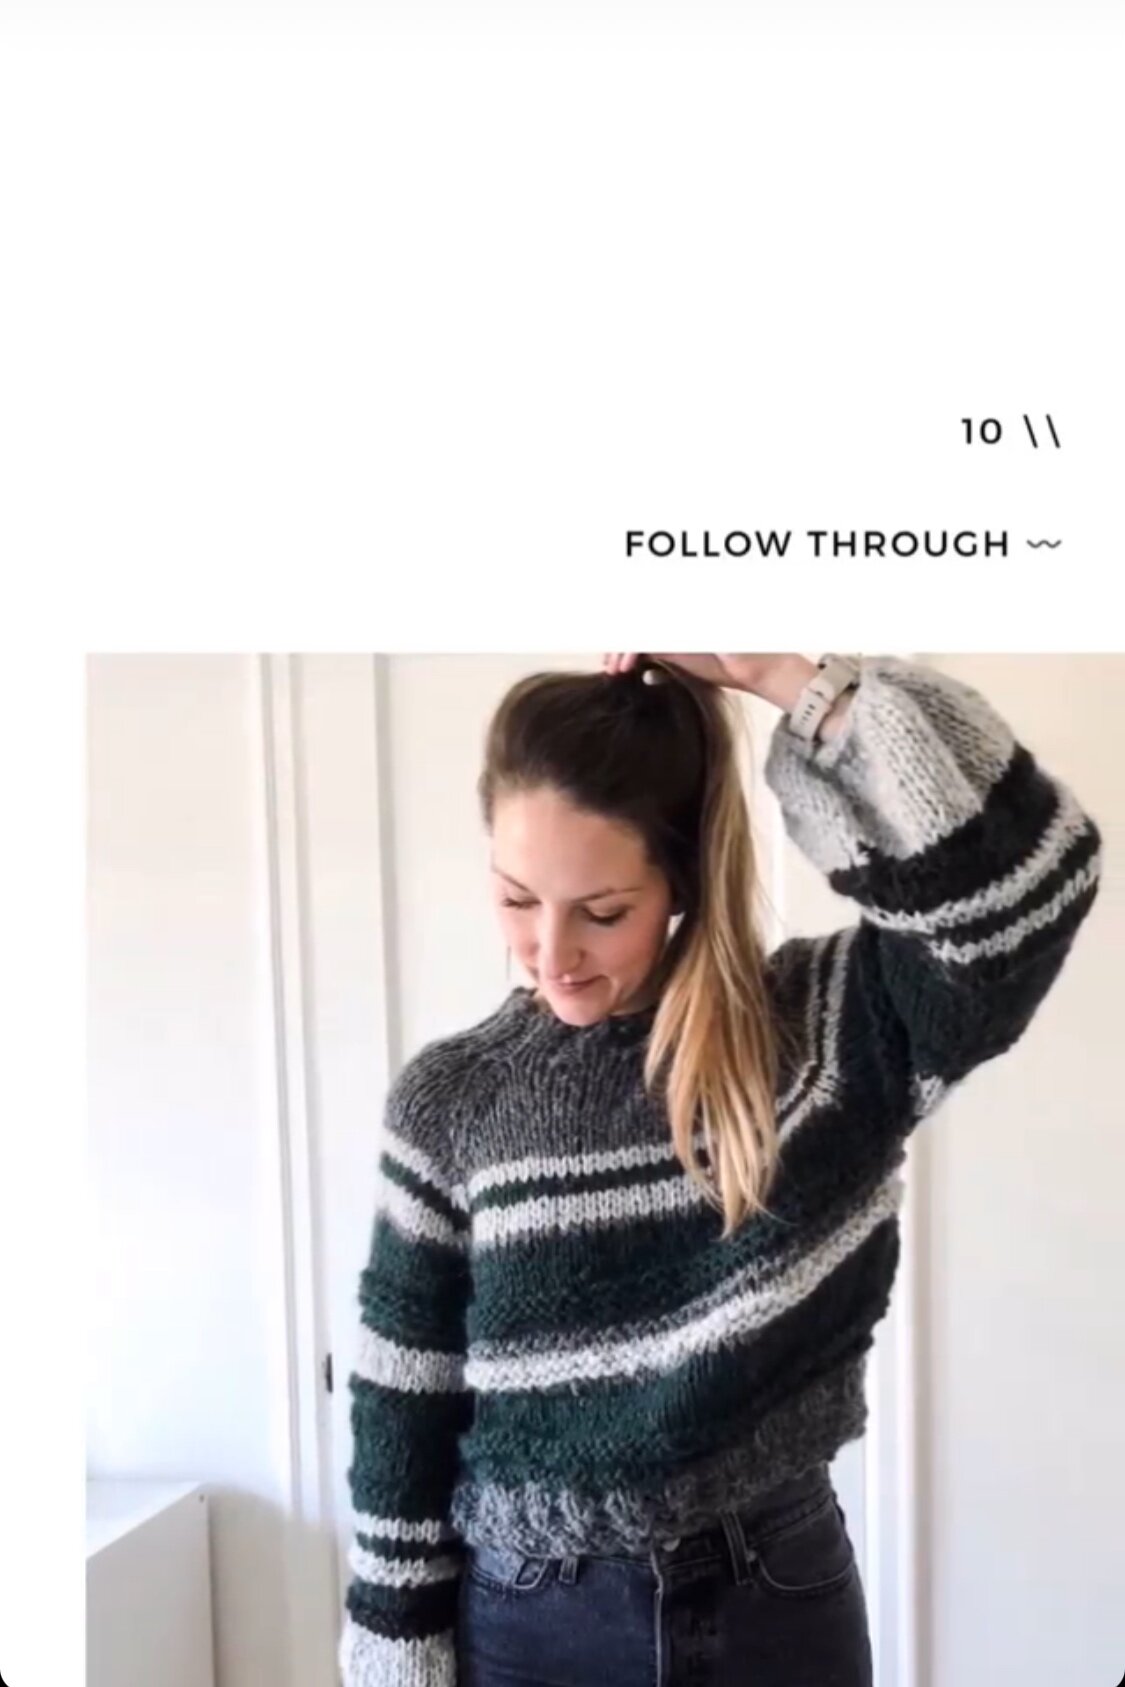
Last December I test-knit this Sable Sweater pattern by Bethany from WellLovedKnits. It was my first-ever knitting project (when I say I had to google everything…. I mean it!) and I was testing as an absolute beginner. I knew I’d love the process and want to knit a second one, but I didn’t think I’d do it right after the first. I also thought I wouldn’t finish the first after I accidentally made the yoke of the sweater two sizes too big and thought I’d have to scrap the whole garment and start over. Telling you— beginner! Prior to trying to unravel, I went ahead and ordered more yarn in different colors for my second try, which I call v2.
Well, I ended up being able to salvage the yarn from the ruined yoke and I started over and made what ended up being the v1 Sable Sweater!
I was happy with the outcome, but promised myself a fresh start using the new yarn. This is what became Project 1: 2021 \\ Sable Sweater v2.
Project planning:
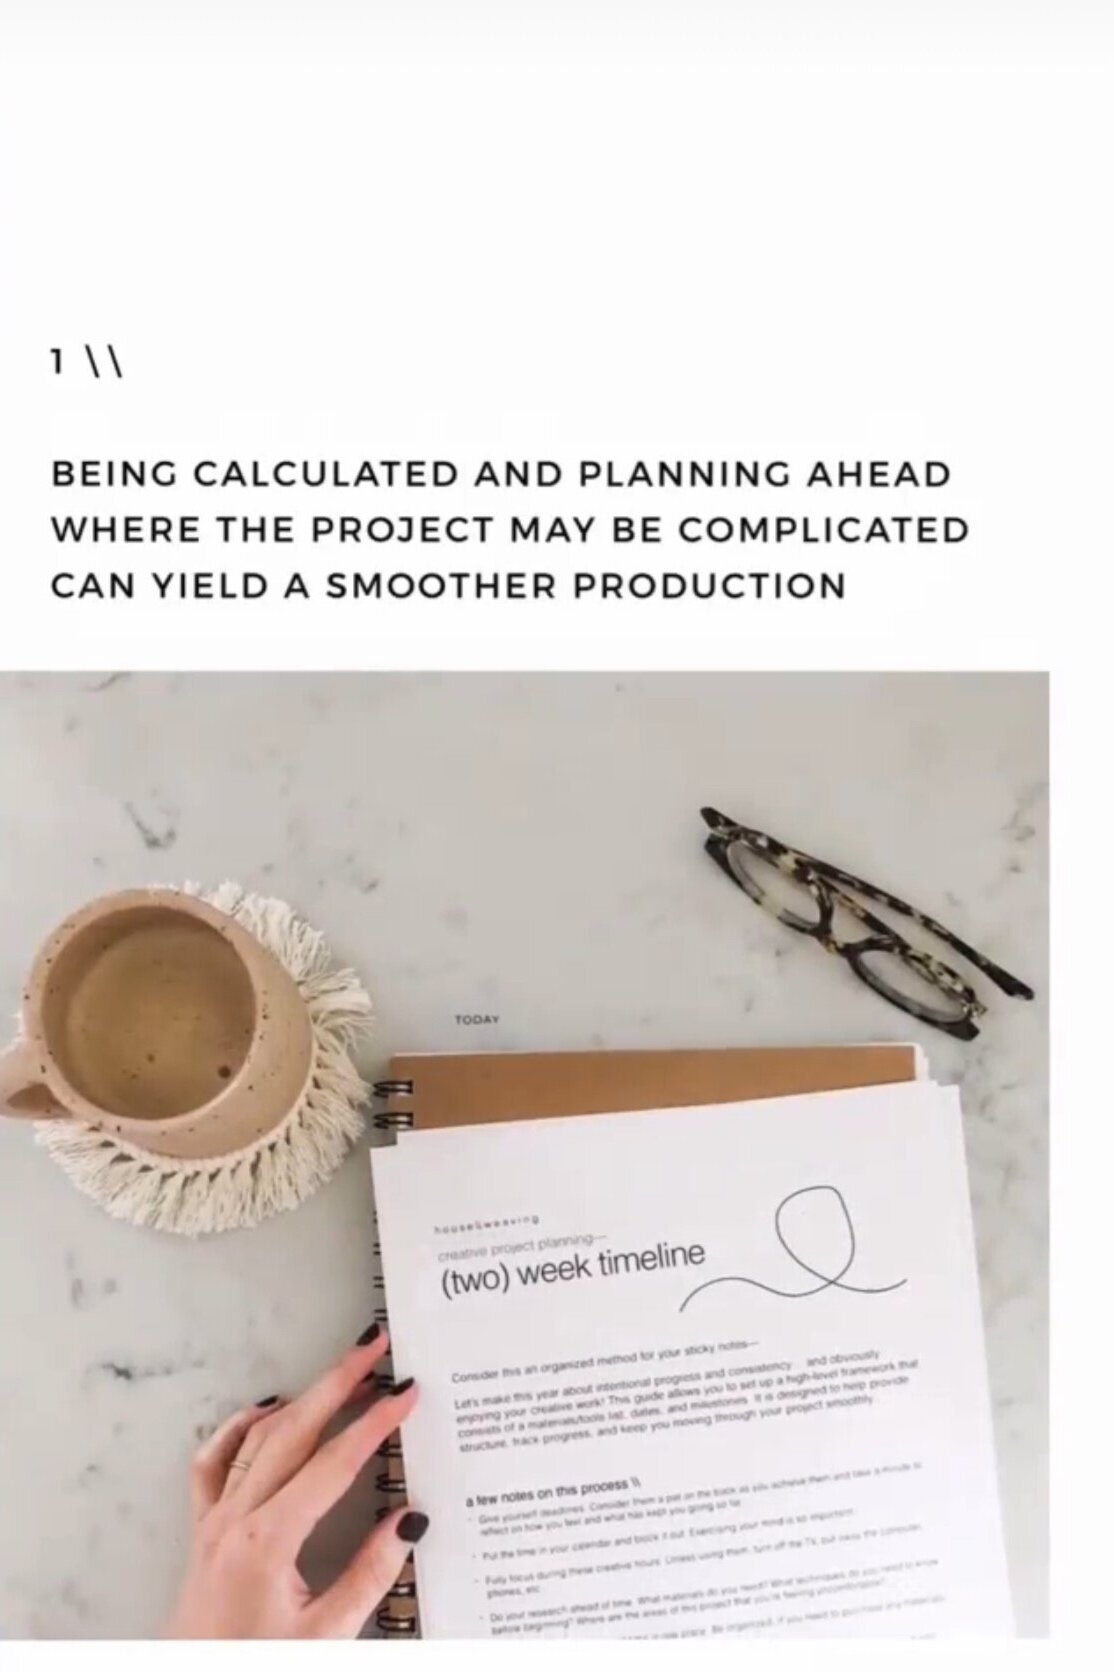
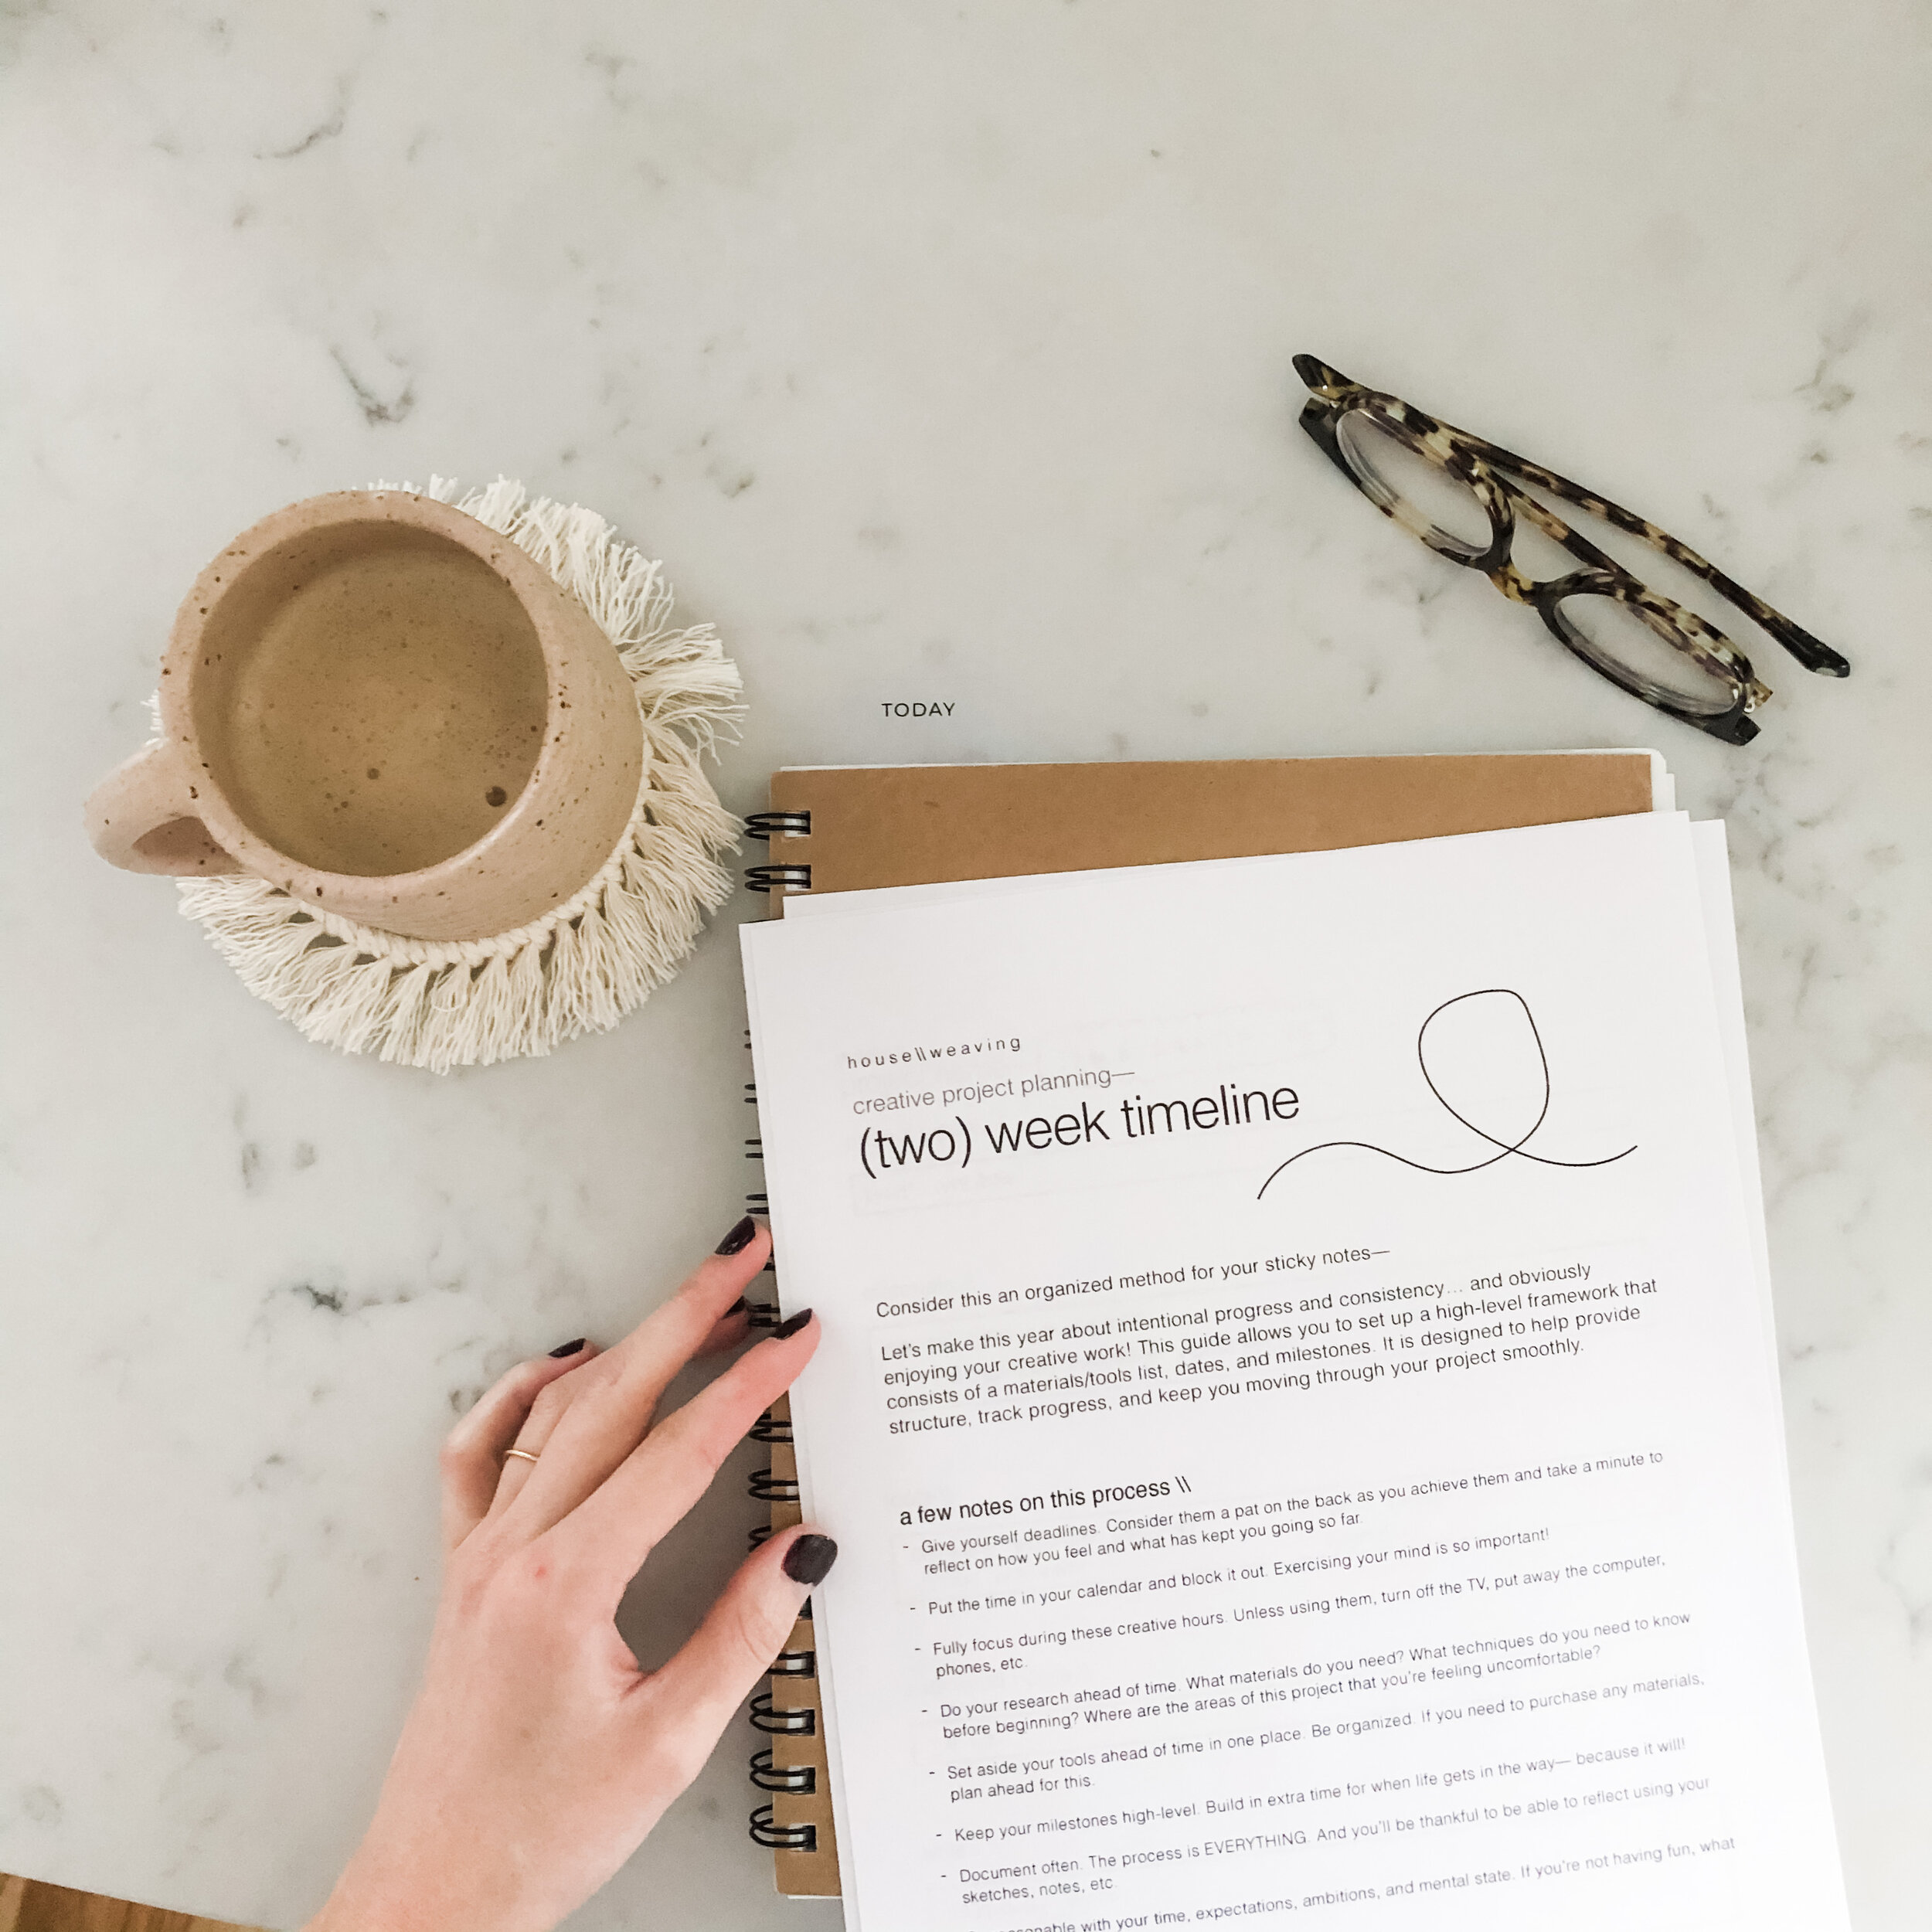
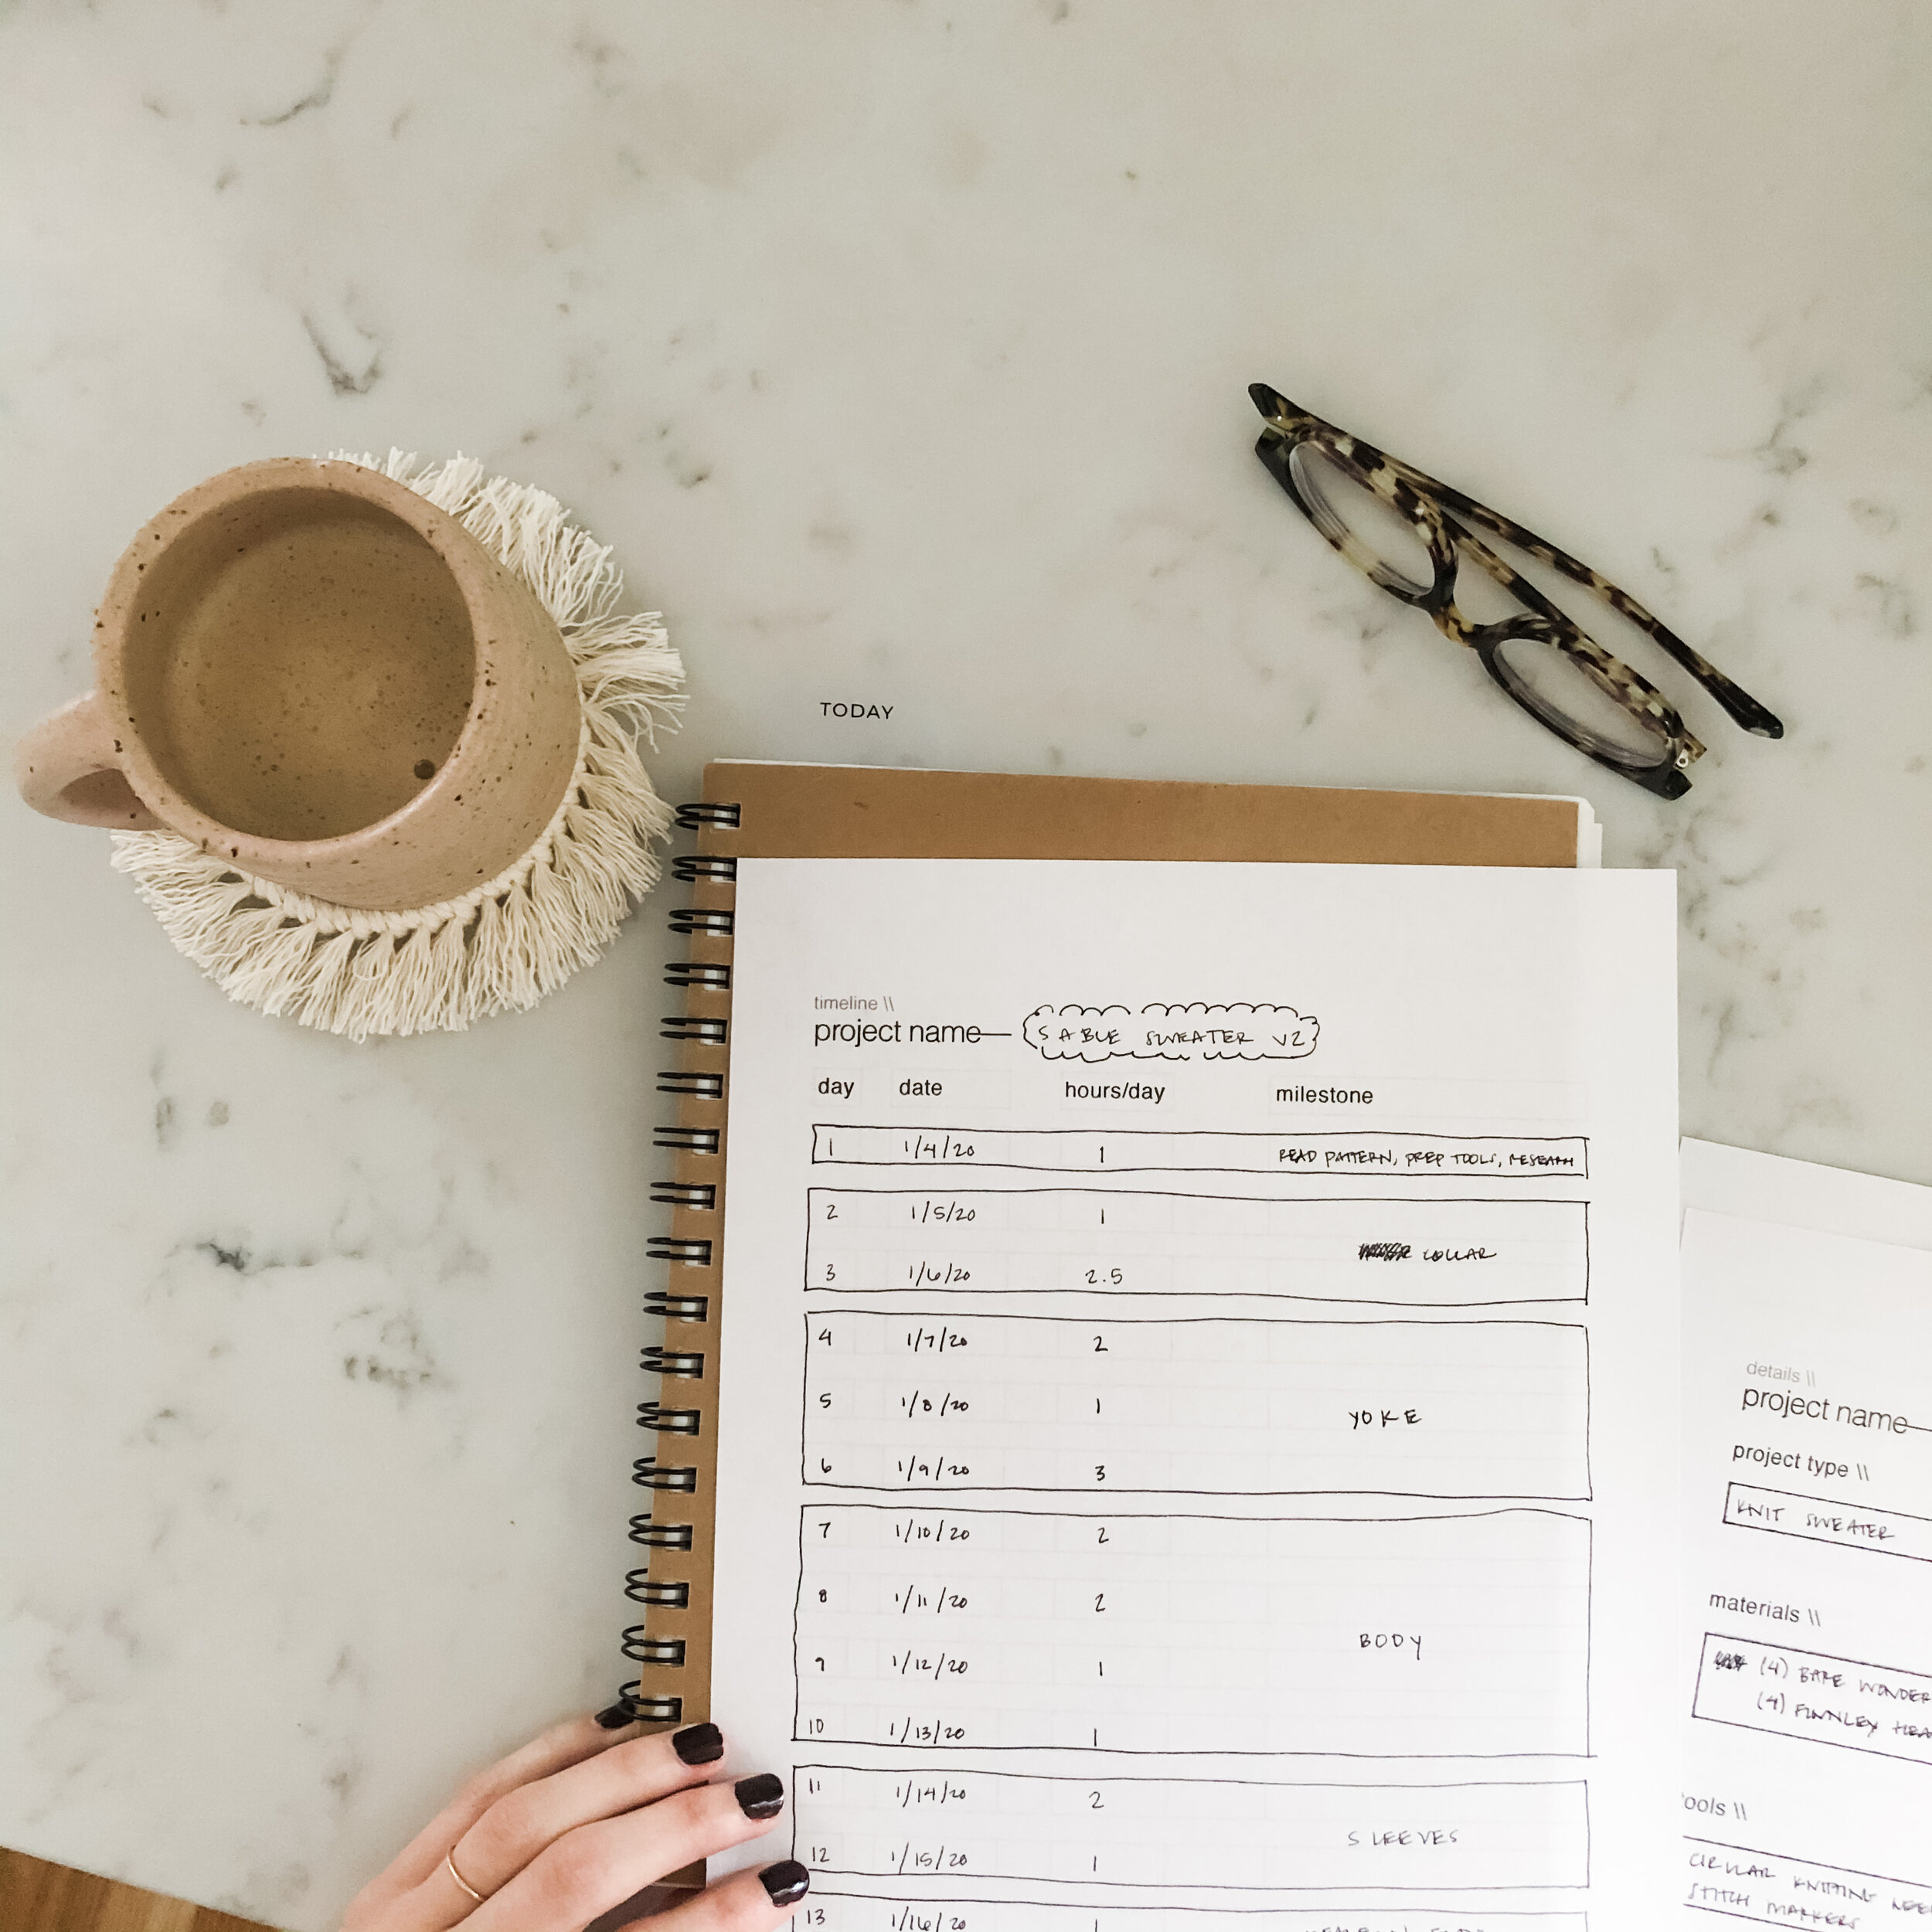
This year, to keep myself on track, I will be using my Project Planners of various lengths to identify the details and timeline for the projects. This is also a test period for me for these Planners before I officially let them out in the wild (stay tuned). This Sable Sweater v2 was a two-week project, so I used my Creative Project Planning: (two) week timeline.
Goals:
I also separately identified my goals before starting the project, which helps me stay committed knowing that I had intended to fulfill a larger question as to why I’m making this and putting myself through this process! Some days are harder than others and having that framework helps me stay focused and remember that what I will get out of each project is SO much more than I’d ever imagine.
They are:
Finish a new type of textile manipulation. ✔︎
Add this sweater to my closet of homemade garments. ✔︎
Practice consistency and planning. ✔︎
Let go of the mistakes. ✔︎
Help encourage others to pick up this hobby and try it out! ♡
A message for all of you that have never picked up knitting needles but are interested: I had saved images of Bethany’s work for many months before I took the plunge to try knitting. It didn’t even occur to me that a sweater may be out of my league for a first knit. I was excited and determined and… committed! This quantity of yarn is rather expensive. The naive ambition I had, carried me through and kept me going. So, if you have that excitement and motivation, USE THAT! You all have projects you want to try right there in front of you ready to be made and instead of letting any thoughts cloud your vision, just get your supplies in line and try it. You might surprise yourself like I did.

Details:
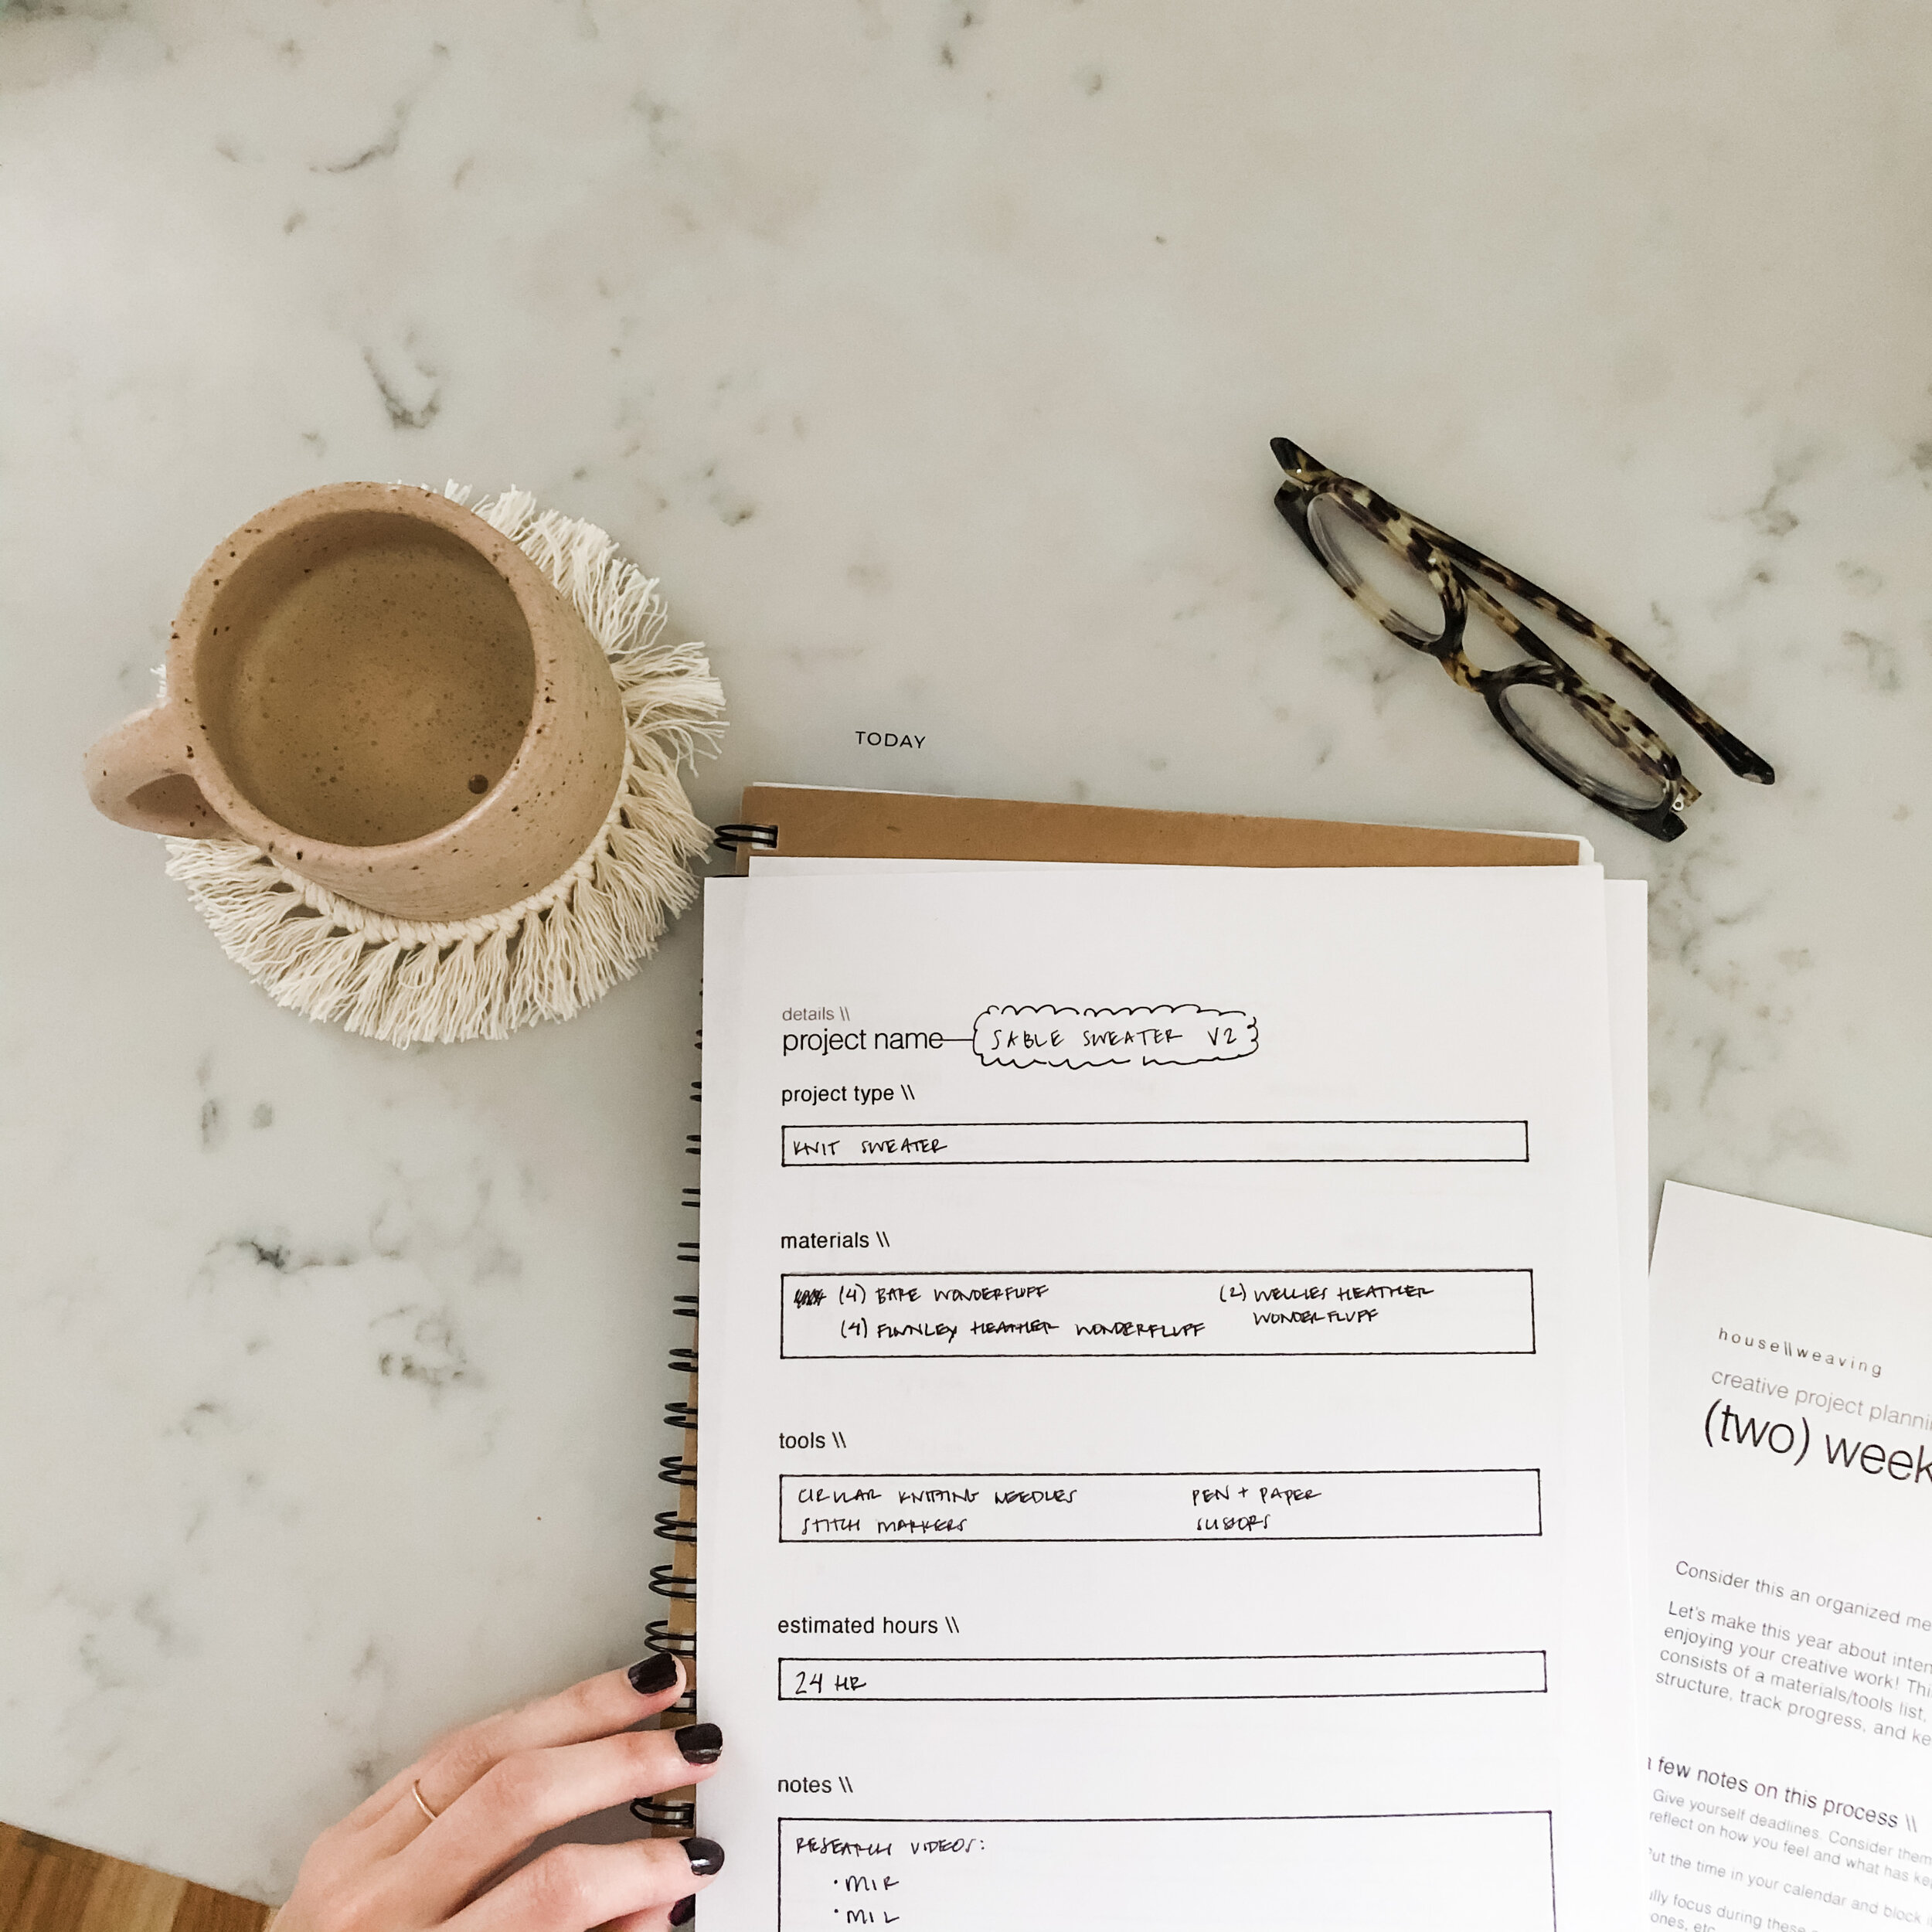
project type \\ knit sweater
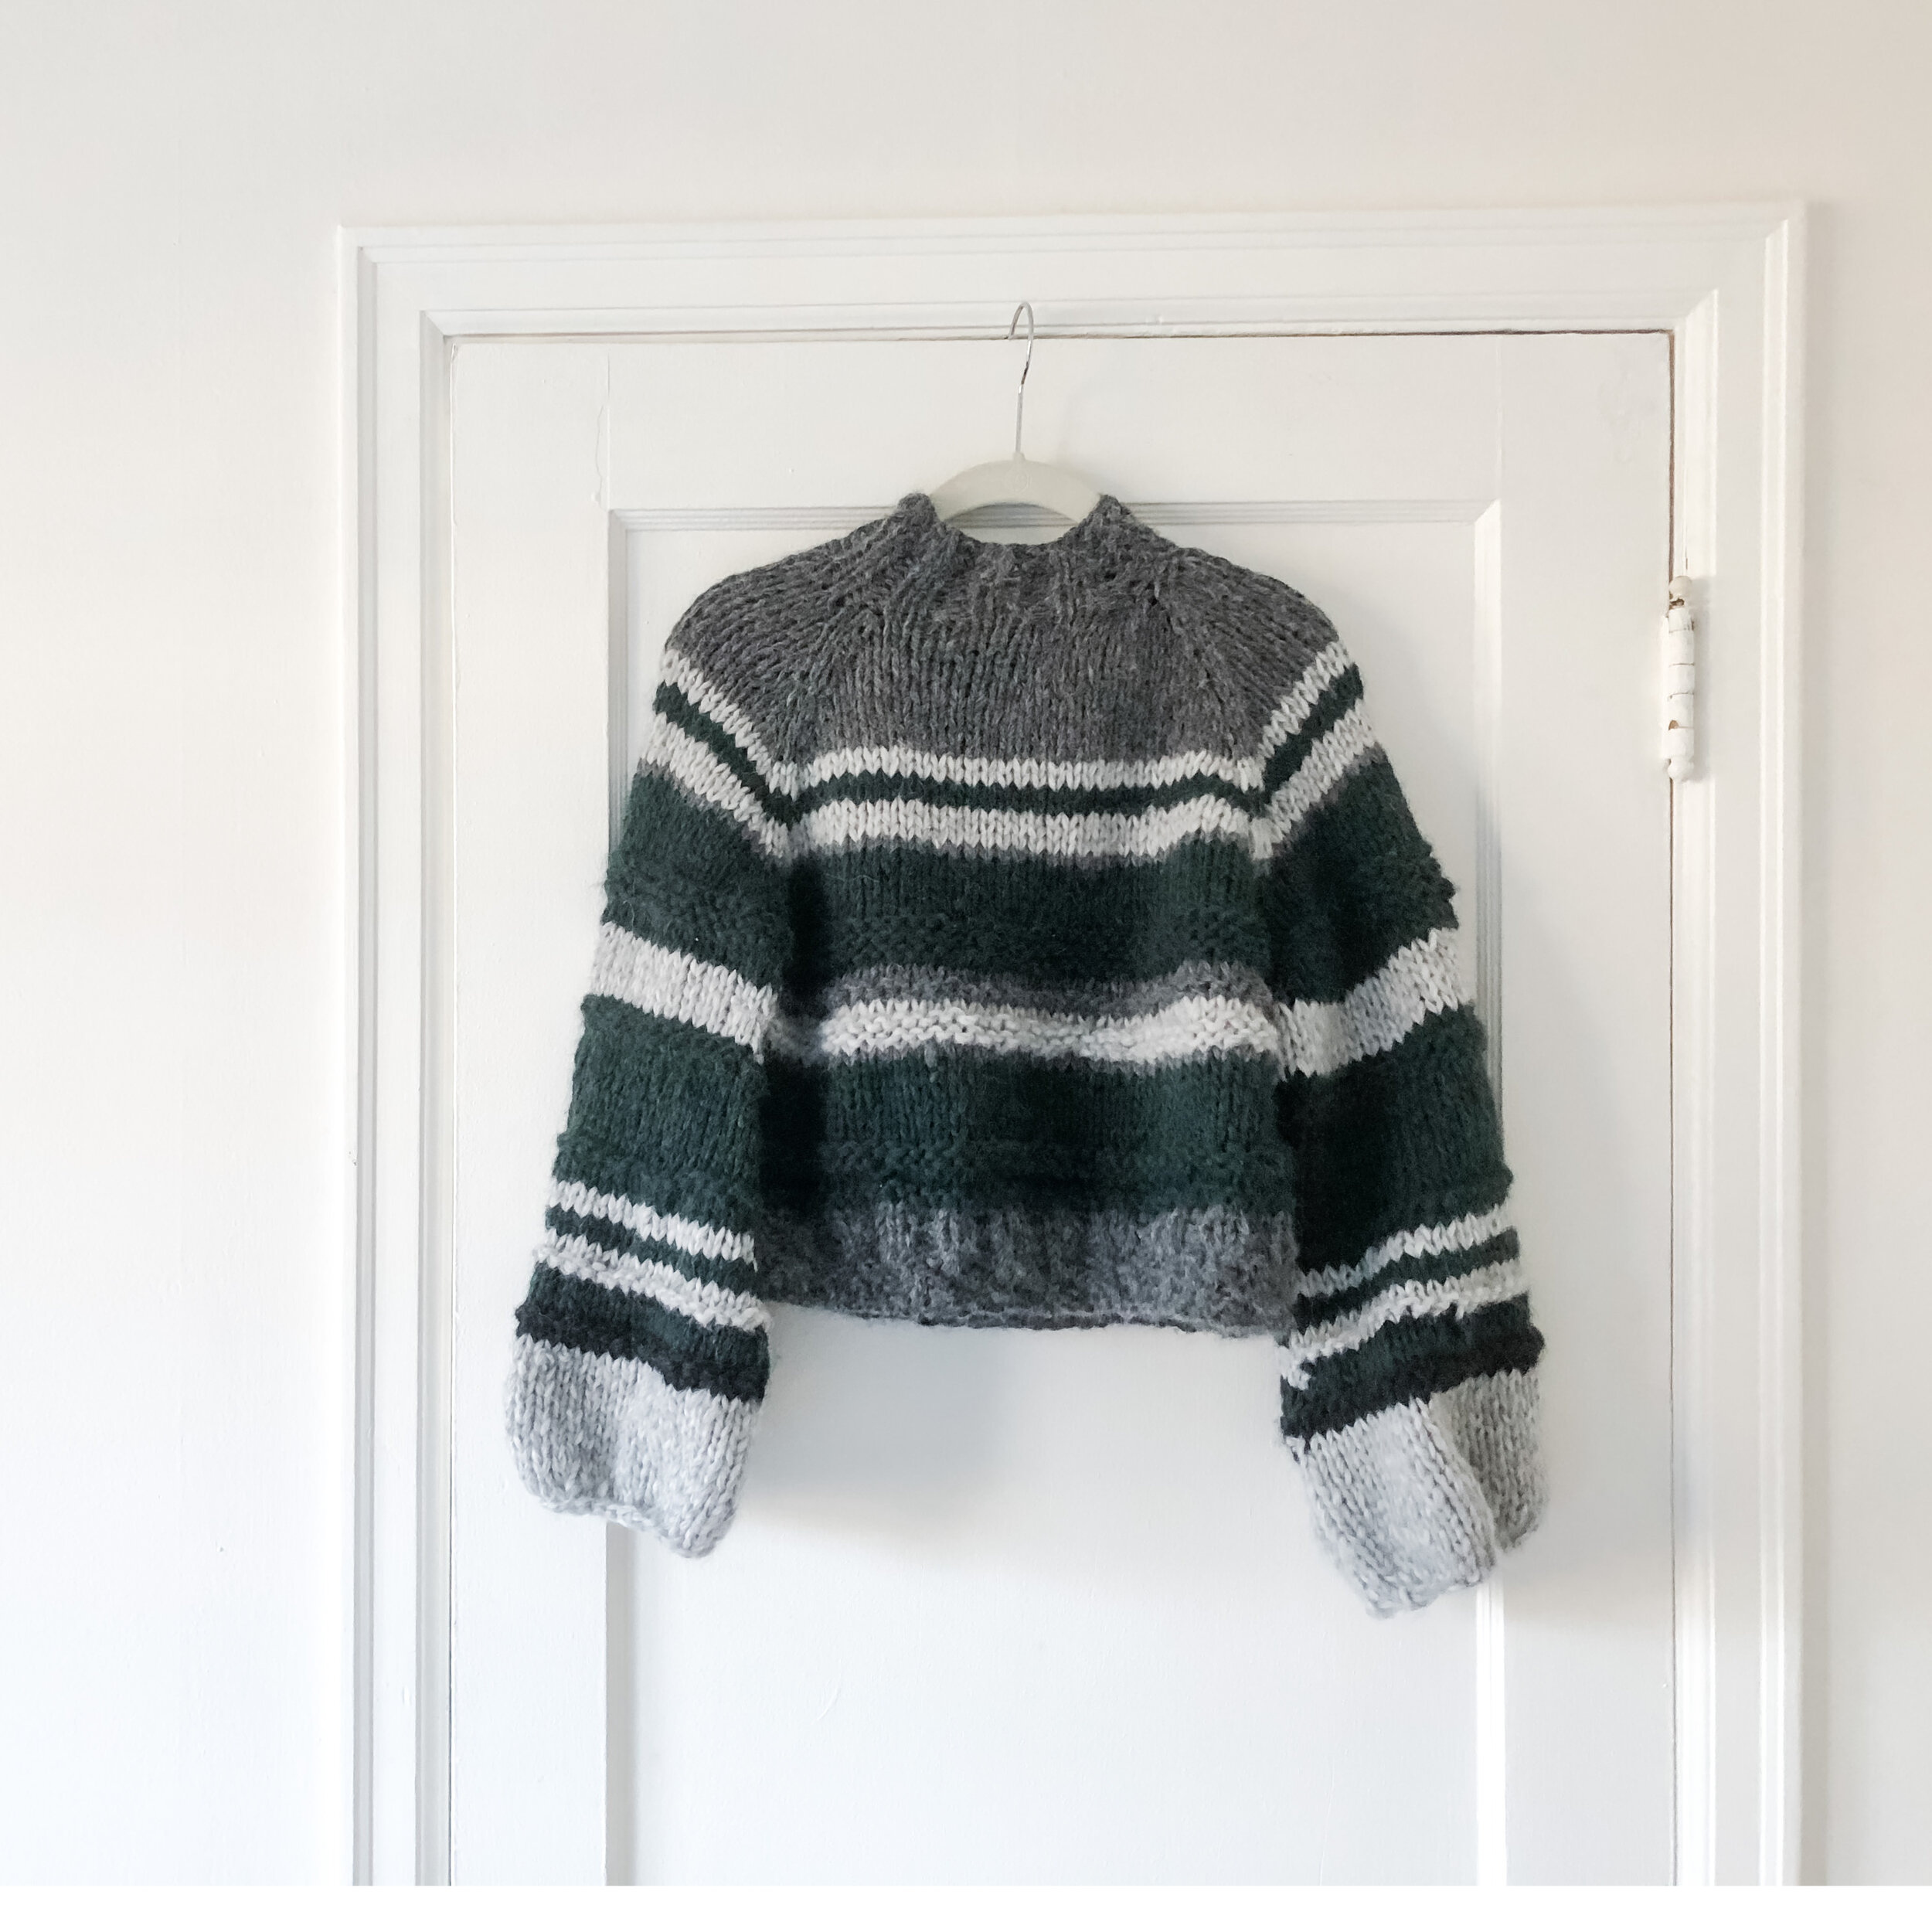
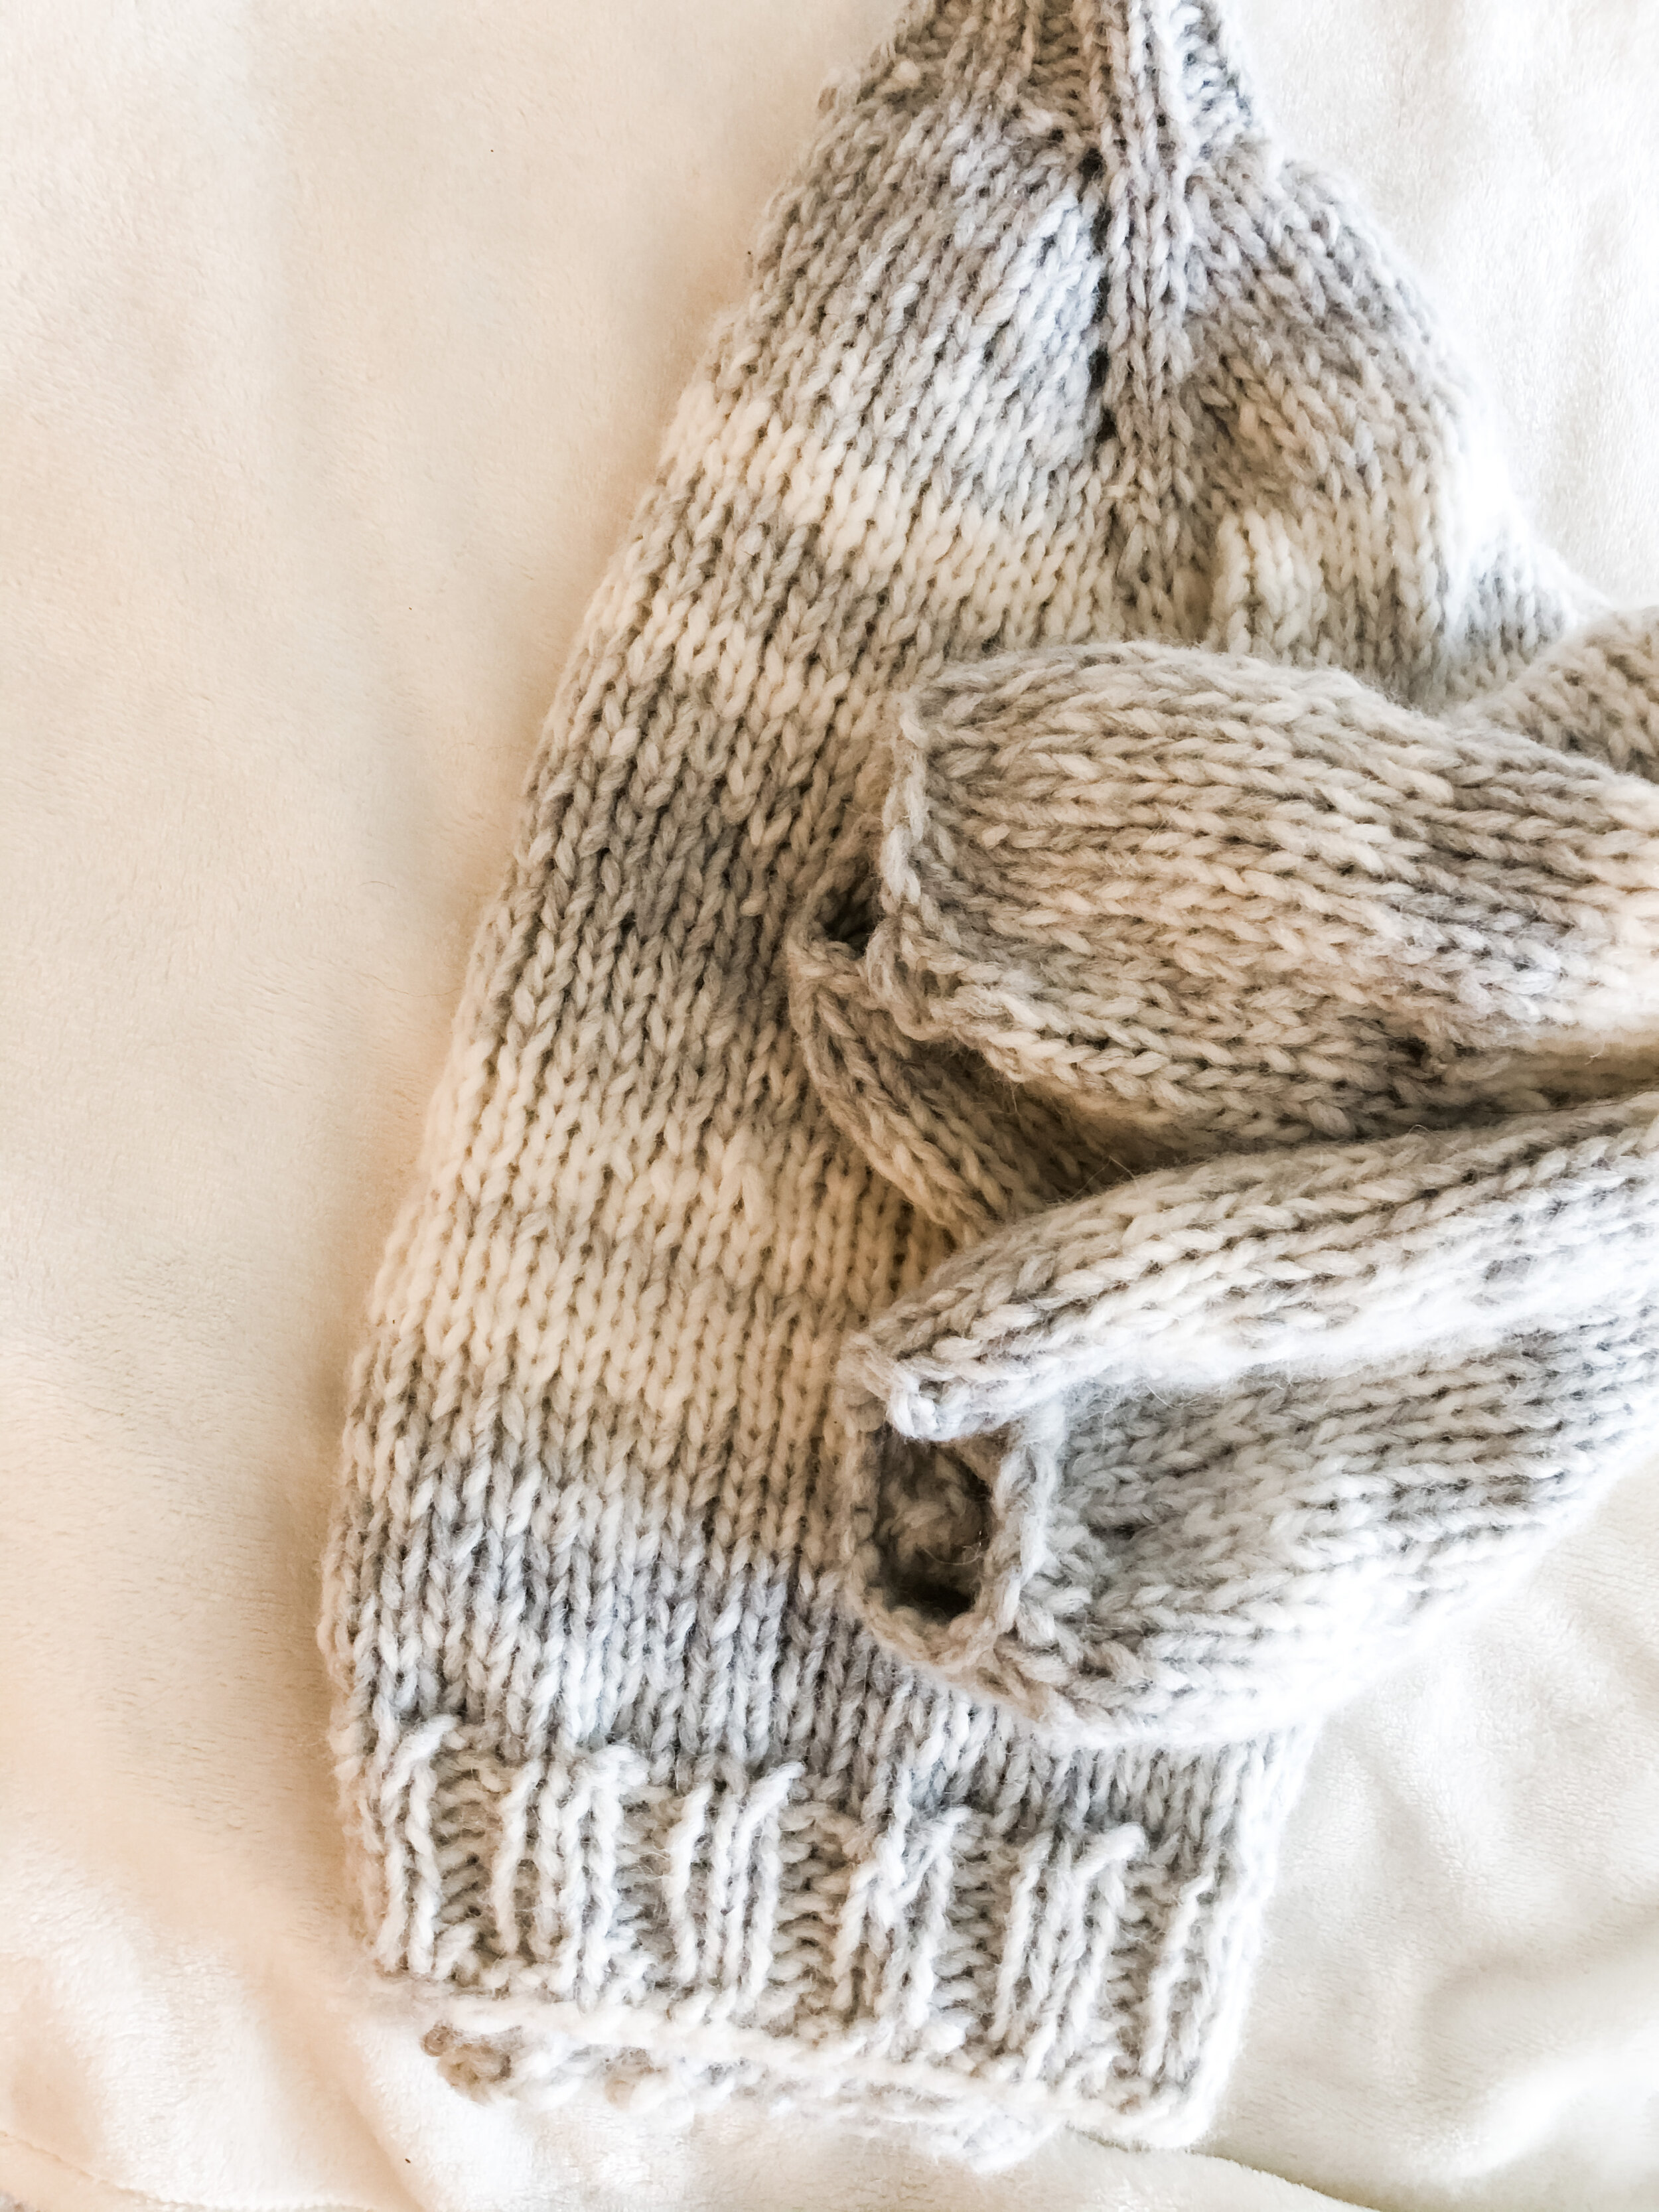
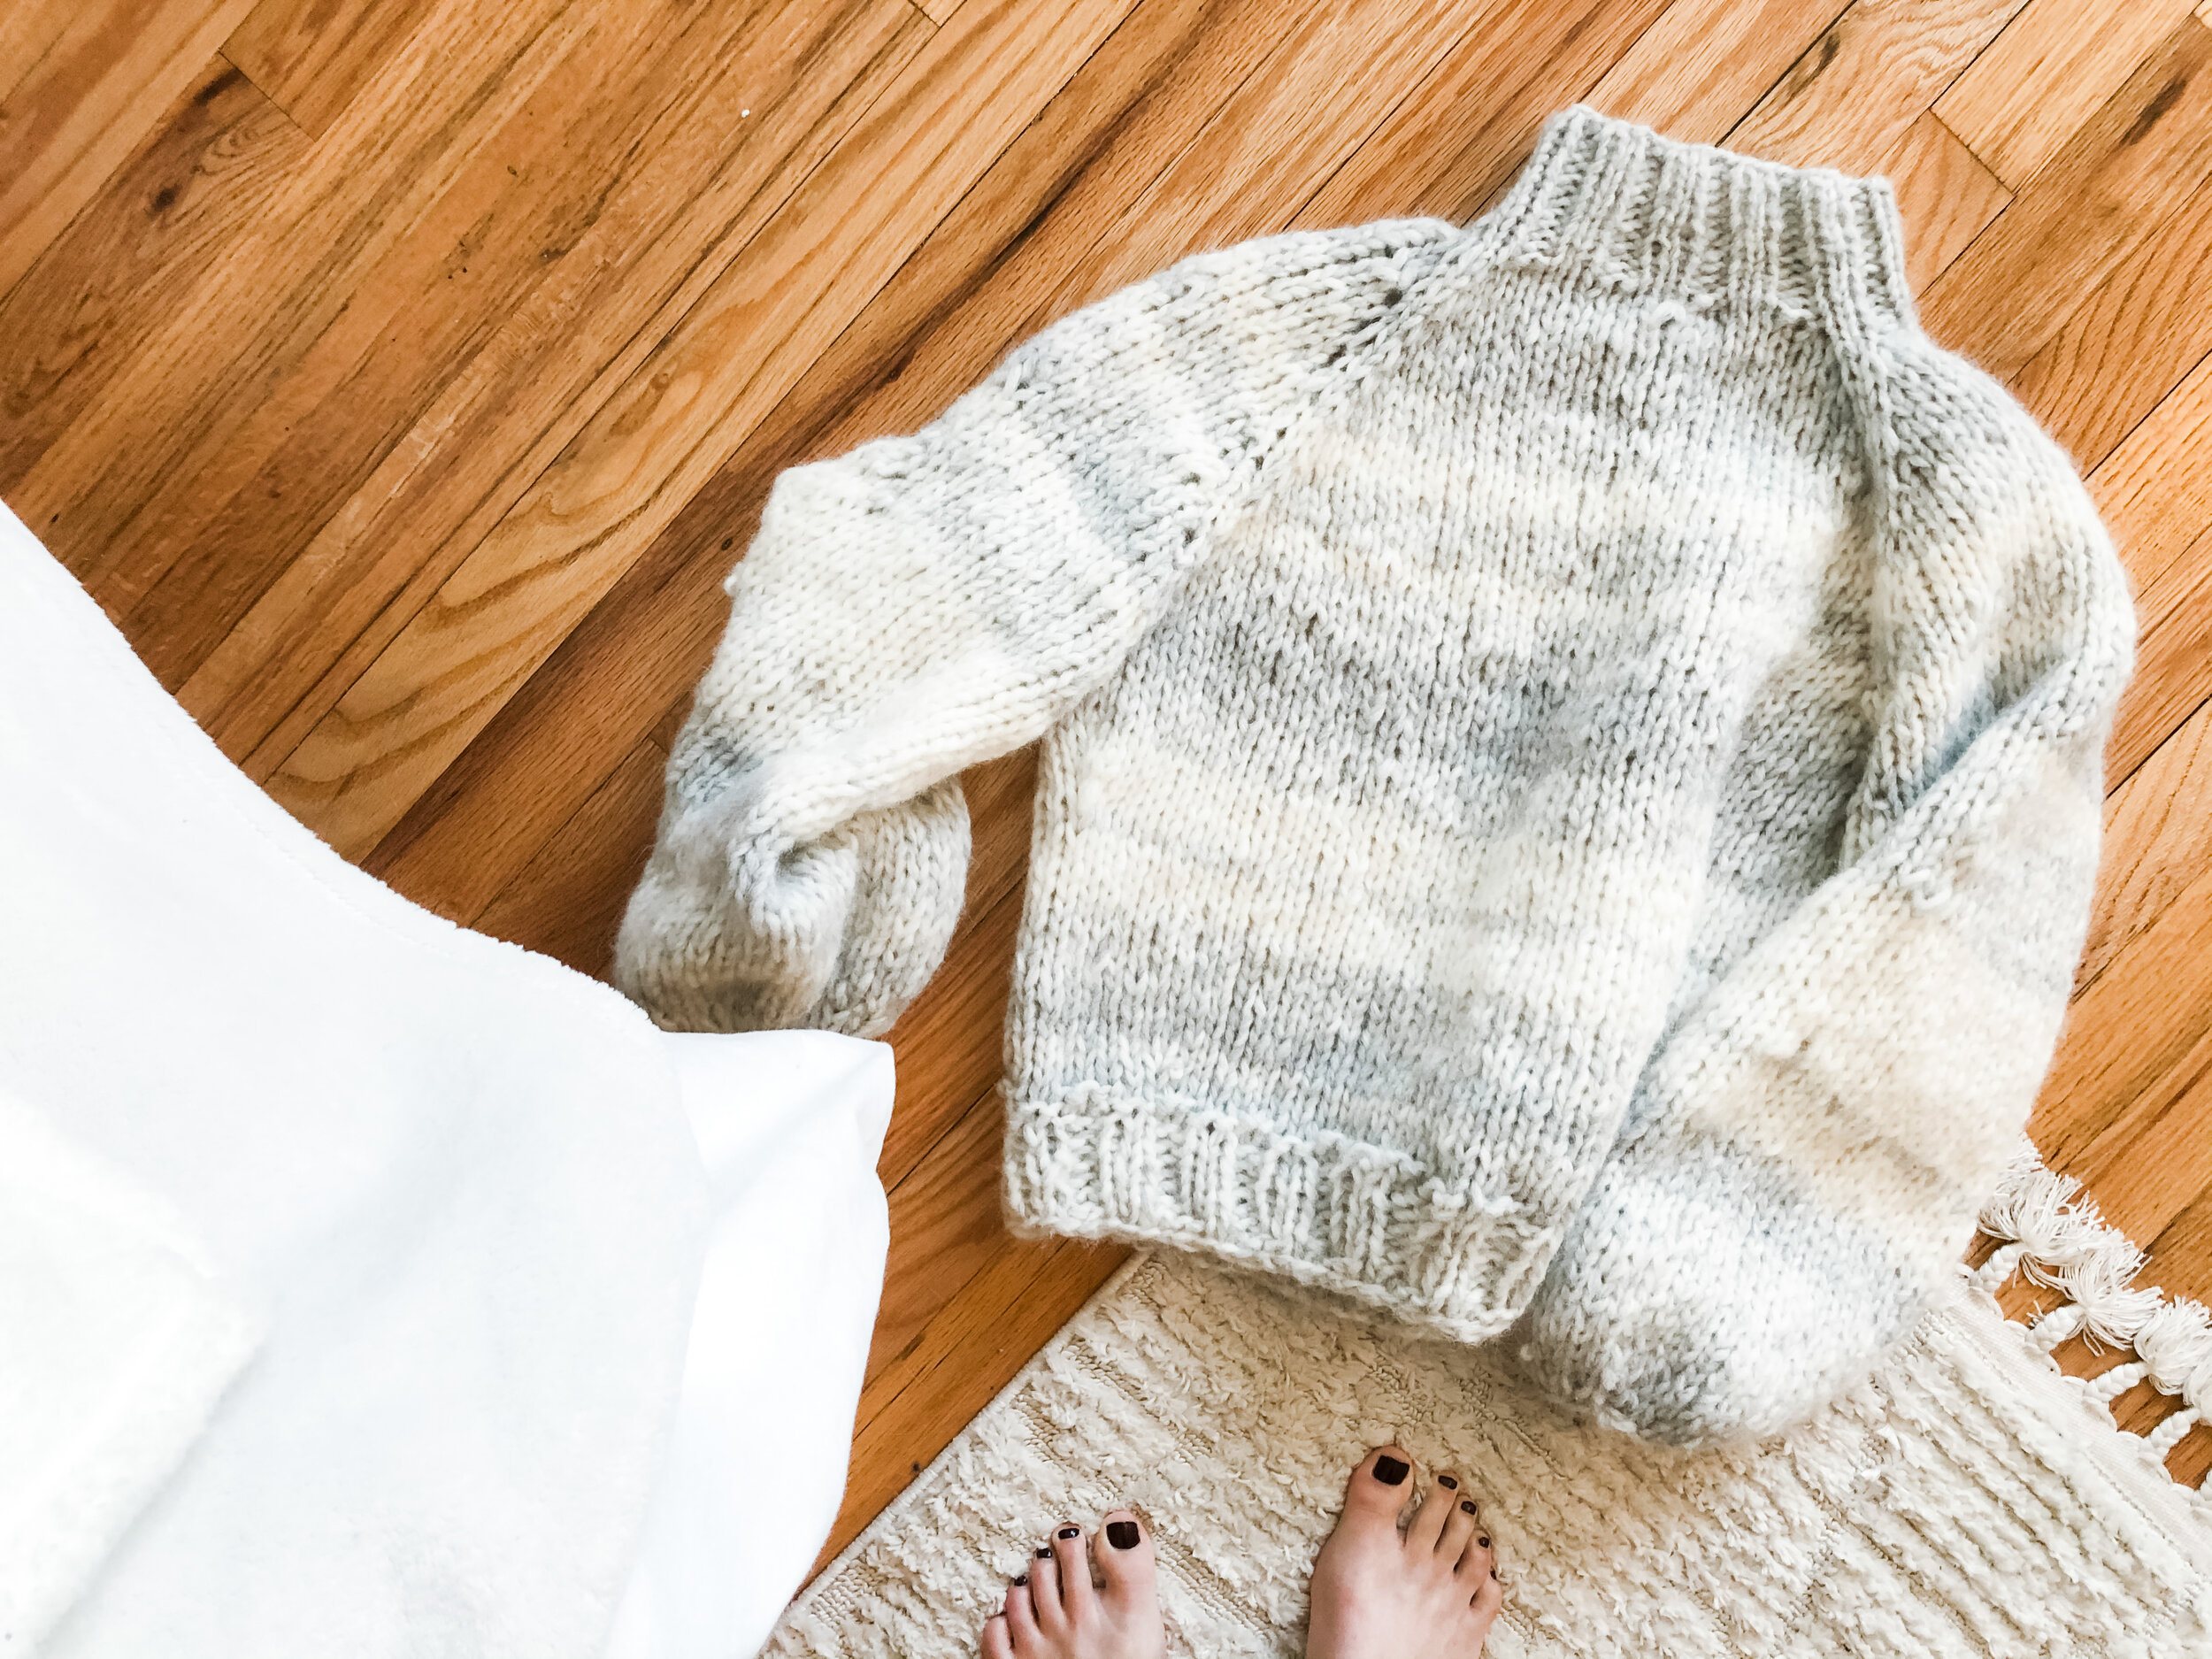
materials \\ Sable Sweater pattern, (4) skeins of Wonderfluff in Bare, (4) skeins of Wonderfluff in Finnley* from Knit Picks
tools \\ US 15 circular knitting needles, US 17 circular knitting needles, stitch markers, scissors, paper, and a pen
estimated hours \\ 24hr
*see lessons learned below about ordering extra :)
Process:
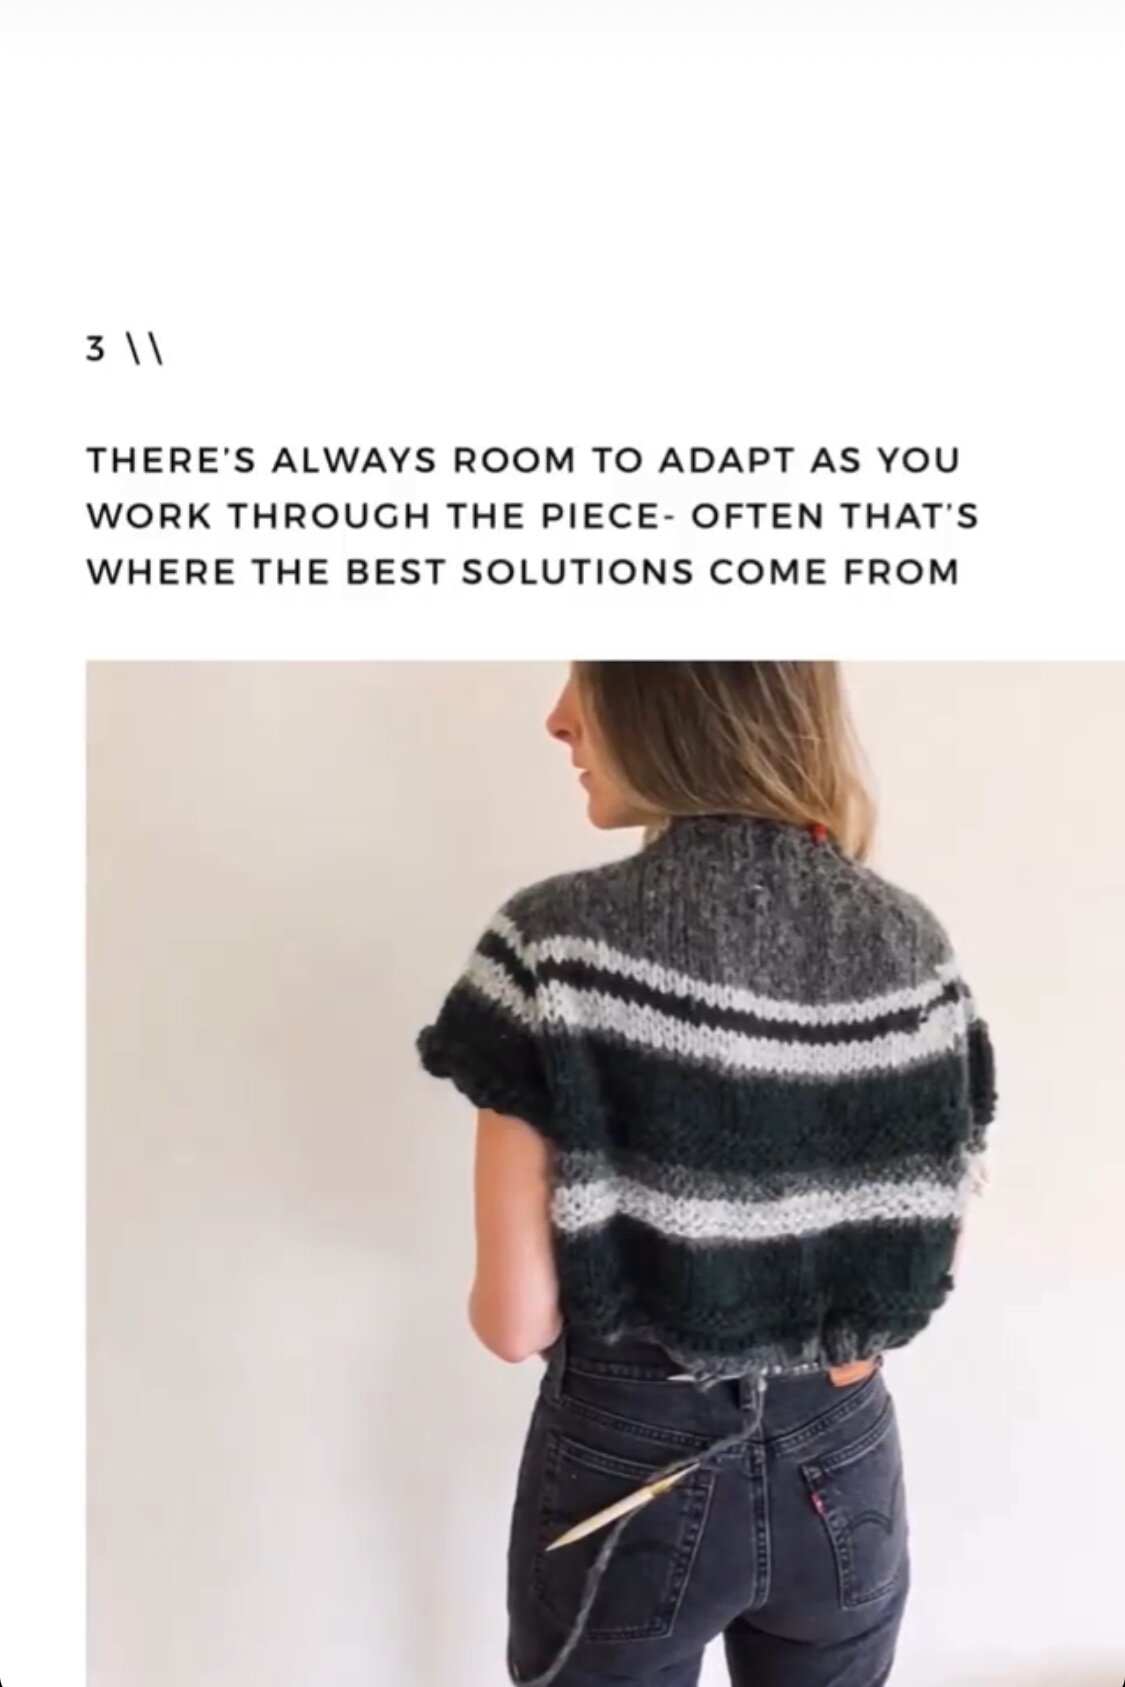
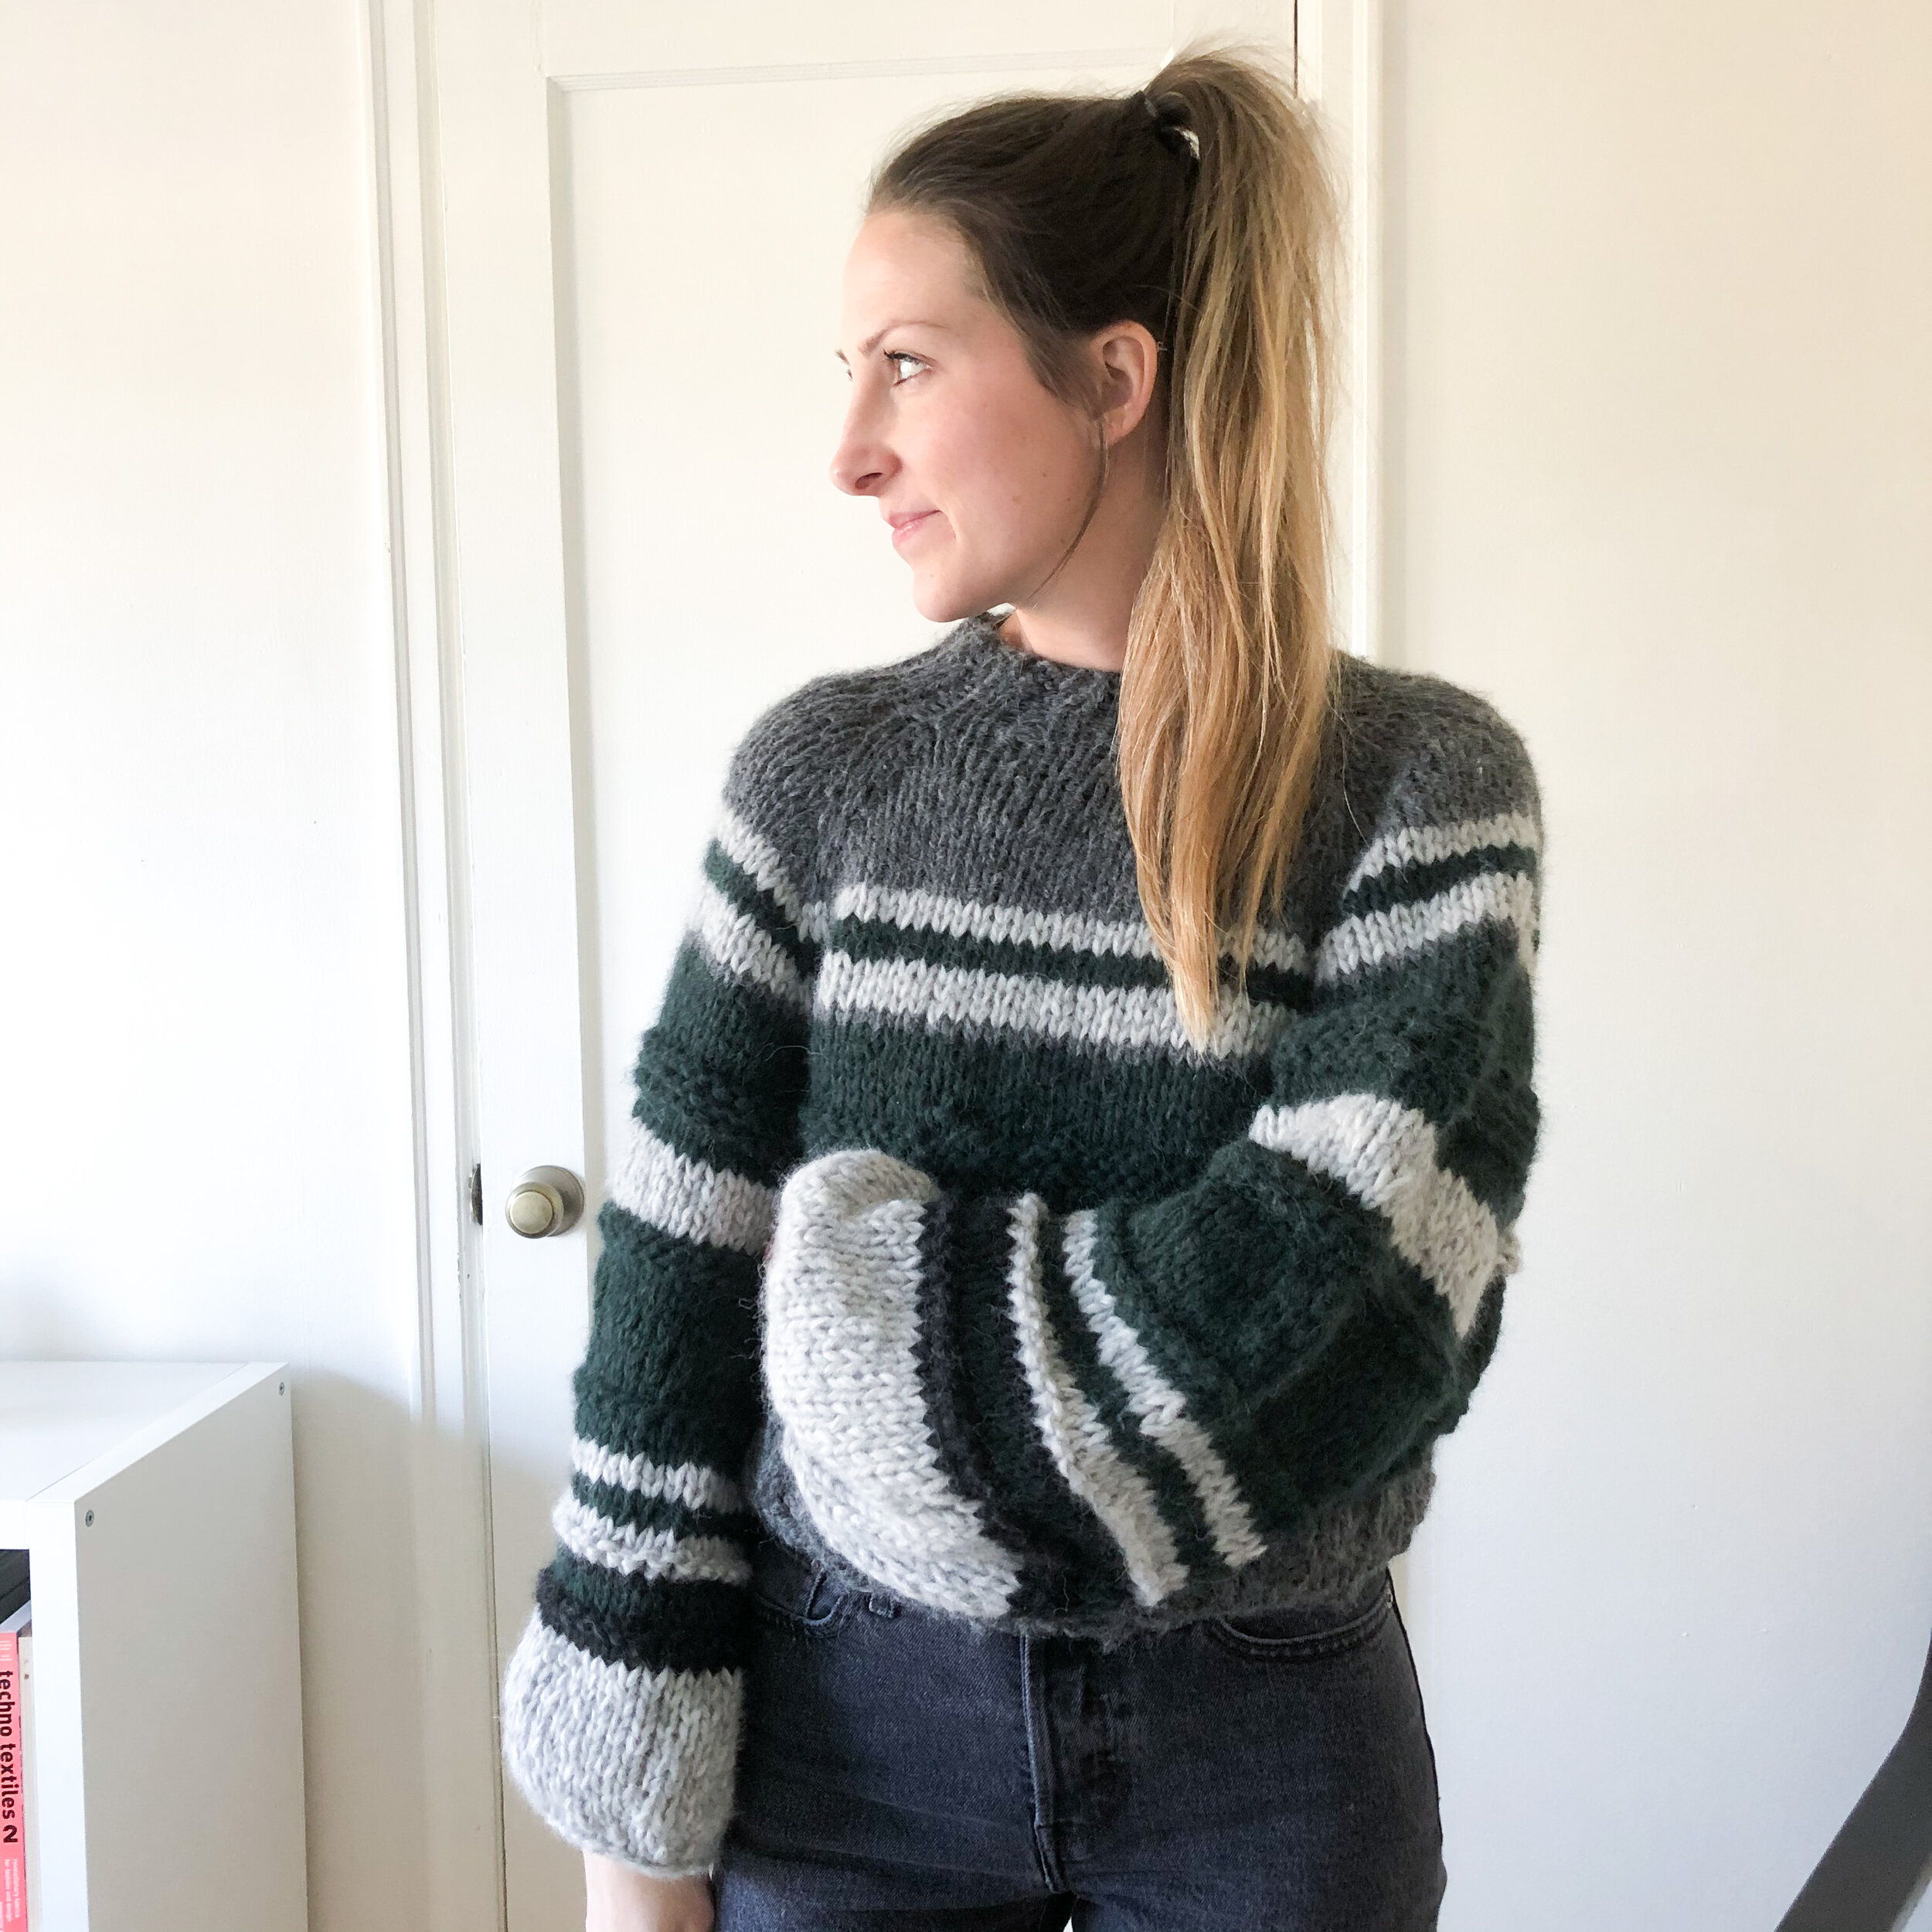
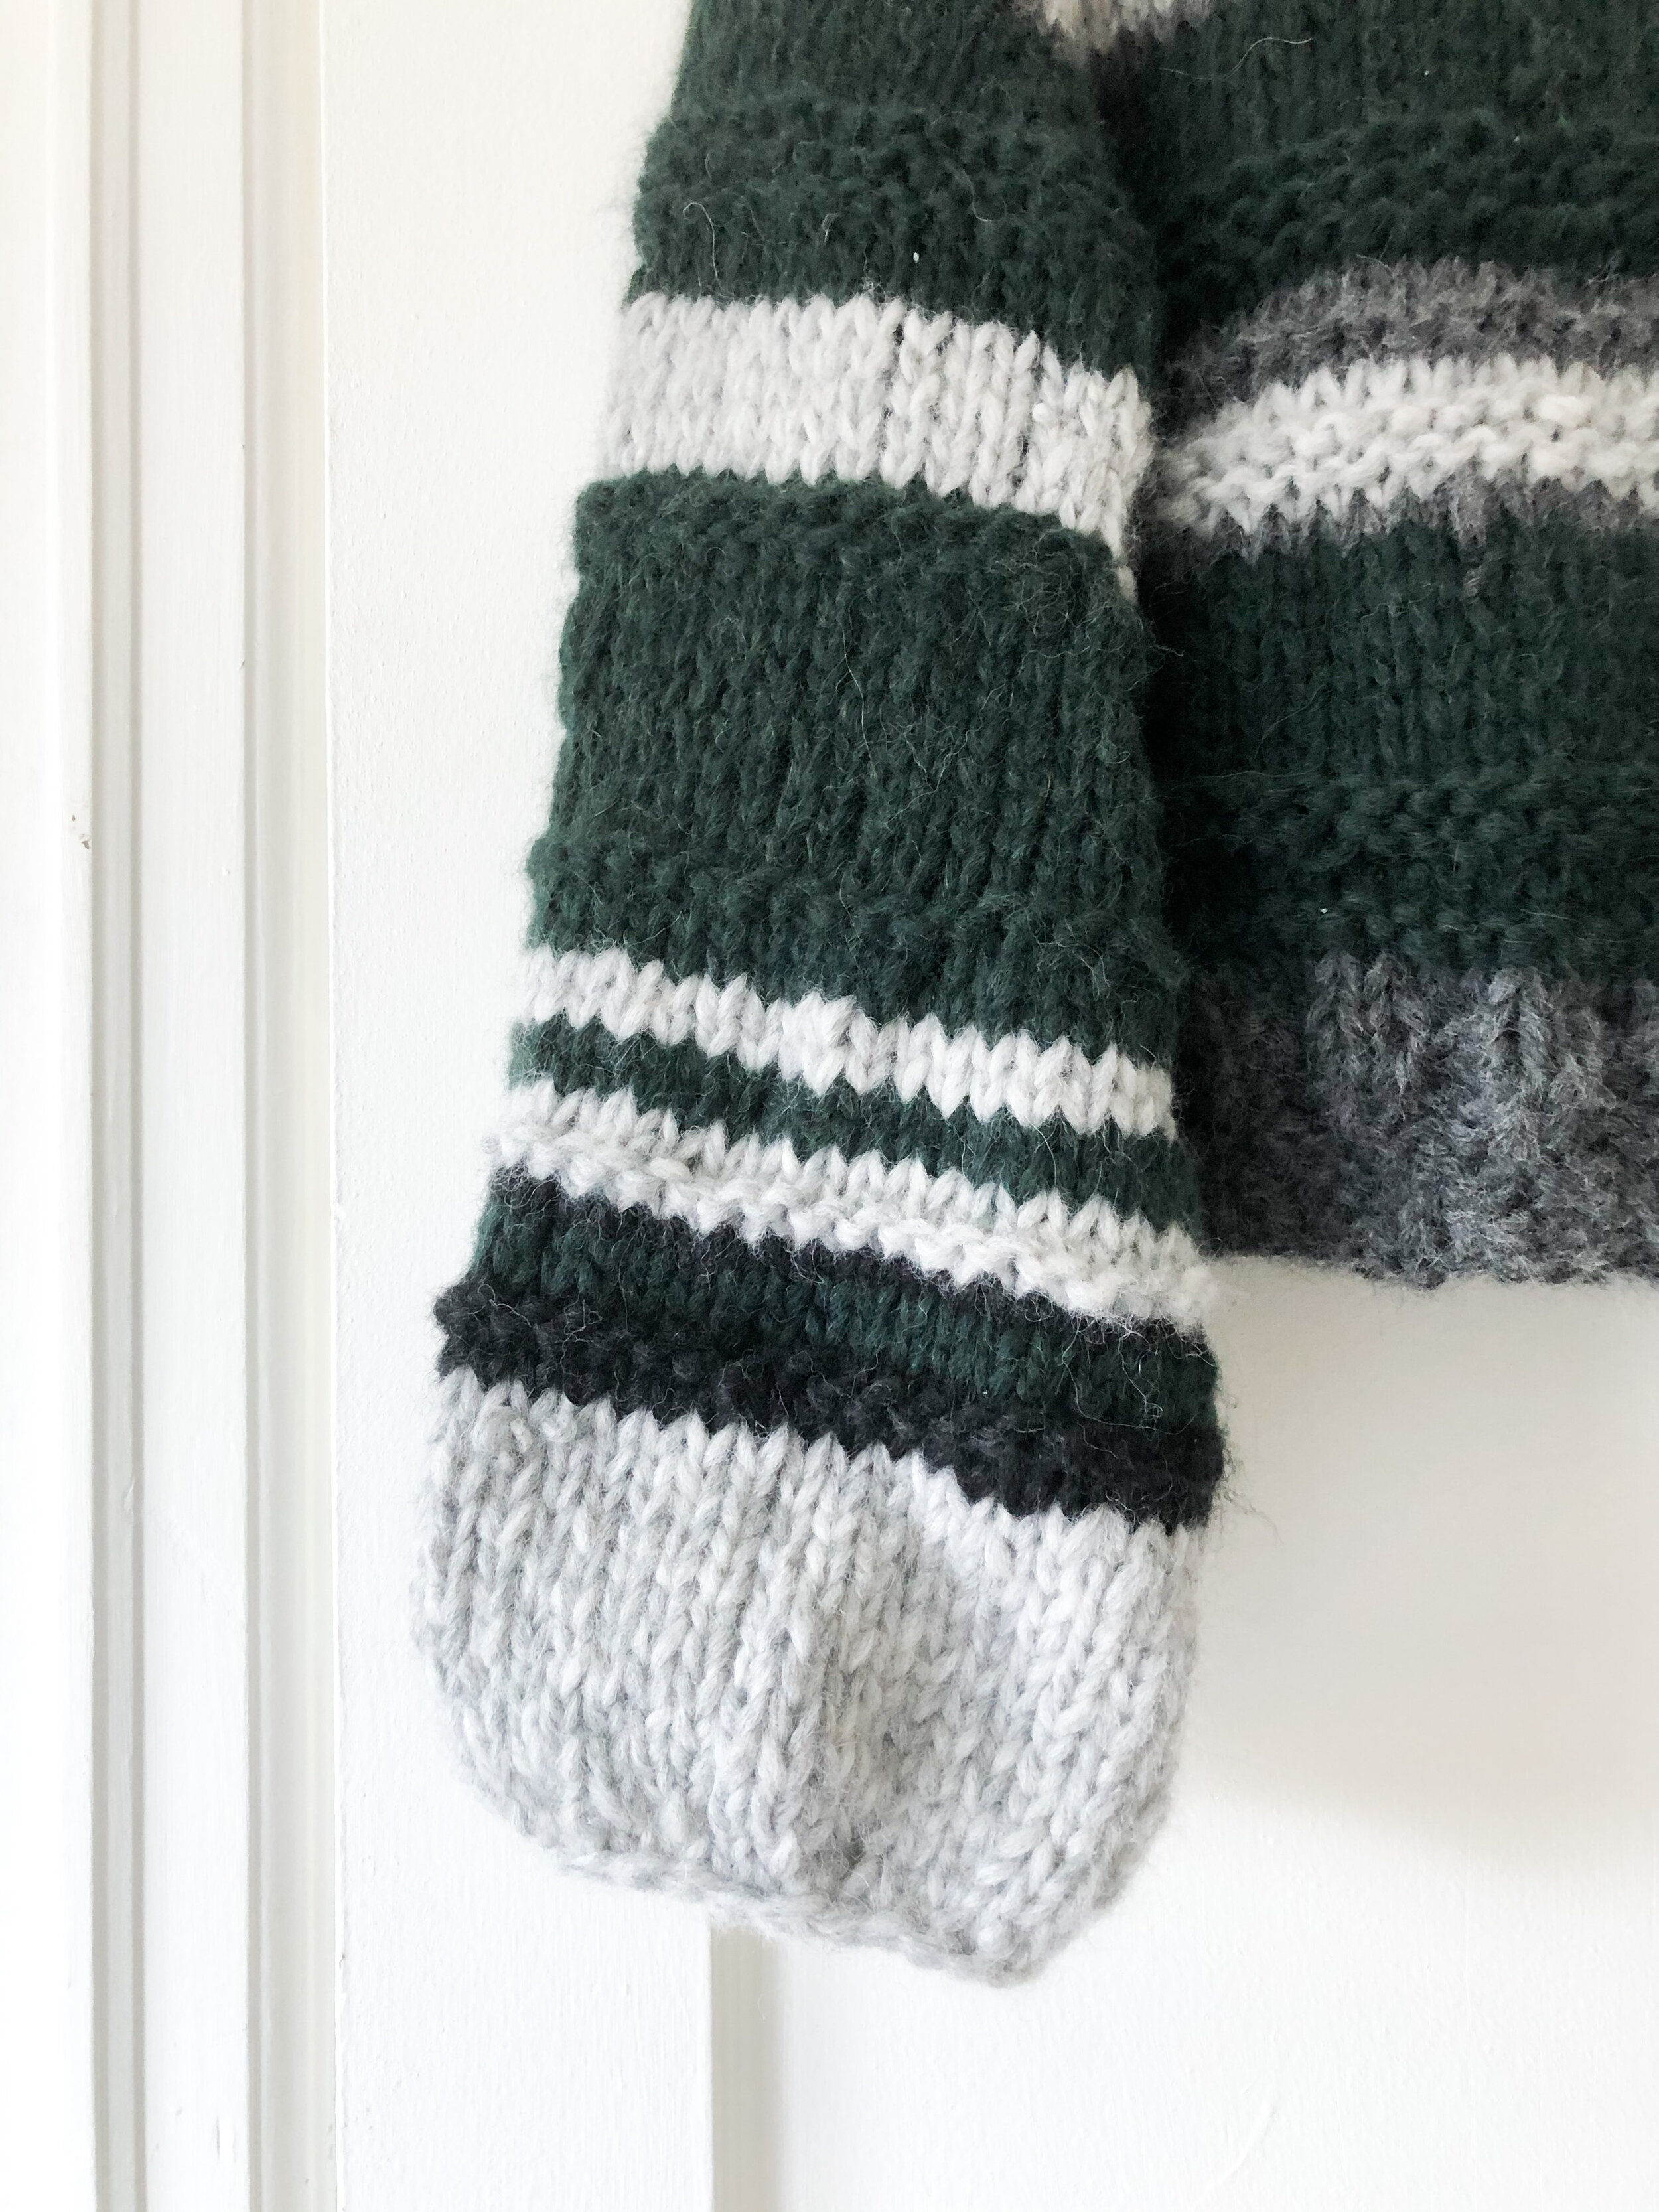
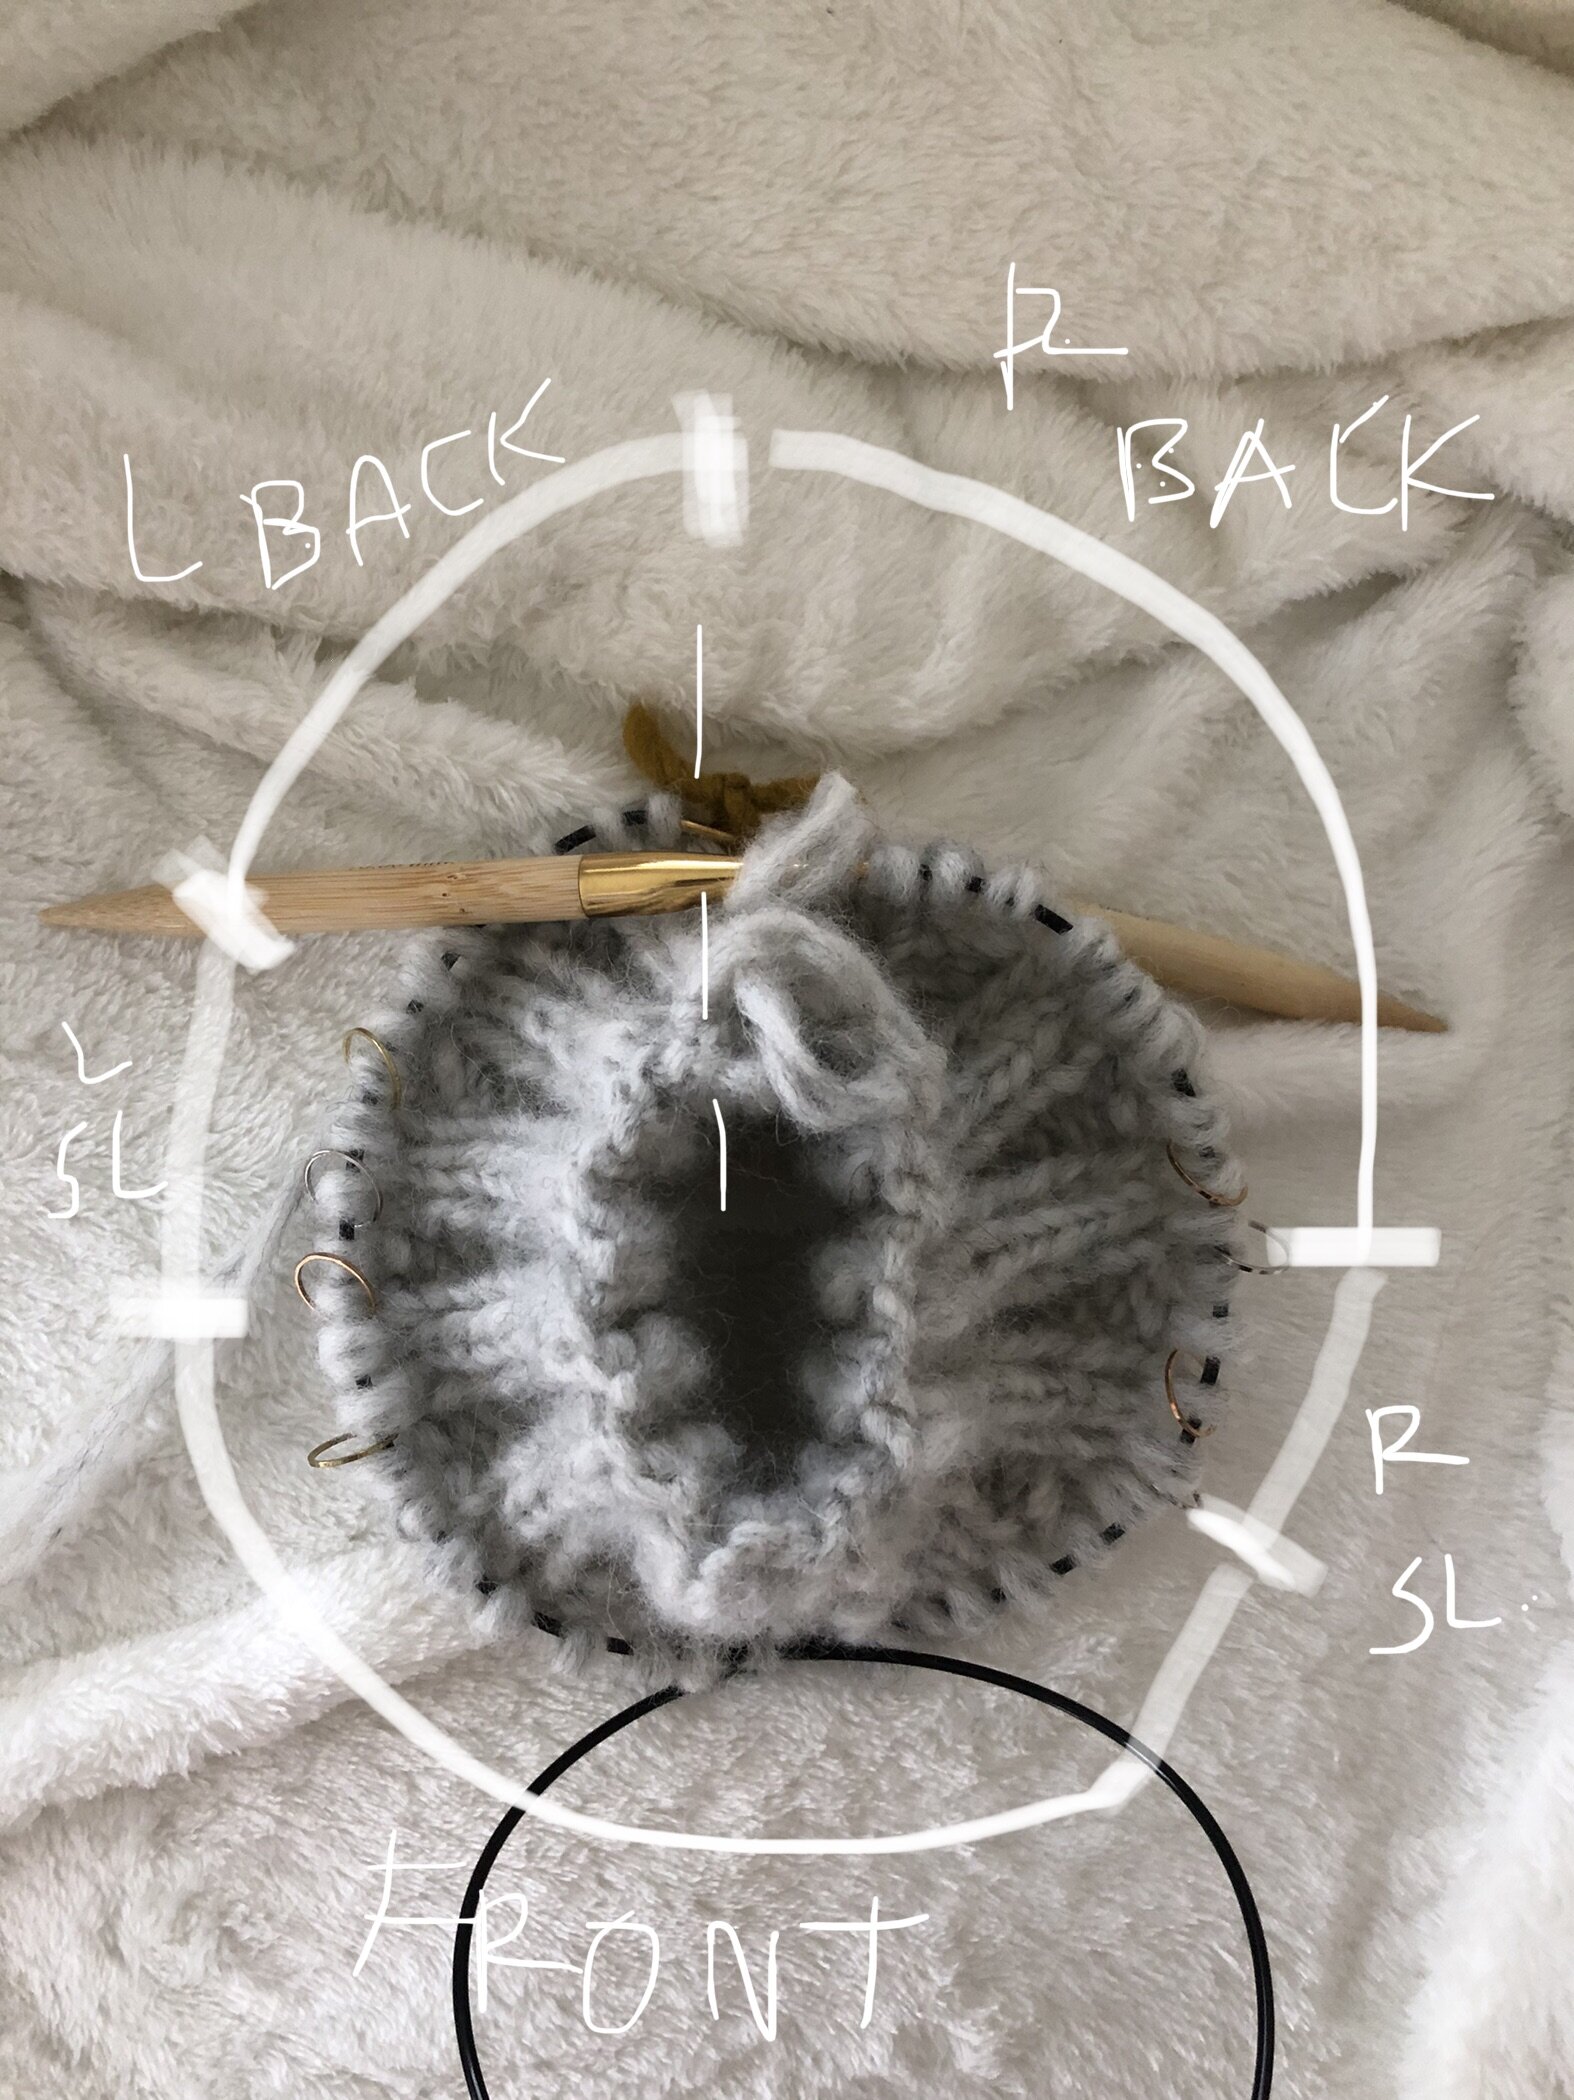
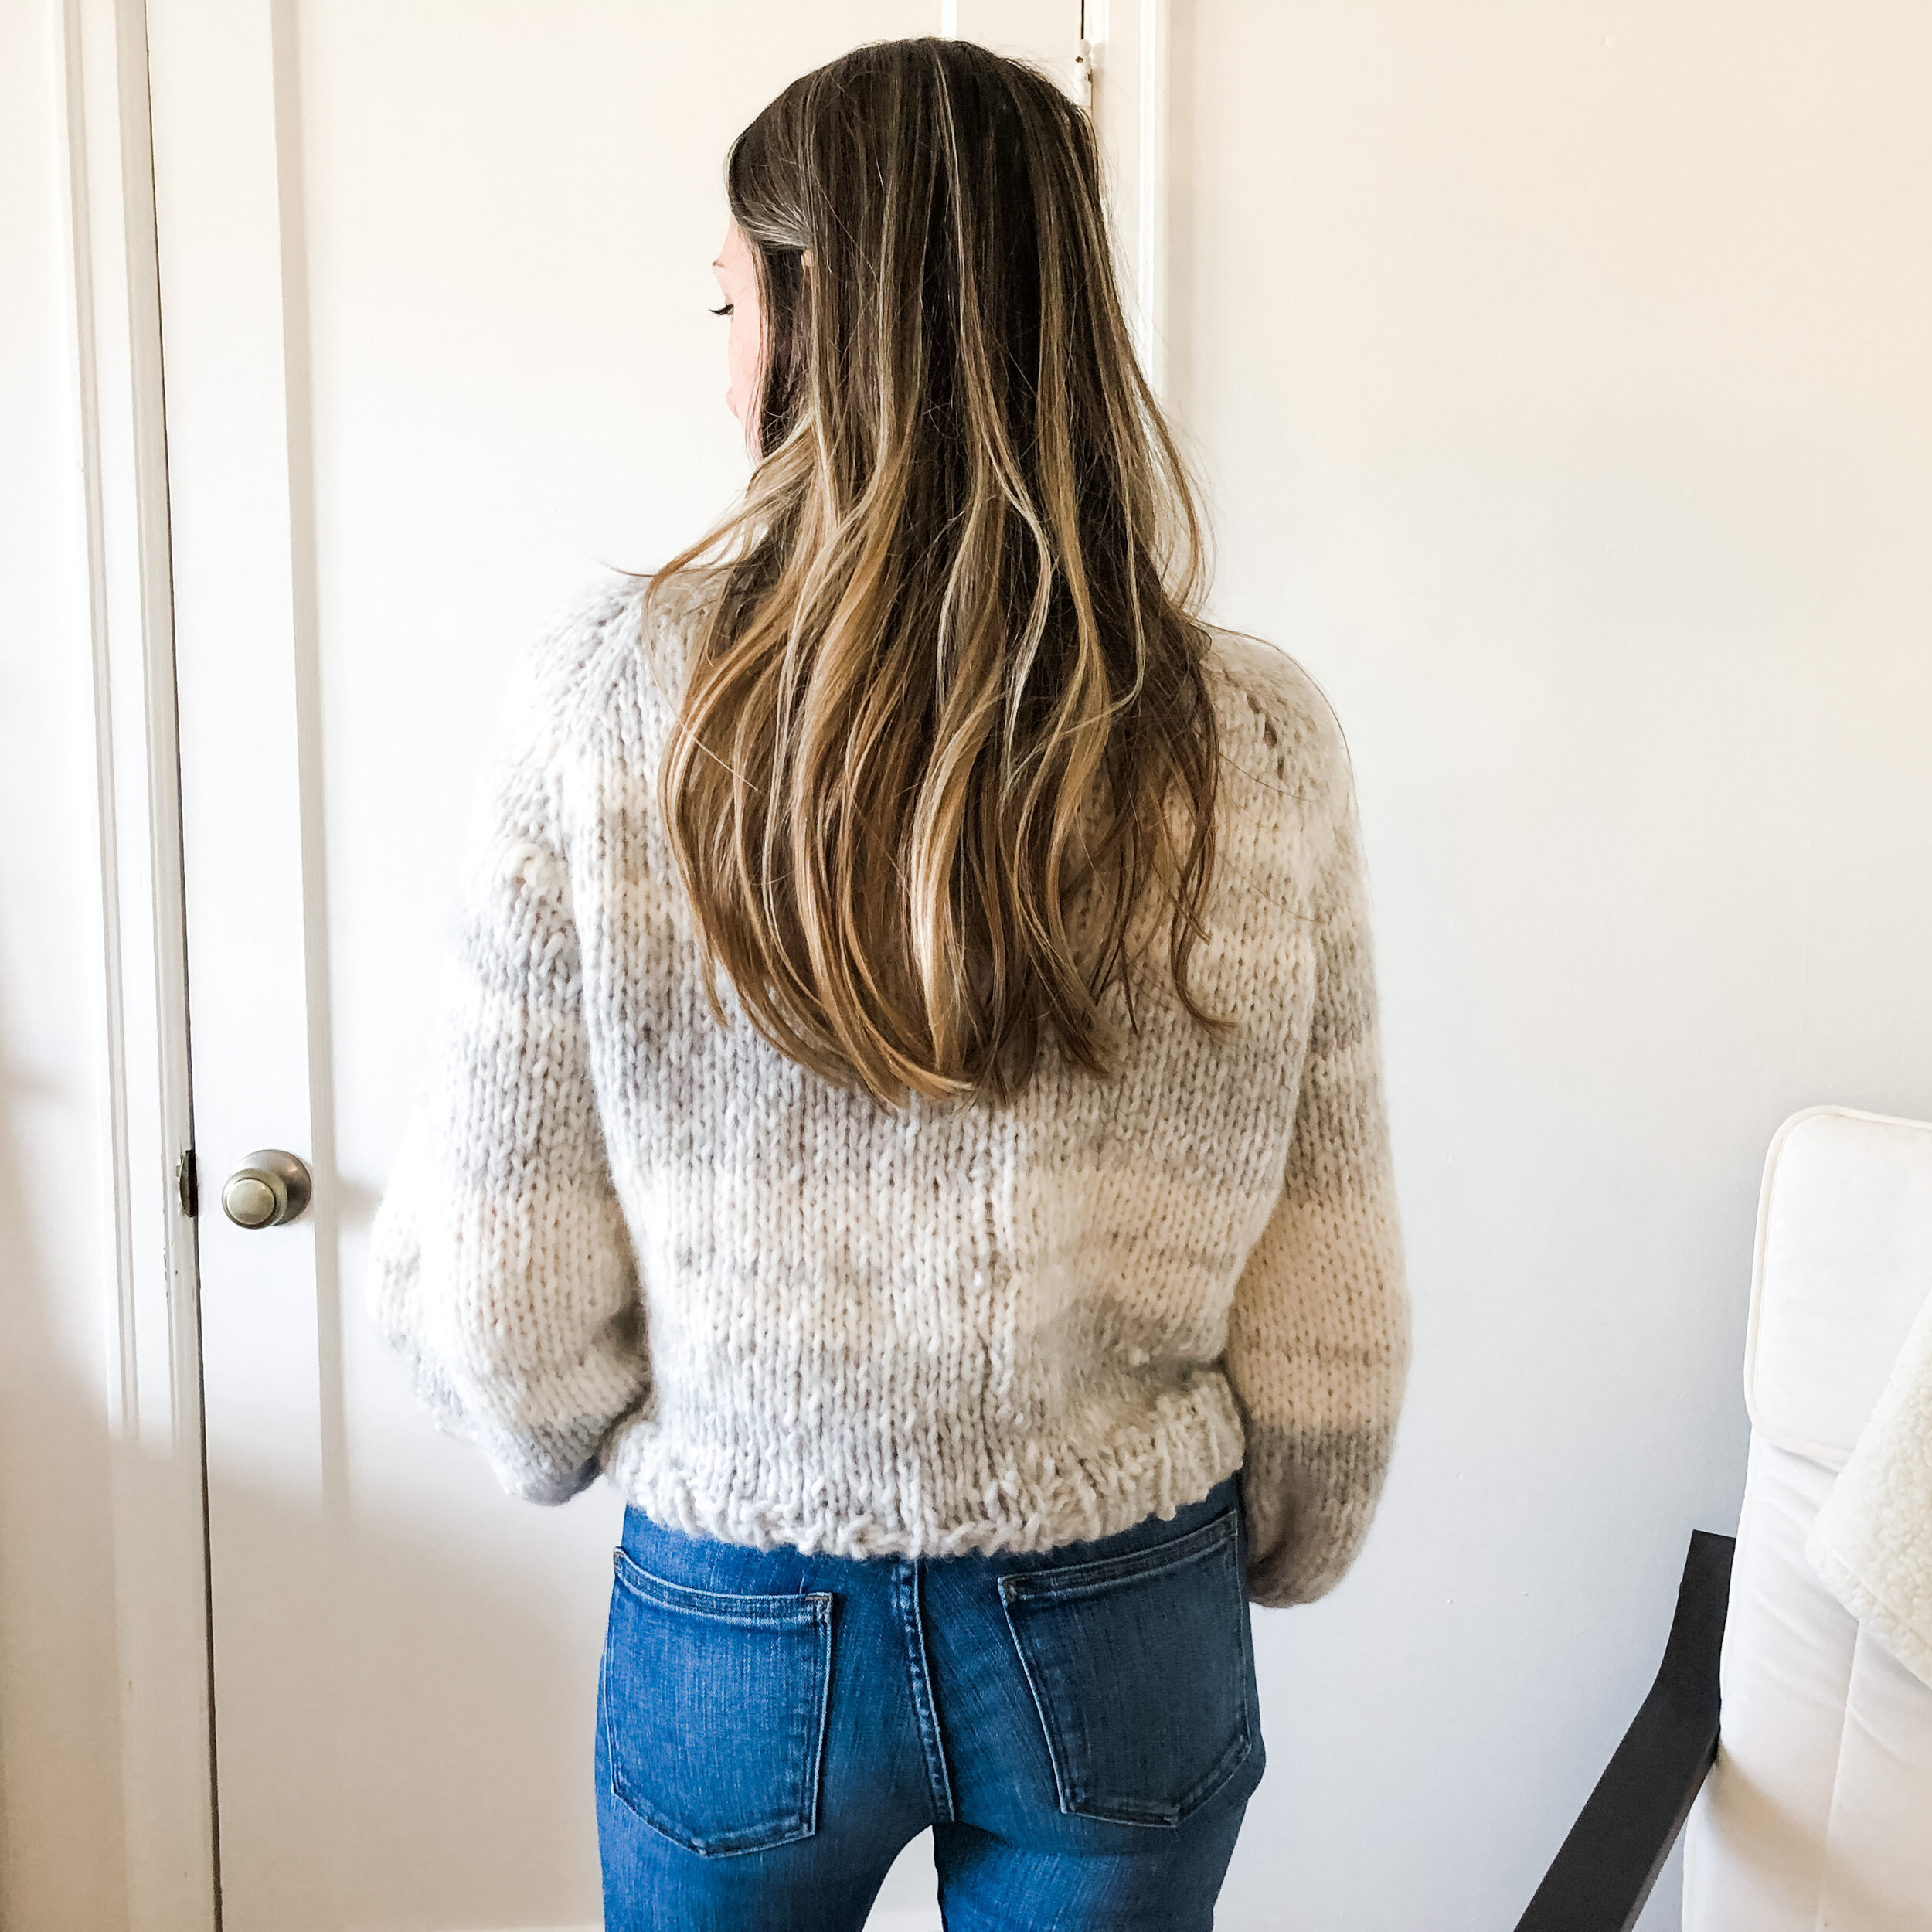
Before beginning, I sketched out a general color/stripe pattern as well as a visual of the yoke stitches. The sweater is divided into 3 sections: yoke, body, and arms. The part that confused me on v1 was the raglan stitches (the lines that go from the neck to the armpits) because they also include increases. The sketch helped me to visually understand where my stitch markers would be and how many stitches I would have when I got to this point.
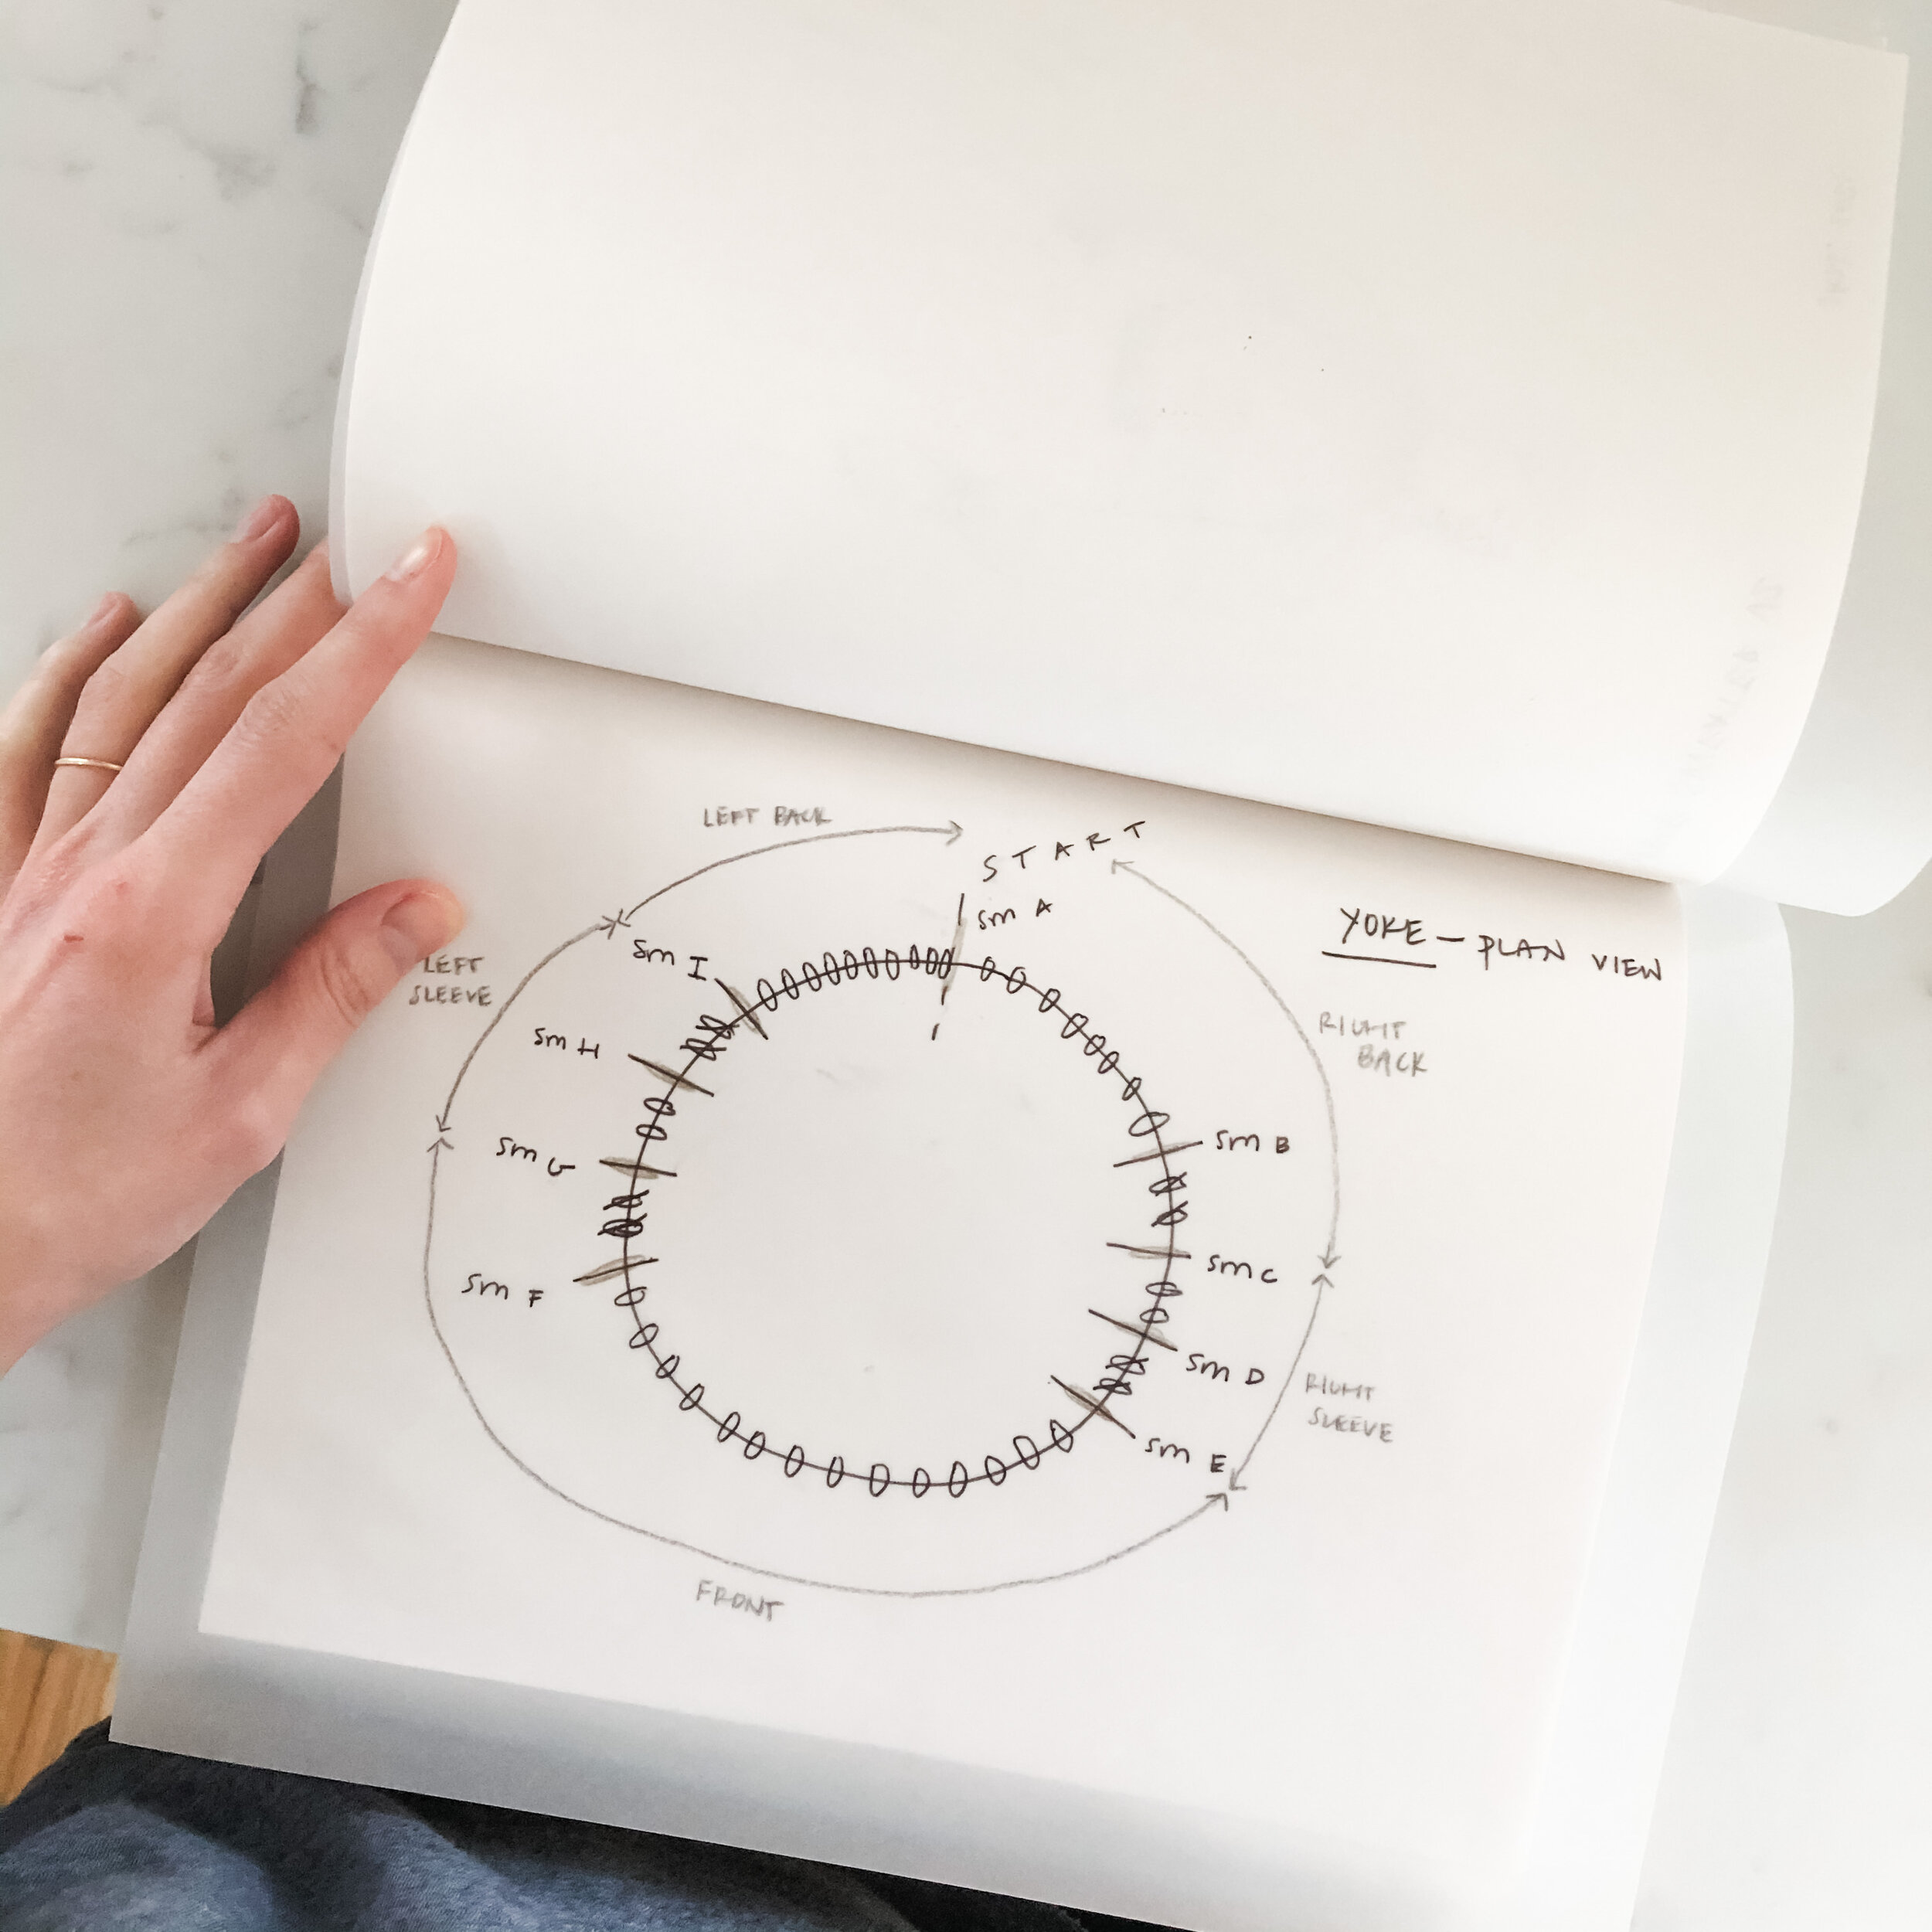
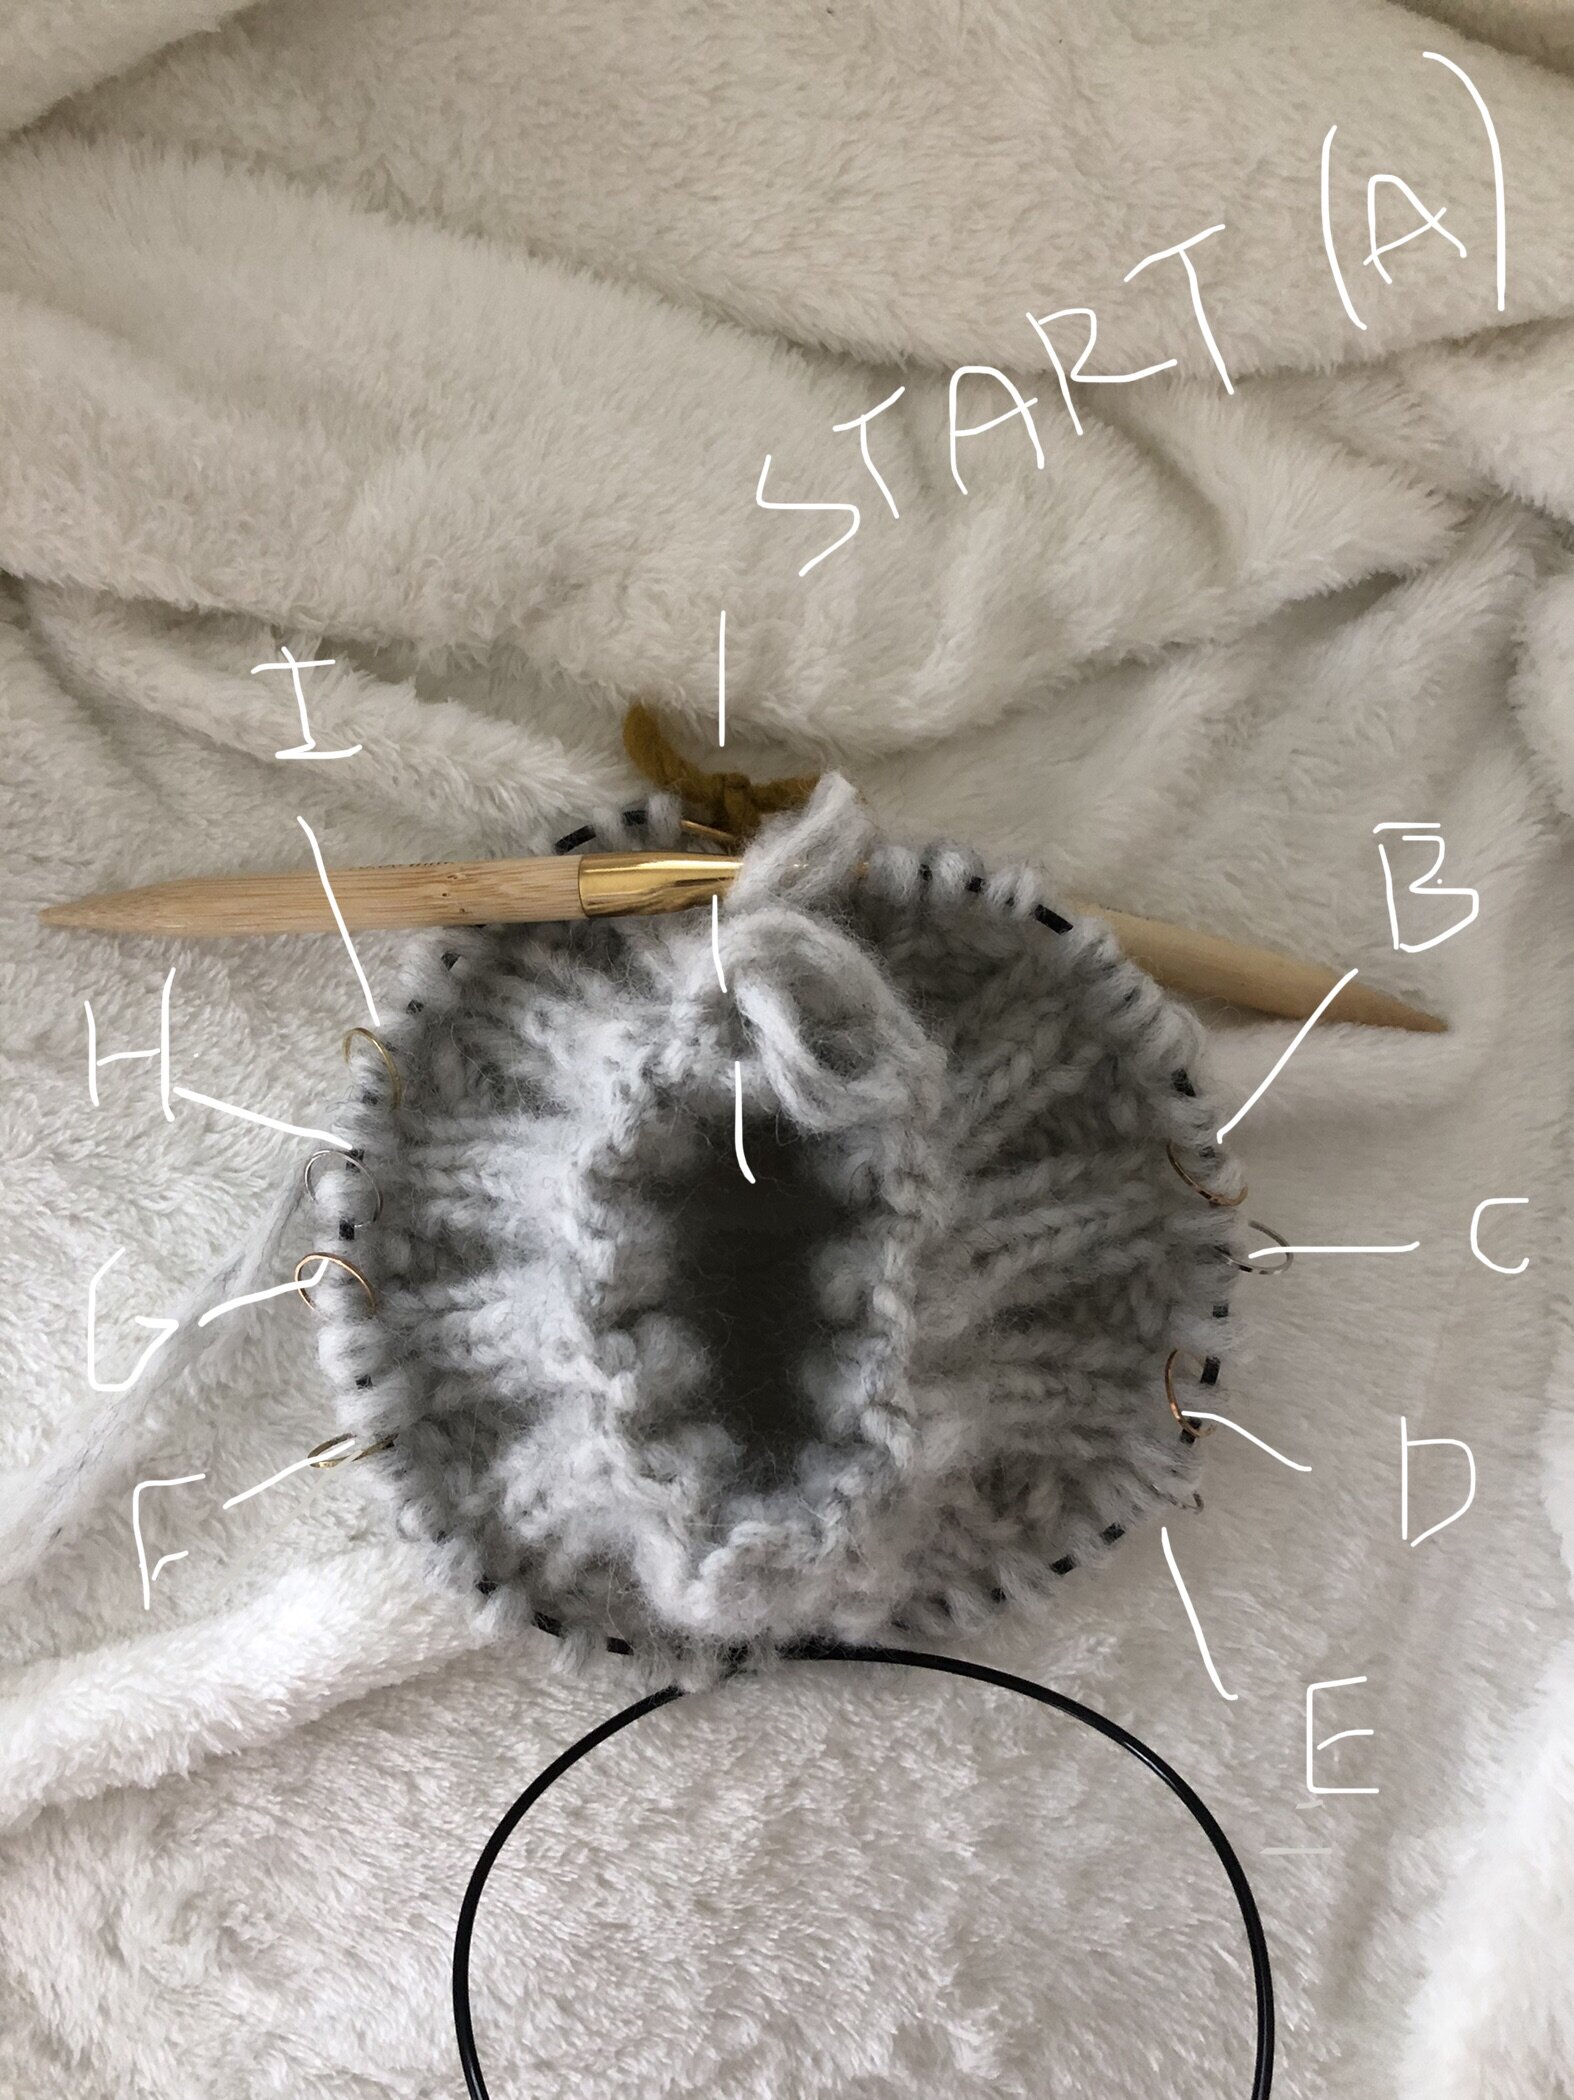
This pattern was knit with (2) strands at once, which worked to my benefit to make a pretty seamless gradient from one color to the next. In order to achieve the color gradient, I established a system for the stripes:
(x#) - ww (1 white strand, 1 white strand)
(x#) - wg (1 white strand, 1 gray strand)
(x#) - gg (1 gray strand, 1 gray strand)
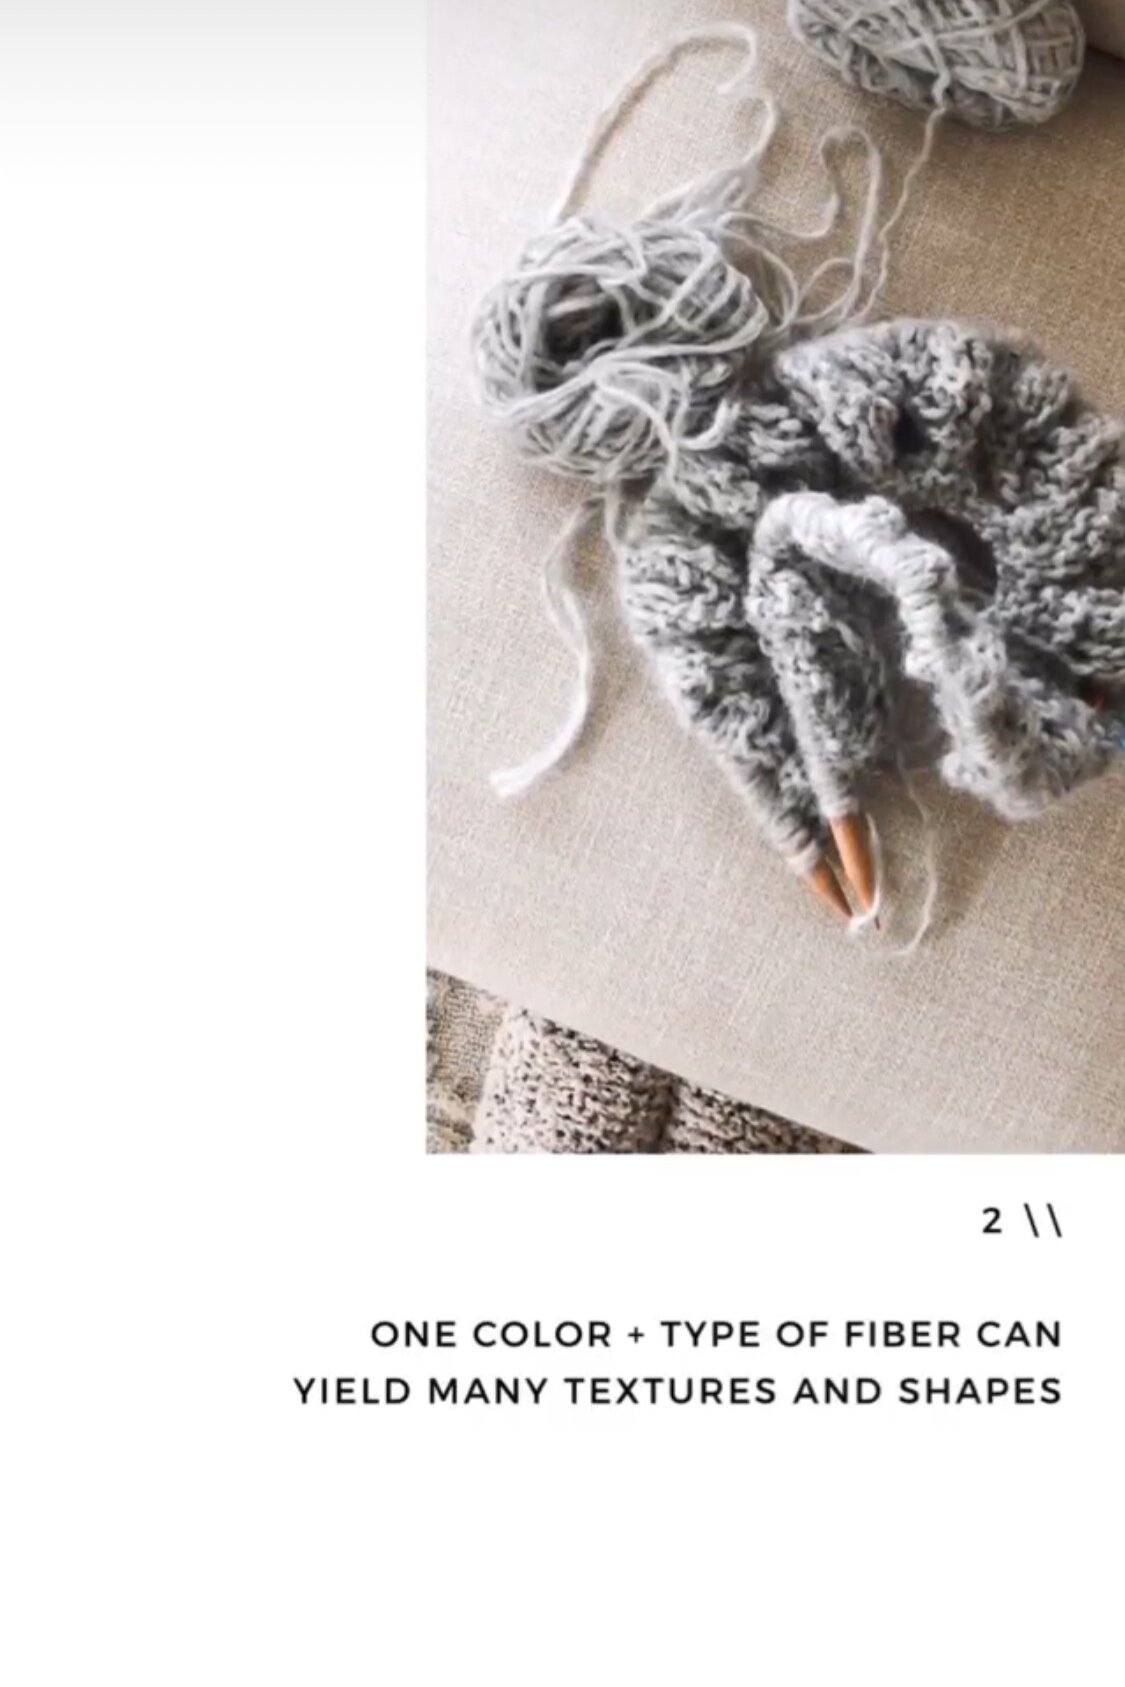
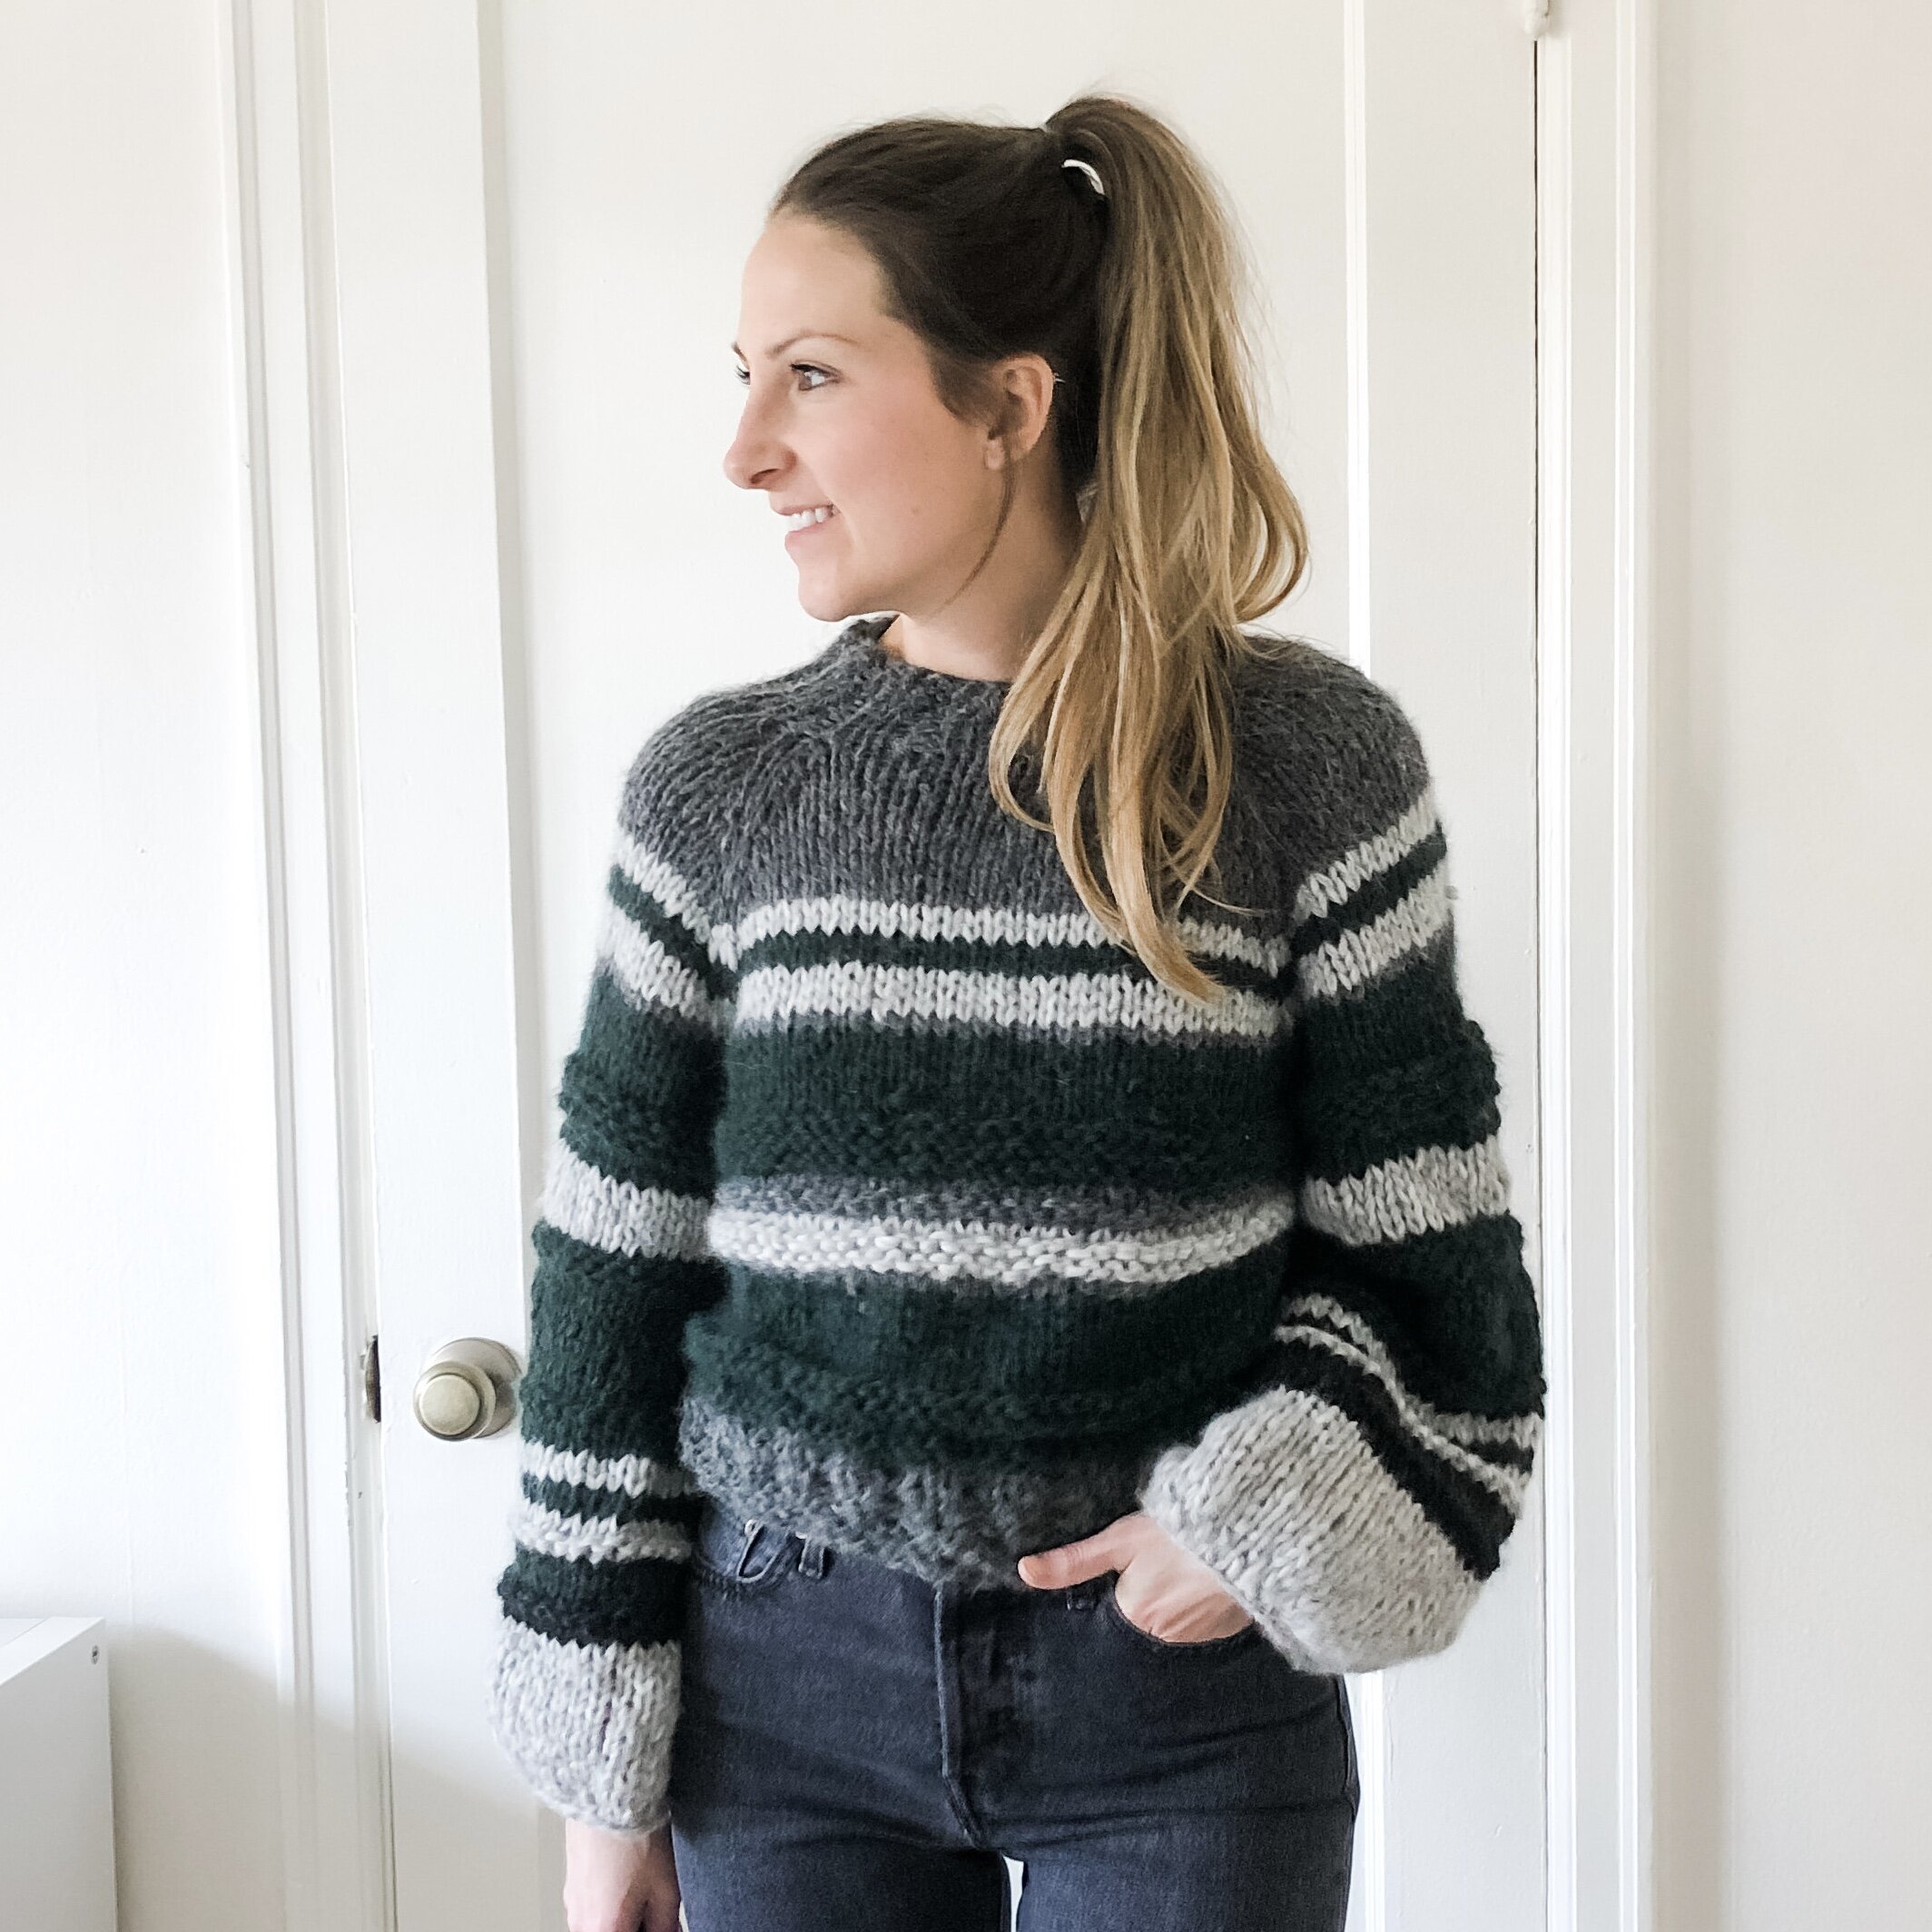
The rest of the pattern went pretty smoothly! Consistency in the tight or looseness of stitches is key - something I didn’t seem to have a problem with the first time, but struggled this try.

Lessons-learned:
It’s ok to not get it right the first time. If you’re making mistakes, you’re always learning something from them.
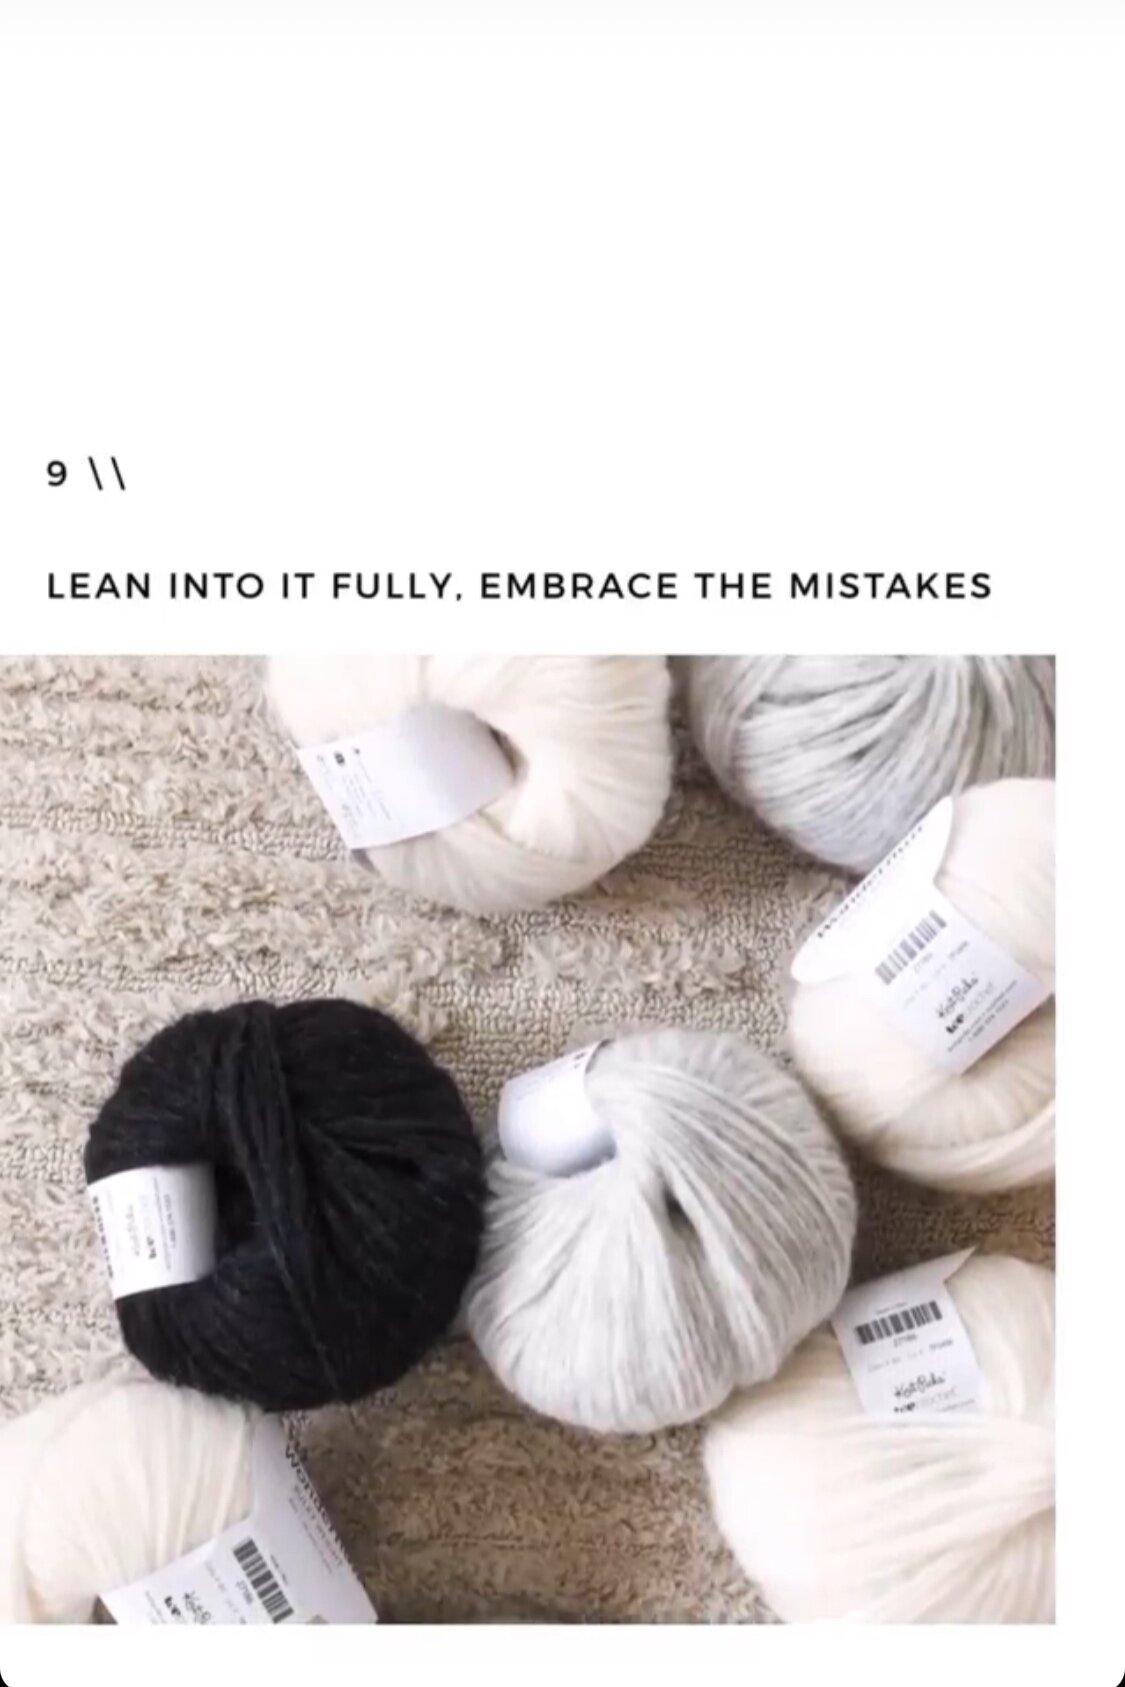
Always order extra yarn (!!!) There is nothing like messing up and needing to start over or making it slightly bigger than you planned for OR just realizing you want to alter something here or there… and not having enough yarn to keep going. You can always use it in another project - consider the safety net worth the extra money.
Lean on others if you need help. Those that know the techniques you’re trying to learn are always willing to help!
How has knitting influenced or inspired my weaving practice?
See below!